Too Long; Didn’t Read
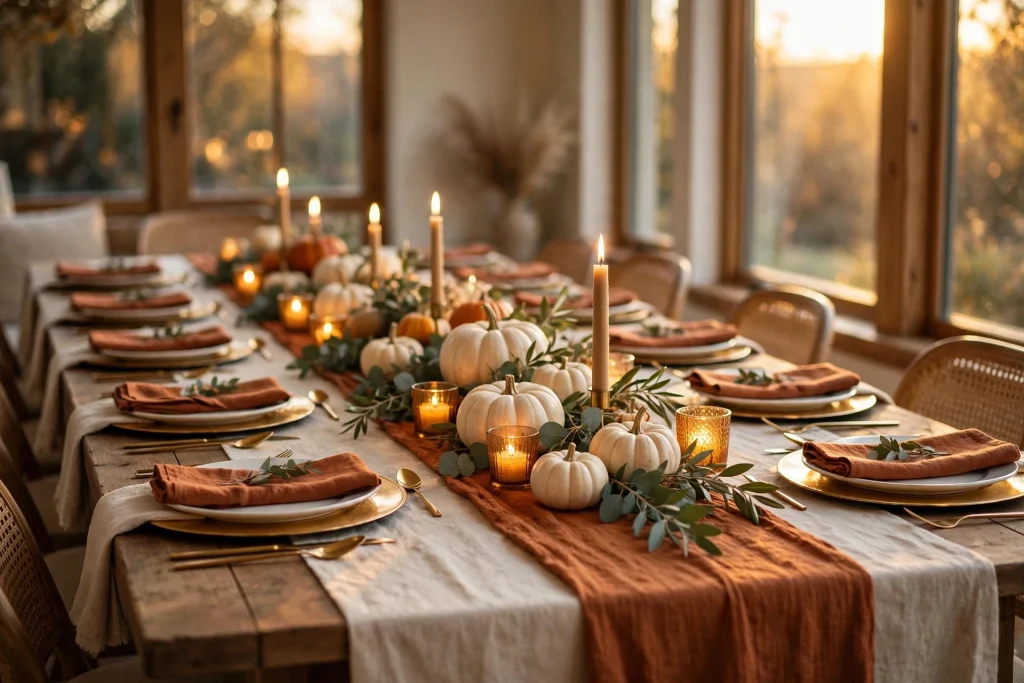
A thanksgiving tablescape is not a pile of decorations. It is one whole scene: the base, the centerpiece builds, the place setting formulas, the light, and the space left for the food, all planned as one picture. These 24 thanksgiving tablescape ideas show you how to plan that picture first, then build it in parts, so the table looks calm and full at the same time. Most of them cost under 25 dollars, most take under an hour, and the 1-2-3 Thanksgiving Tablescape Method near the end shows you how to put a few of them together in three days, so the table is done before the turkey goes in the oven.
The Year the Table Looked Like a Shop Shelf
The first Thanksgiving I hosted, I did what most people do. I bought a little of everything. A runner, three kinds of pumpkins, a garland, two sets of candles, new napkins, a sign that said something about being thankful, and a centerpiece I had seen in a magazine. I put it all on the table at once. From the doorway it looked like a shop shelf. Every inch was full, nothing had room to breathe, and there was nowhere to put the mashed potatoes.
My sister moved the sign to the sideboard, took half the pumpkins off, and pushed the garland into one loose line down the middle. Suddenly the table looked like a table again. The food had somewhere to go, the candles had space to glow, and you could see the person across from you. Nothing new had been bought. Things had just been taken away and given a job.
That is the whole point of this guide. A thanksgiving tablescape is a scene, not a shopping list. You pick one feeling for the whole table, you give every piece a place in that scene, and you leave gaps on purpose, for the serving dishes and for the people. The ideas below are grouped the way you actually build a scene: the plan first, then the centerpiece builds, then the place setting formulas, then the light and colour, then the table around the table. Pick the ones that fit your room and your people. Leave the rest for next year.
What’s Inside This Guide
- The 3 Things That Actually Make a Thanksgiving Tablescape Feel Like One Scene
- The 24 Ideas, Grouped by What They Do
- The 1-2-3 Thanksgiving Tablescape Method: One Scene, Two Heights, Three Days
- At a Glance: Every Idea, Its Cost, and Its Time
- Do This, Not That
- Your Thanksgiving Tablescape Week
- Take It Further
- Designer’s Cheat Sheet
- Questions People Ask
The 3 Things That Actually Make a Thanksgiving Tablescape Feel Like One Scene
Before you buy a single pumpkin or light a single candle, it helps to know what you are actually aiming for. After a few Novembers of getting this wrong and then right, I have landed on three things. Every one of the thanksgiving tablescape ideas in this list comes back to these three things. If the table has all three, it feels like one scene. If it is missing one, no amount of shopping will fix it.
One feeling for the whole table
Pick one feeling and let it run the whole scene. Warm and gathered. Calm and pale. Rich and jewel toned. Rustic and a little wild. That one feeling decides the colours, the height of the centerpiece, and how formal the place settings look. A table with one feeling and plain plates looks planned. A table with five feelings and fancy plates looks like a shop sale. You do not need to name the feeling out loud. You just need to check every new piece against it before it goes on the table. If it does not fit the feeling, it goes on the sideboard, not the table.
Room for the food and the faces
A tablescape is a frame for a meal, not a replacement for one. The centerpiece stays low or goes tall and thin, the serving dishes have marked spots, and every guest can see the face across from them. About 24 inches of table edge per guest, a clear band down the middle for the dishes, and gaps between the decorations are what make a table work. When the turkey lands and there is nowhere to put it, the scene has failed, no matter how pretty it looked empty. Plan the gaps first. The decorations fill what is left.
One thing that repeats
A good scene has a repeat. The same brass shows up in the candlesticks and the flatware. The same rust shows up in the napkins and the candles. The same greenery shows up in the centerpiece and at every seat. One repeat, in three or four places, ties the whole table together. It is the cheapest trick in this guide and the one that makes the biggest difference. Without a repeat, the table is a set of nice objects. With one, it is a scene.
Neuman’s Note: The year I learned this, I had bought brass candlesticks and then realised the flatware was silver, the chargers were gold, and the napkin rings were wood. Four metals, none of them talking to each other. I swapped the gold chargers for plain wood ones I already owned, and the table calmed down in five minutes. One metal, repeated. That was the whole fix.
The 24 Ideas
I have grouped these by what they do, because that is how you actually build a scene. You plan the whole picture first, then you build the centerpiece, then you set each place the same way, then you sort the light and colour, and then you handle the table around the table. Work through one group at a time, and stop when the table feels done. It will feel done sooner than you think.
The Whole Scene First
The best thanksgiving tablescape ideas start before anything is bought. They start with a sentence, a sketch, and a plan for where the food goes. These five ideas are the whole plan. Get them right and everything after them gets easier.
1. Pick One Sentence for the Whole Scene
Write one sentence that describes the table you want, and let it decide everything else. “A warm, low table with cream linen, rust napkins, and candlelight.” Or “A calm pale table with white pumpkins and green branches.” Or “A rich burgundy table that feels like a feast.” That sentence is your filter. When you are in a shop and a gold turkey catches your eye, you read the sentence back. If it does not fit, you leave it on the shelf. A scene with one sentence looks like someone meant it. A scene with no sentence looks like a cart full of sale items.
Best for: Every host, and especially anyone who has ever come home from the shop with five things that do not match.
Cost: Free. Time: About 5 minutes to write the sentence.
Write it on a sticky note and put it in your pocket when you shop. It sounds silly and it works. And share it with anyone helping you set the table, so they are building the same scene you are, not their own version of it.
You may also like: 22 Thanksgiving Table Decor Ideas for a Cozy Holiday Feast
2. Map the Table in Three Zones Before You Buy Anything
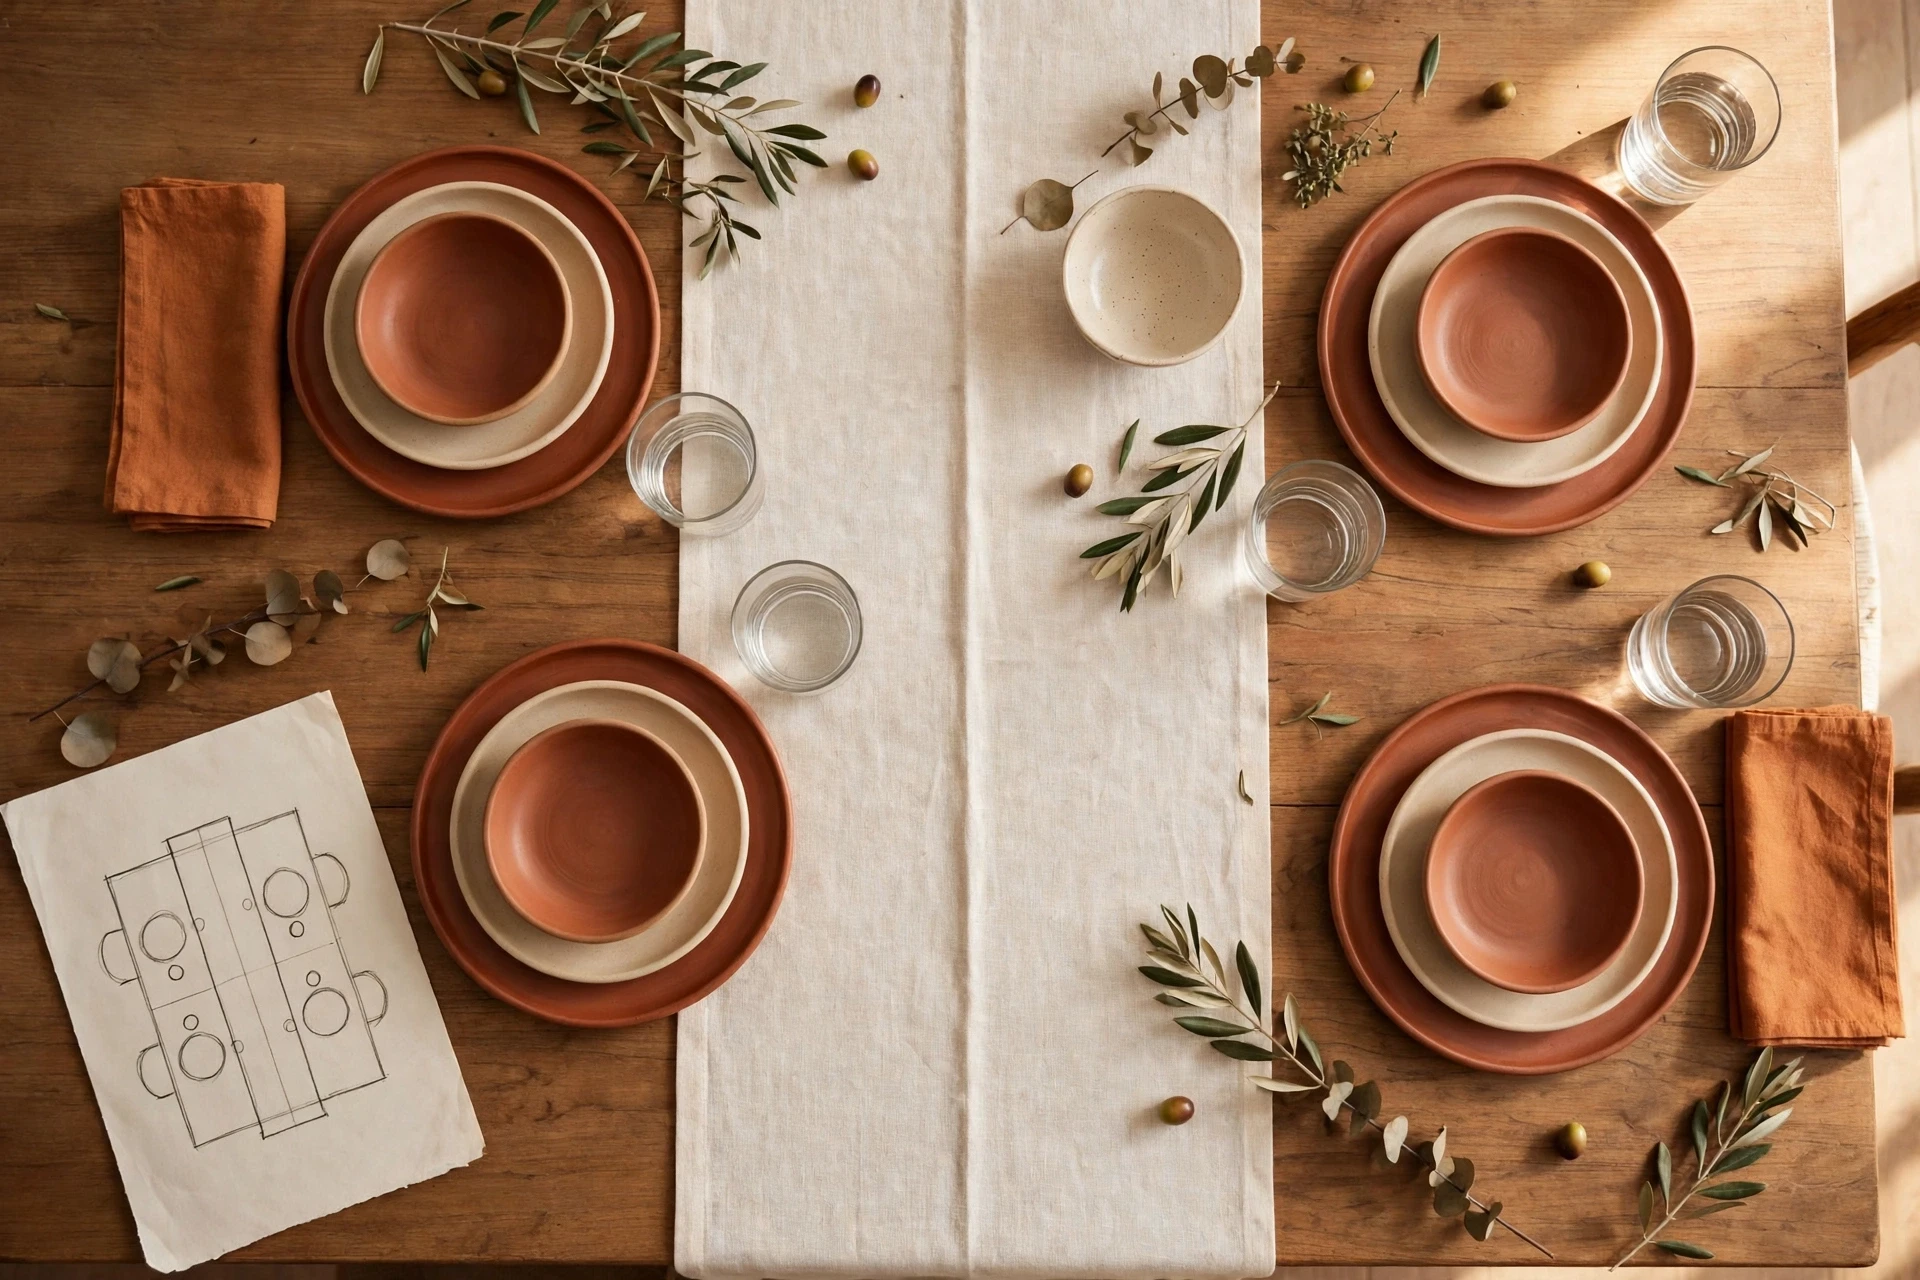
Take a sheet of paper and draw your table from above. Mark three zones on it. The center band, about 12 to 14 inches wide down the middle, is for the centerpiece and the candles. The place zones, about 18 inches deep on each side, are for the plates and glasses. The serving gaps, one clear space every two seats, are for the dishes. That sketch is the whole scene plan. It tells you how much centerpiece you actually need, how many candles fit, and where the turkey will land. Most tables are over decorated because nobody measured the gaps first.
Best for: Long tables, big groups, and anyone who has ever run out of room for the food.
Cost: Free. Time: About 10 minutes to sketch.
Measure your table with a tape, not by eye. A 6 foot table seats three per side at 24 inches each, plus one at each end, and that math decides how many place settings and how much centerpiece you need. Keep the sketch on the sideboard while you set the table, and check it before you add one more thing.
You may also like: 22 Cozy Christmas Apartment Decor Ideas for Small Spaces
3. Choose One Hero Piece and Build the Scene Around It
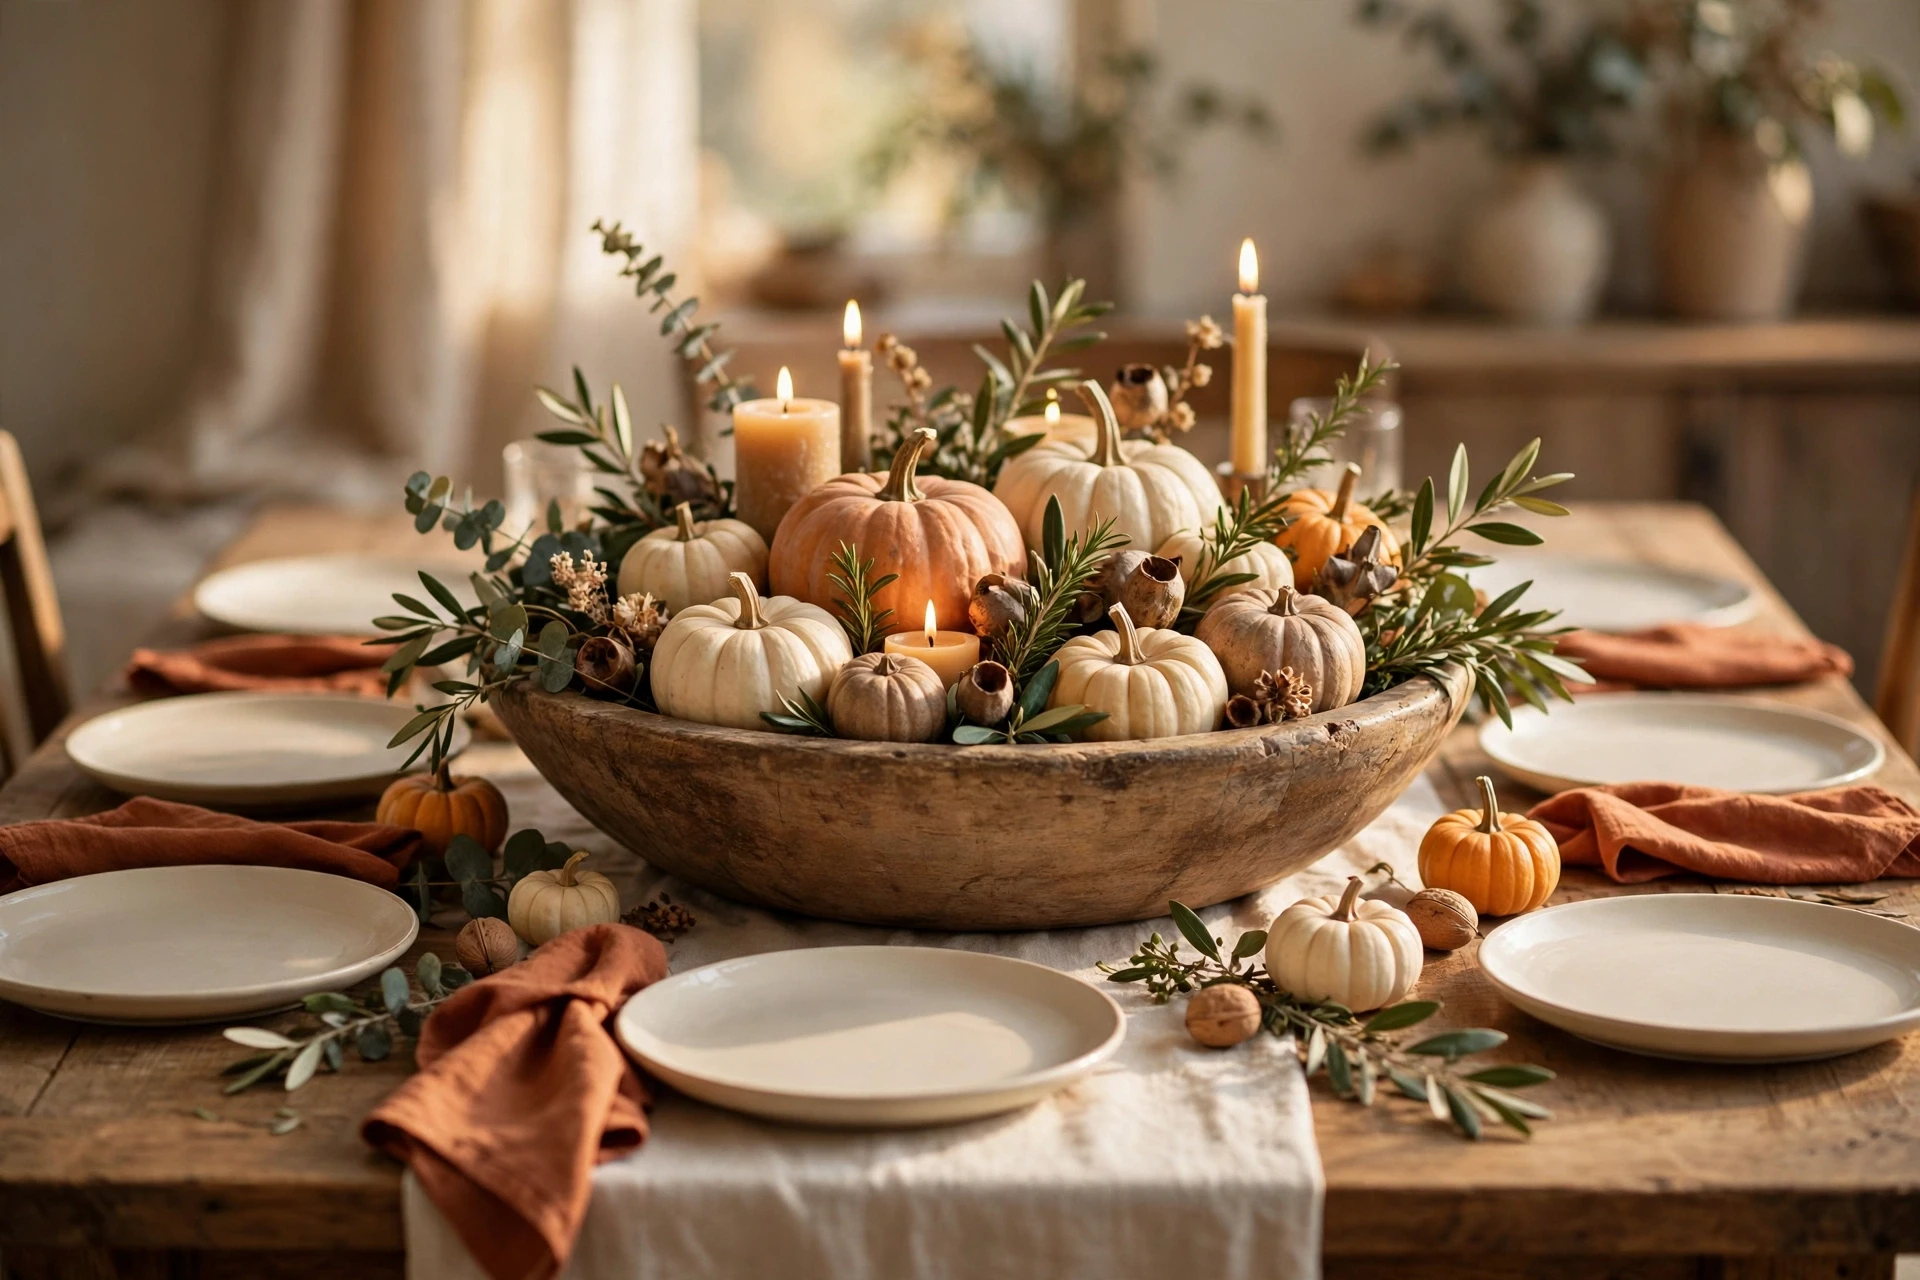
Every good scene has one hero. A big wooden dough bowl. A tall brass candelabra. A vintage soup tureen. A low marble tray. Pick one piece, put it in the middle of the table, and build everything else around it. The hero sets the height, the colour, and the mood, and it stops you from buying five medium pieces that fight each other. A table with one hero and quiet supporting pieces looks expensive. A table with five heroes looks like a jumble sale. The hero does not need to cost much. It needs to be the biggest, calmest thing on the table.
Best for: Anyone who owns one beautiful piece and never knows how to use it, and tables that feel scattered.
Cost: Free if you own the piece, 20 to 50 dollars for a dough bowl or a tray. Time: About 10 minutes to place it and build around it.
Put the hero down first, before the runner and the plates, and step back. If it looks lost, it is too small for the table. If it crowds the plates, it is too big. A hero should take about a third of the center band, no more. Everything else stays lower and quieter than the hero, so the eye lands on it first and then moves on.
You may also like: 22 DIY Candles That Make Fall Feel Warm and Truly Special
4. Use Three Small Centerpiece Zones Instead of One Long Line
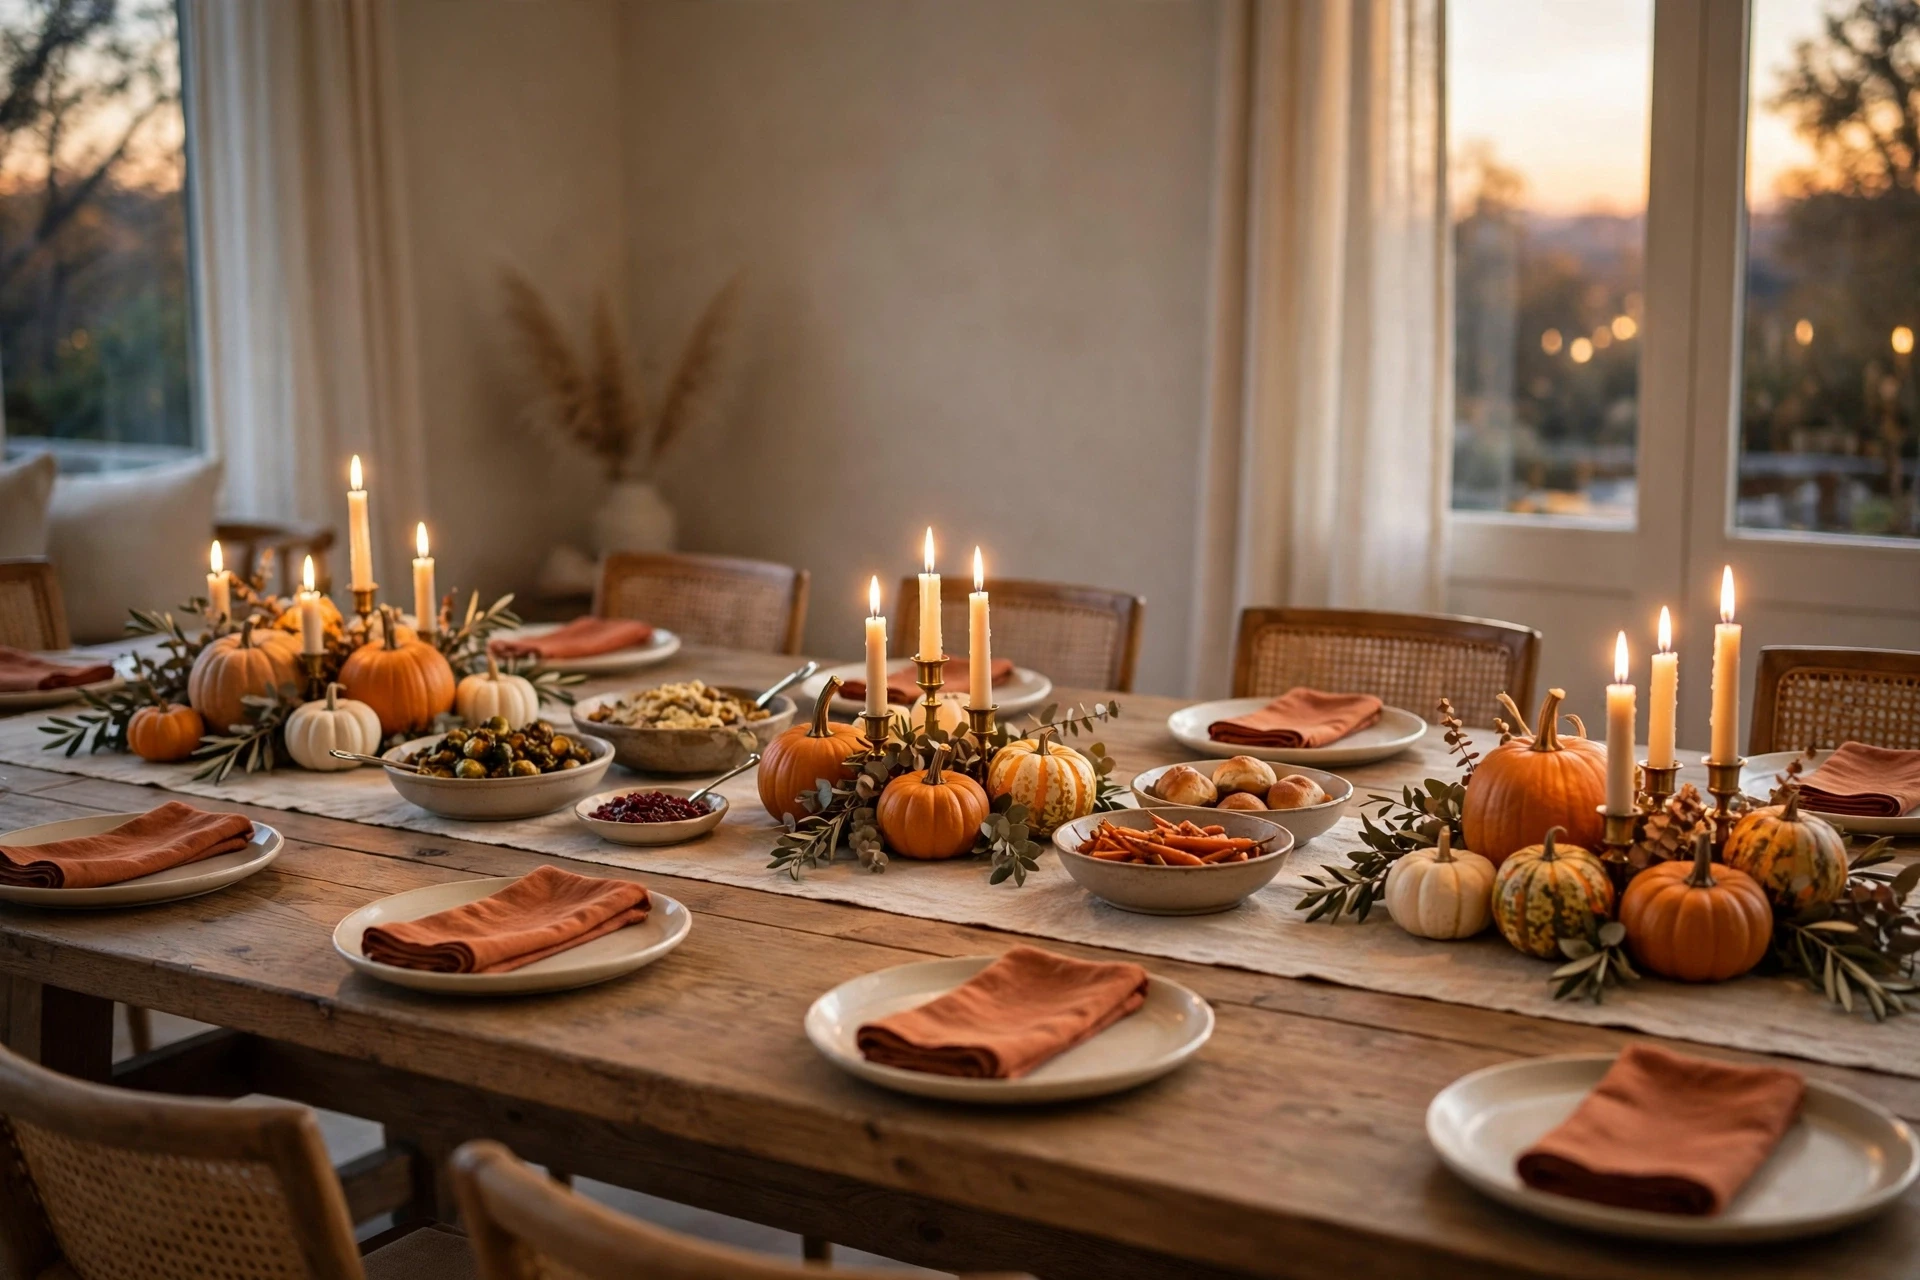
Instead of one long centerpiece running the whole table, build three small scenes, one at each end and one in the middle, with clear gaps between them for the serving dishes. Each zone is a small group: a few pumpkins, a candle cluster, a little greenery. The gaps are the point. They are where the food lands, and they keep the table from looking like one long hedge. Three zones also fix the long table problem, where a single line looks thin at the ends and crowded in the middle. Each zone can be a little different, as long as the palette repeats.
Best for: Long tables, buffet style meals, and anyone whose centerpiece always ends up blocking the food.
Cost: 15 to 30 dollars for pumpkins, greenery and candles. Time: About 25 minutes to build the three zones.
Space the zones evenly and sit in the end chairs to check the view. If a zone blocks a face, move it six inches to one side. The gaps between zones should be wide enough for a serving dish, about 12 inches, so the food sits in the scene instead of on top of it.
You may also like: 22 Fireplace Mantel Ideas for Fall and Christmas That Work
5. Plan the Serving Gaps First, Then Fill the Rest
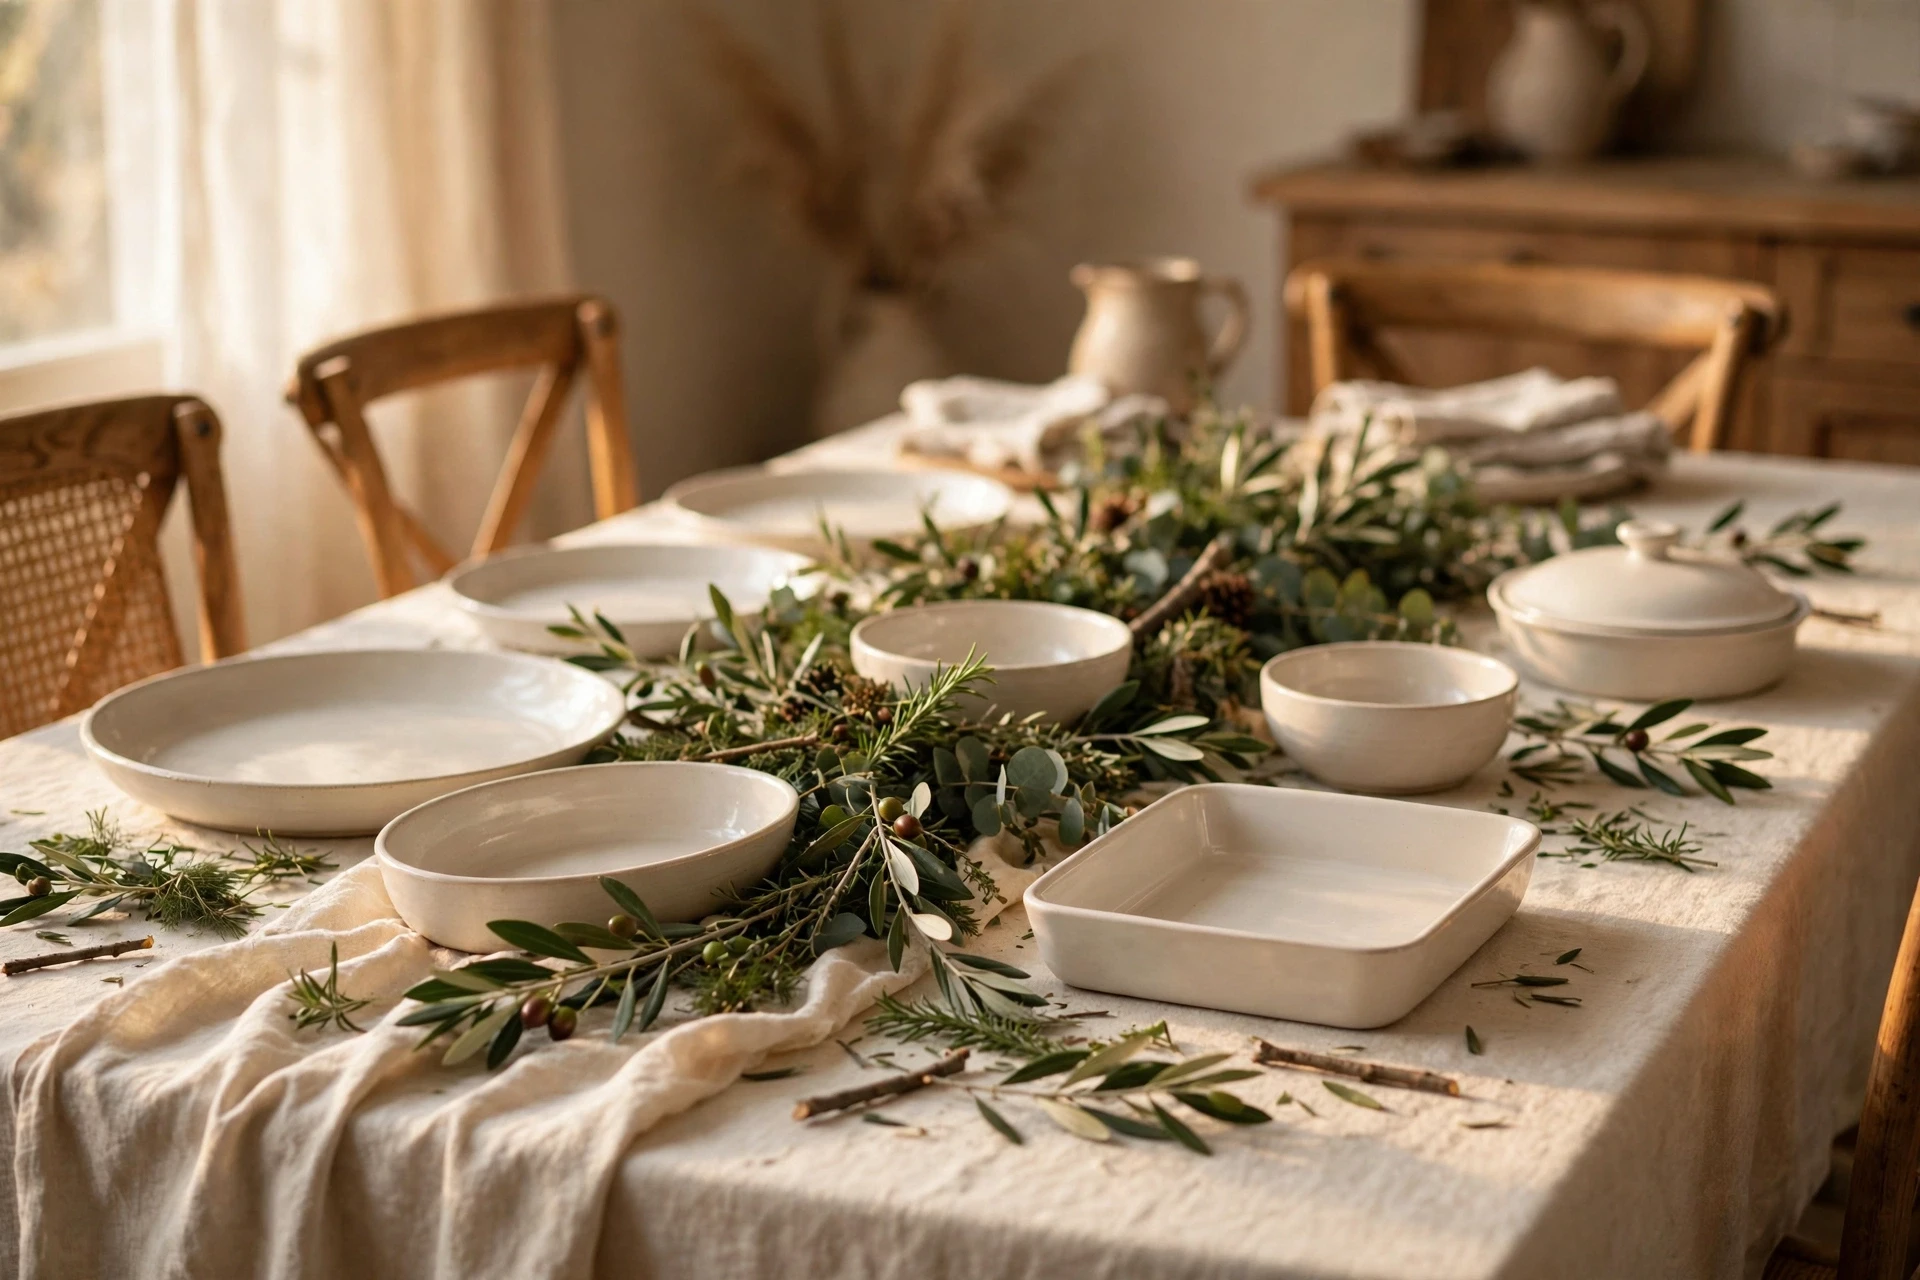
Before any decoration goes on the table, put the empty serving dishes where they will go. The turkey platter, the bowl of mashed potatoes, the gravy boat, the bread basket. Mark those spots with the dishes themselves, then build the scene around them. The decorations fill what is left, not the other way round. This is the single most useful planning step in this guide, because it stops the classic Thanksgiving mistake: a beautiful table with nowhere to put the food. When the dishes have their spots, the centerpiece can be as generous as you like, because it is not competing with dinner.
Best for: Every table, and especially hosts who serve family style at the table instead of from the kitchen.
Cost: Free. Time: About 10 minutes to place the empty dishes.
Leave the dishes in place while you build the centerpiece, so you can see the real space you have. If a dish spot is too small, move a decoration, not the dish. The food is the guest of honour. The decorations are the frame.
You may also like: 22 Easy Crockpot Soups That Make Cold Nights Feel So Warm
Centerpiece Builds
The centerpiece is the part everyone photographs, and it is also the part most likely to go wrong. The builds below are whole scenes in themselves, not single objects. Each one has a base, a height plan, and a clear spot for the food. Pick one build and commit to it. Two builds on one table will fight each other.
6. Build a Dough Bowl Harvest Scene
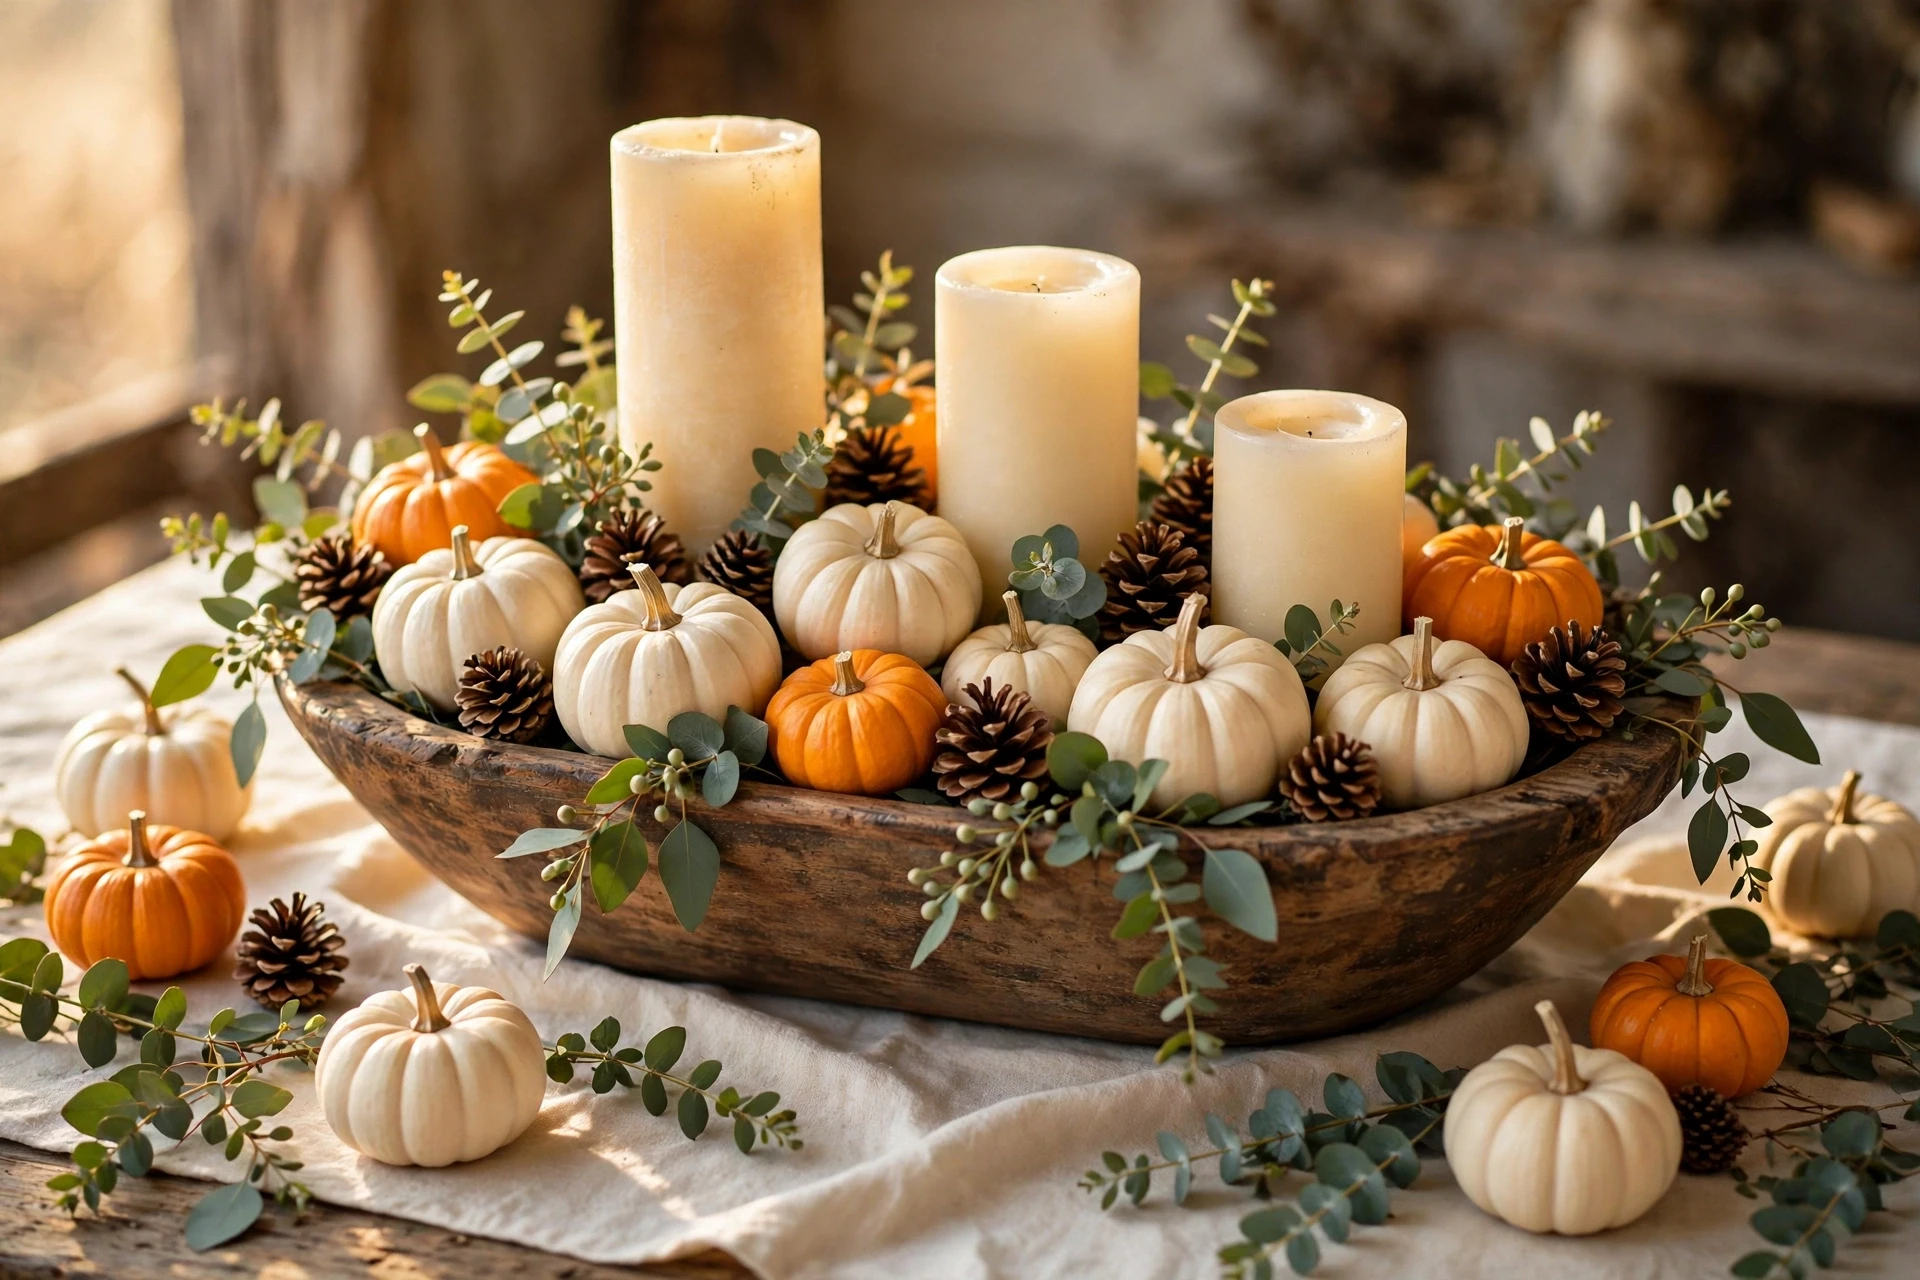
A wooden dough bowl is the easiest hero piece in this guide. Fill it with small pumpkins, gourds, pinecones and a few sprigs of eucalyptus, then tuck three pillar candles of different heights into the gaps. The bowl holds everything together, so the scene looks full without spreading across the table, and it lifts off in one move when the turkey needs the space. That is the real beauty of it. A dough bowl scene is a centerpiece and a storage box in one. Buy the bowl once and you will use it every November.
Best for: Wood tables, rustic scenes, and anyone who wants a full centerpiece that moves in one lift.
Cost: 25 to 50 dollars for the bowl, 10 to 20 dollars for the fill. Time: About 20 minutes to fill and arrange.
Put a folded tea towel in the bottom of the bowl first, so the pumpkins sit steady and the bowl does not scratch. Keep the candles in glass holders inside the bowl, never straight on the wood, and keep the tallest candle under 12 inches so the scene stays low. If the bowl is long, run it down the middle. If it is round, put it in the center and build two small zones at the ends.
You may also like: 21 Best Christmas Cookie Recipes to Bake This Holiday Season
7. Build a Candle Only Scene With No Flowers at All
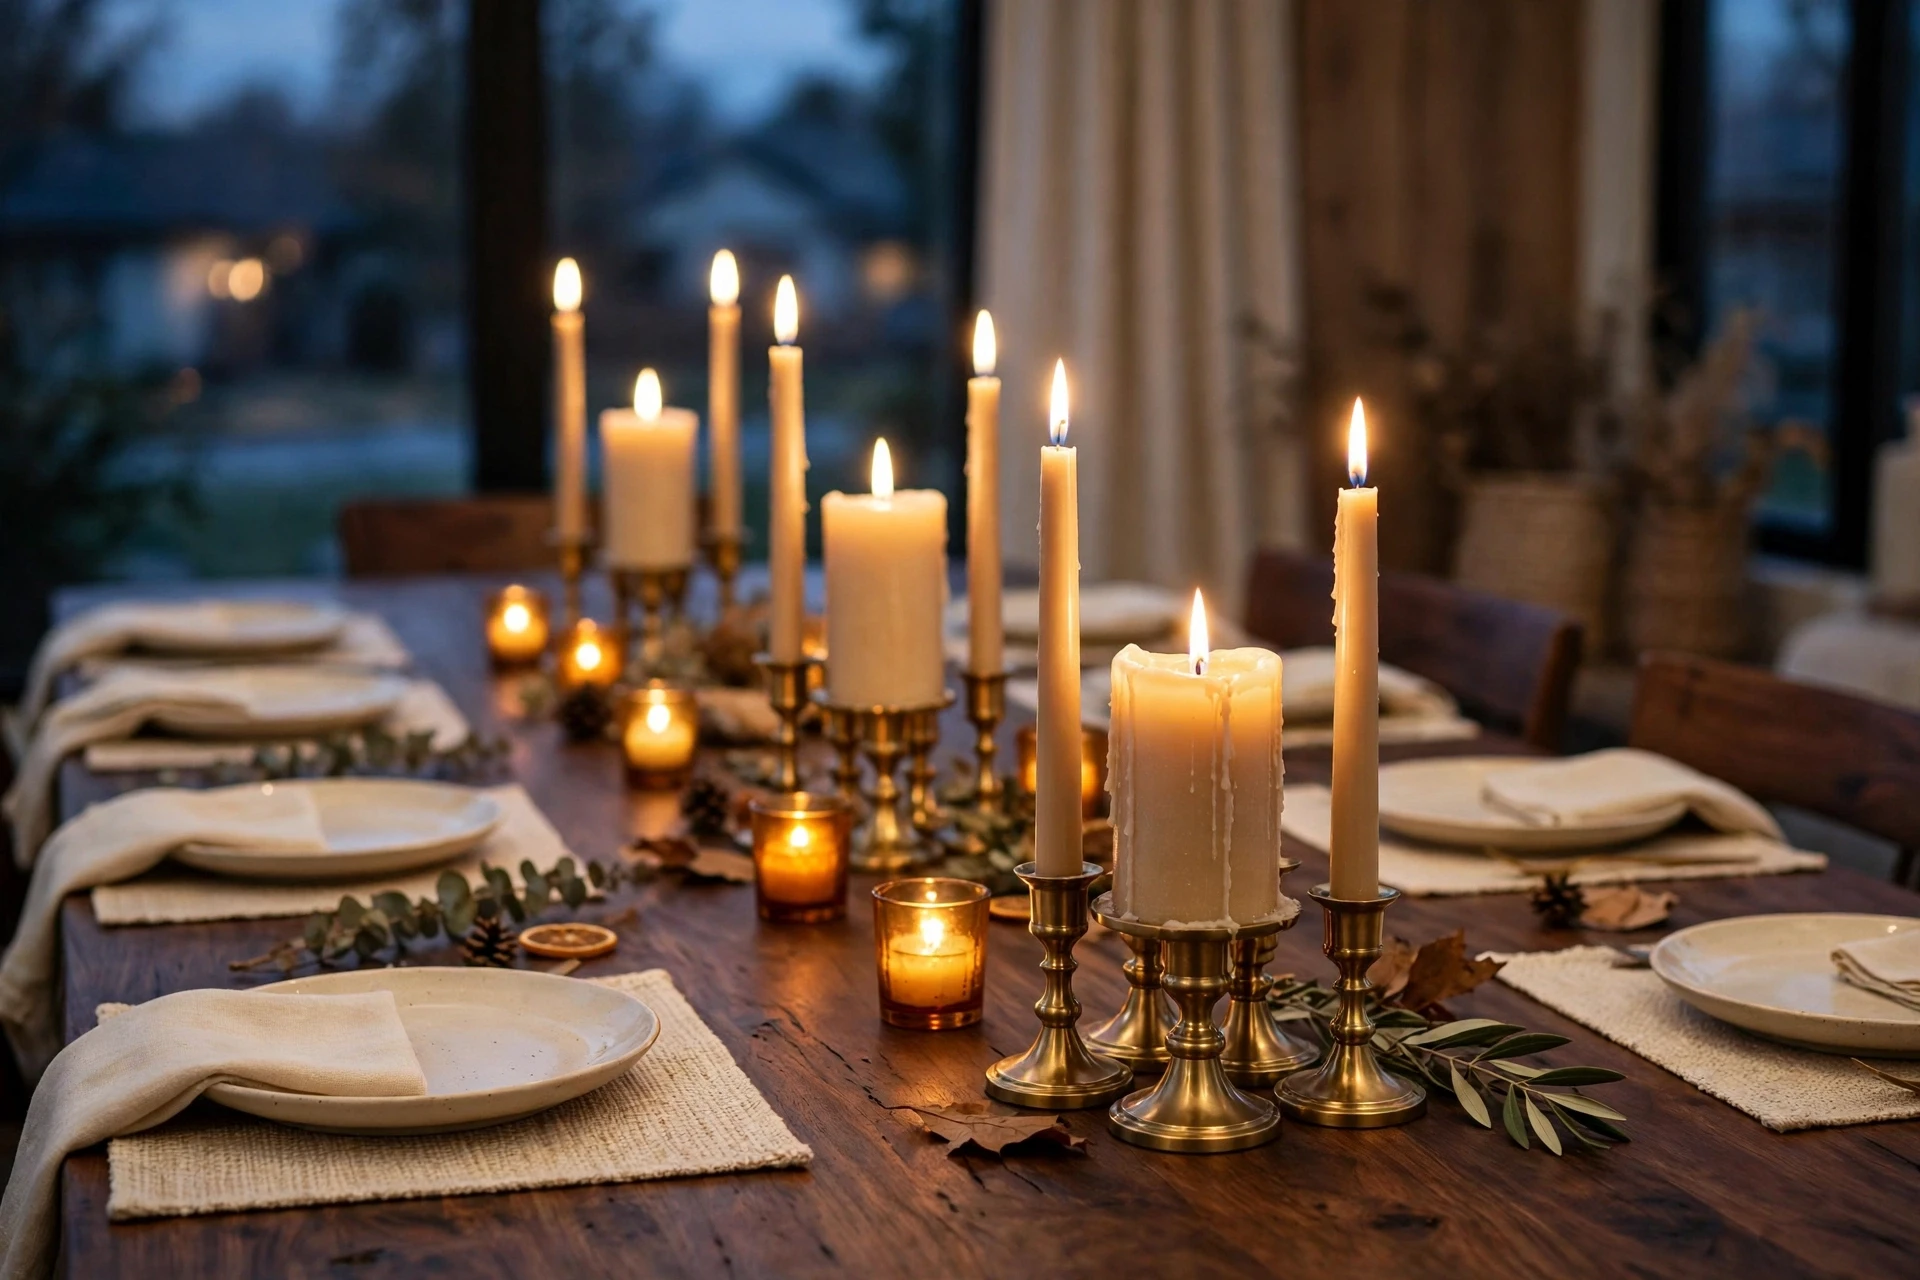
Skip the flowers and the fruit entirely. Build the centerpiece from candles alone: pillar candles in three heights, taper candles in brass holders, and tea lights in amber glass, grouped in three clusters down the middle of the table. No greenery, no pumpkins, nothing that sheds or wilts. A candle only scene is the calmest build in this guide, and it is the one that photographs best at dusk, when the flames are the whole picture. It also costs less than a flower arrangement and it never blocks a face, because the candles are slim.
Best for: Evening meals, modern tables, and anyone who is tired of sweeping up dried leaves.
Cost: 15 to 35 dollars for candles and holders. Time: About 15 minutes to place the clusters.
Use unscented candles only, so they do not fight the food, and put every candle on a holder or a tray. Group the clusters tight, with a small gap between them for the serving dishes, and light them half an hour before guests sit down. If you have kids at the table, use flameless pillars in the middle cluster and real tapers at the ends, where little hands cannot reach them.
You may also like: 22 DIY Candles That Make Fall Feel Warm and Truly Special
8. Go Tall and Thin, Above Eye Level, With a Slim Stand
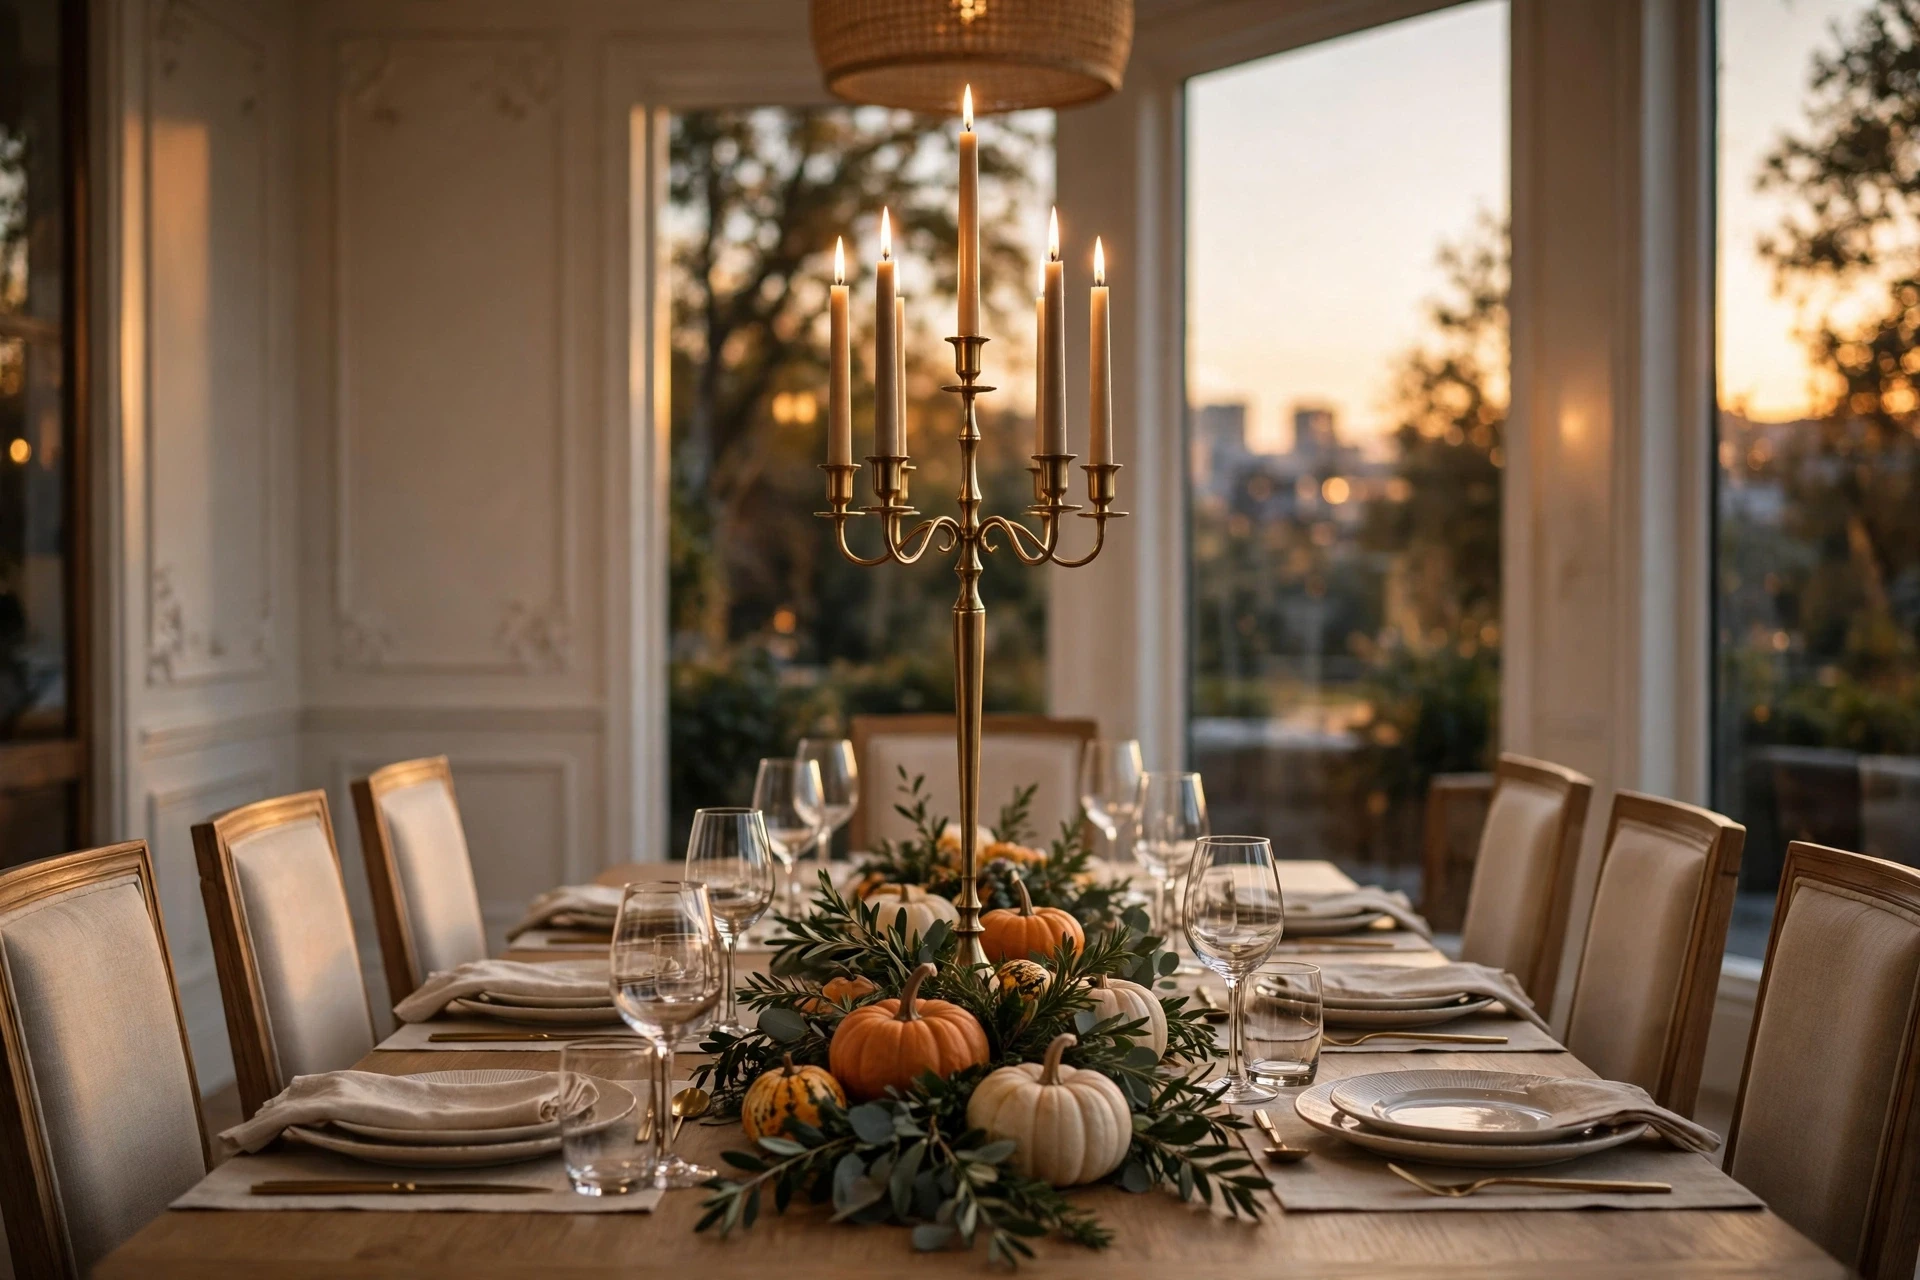
If you love height, do not build a wide tall arrangement. Build a tall thin one. A single slim branch in a tall vase, a candelabra on a narrow stem, a tiered stand with fruit on top, all sitting above 24 inches, so guests look under it instead of through it. Anything between 12 and 24 inches sits right at seated eye level and blocks faces. Above 24 inches, on a slim stem, the sightlines pass underneath. That is the rule, and it is the only way height works at a dinner table. One tall thin piece, at one end of the table or in the middle, and everything else stays low.
Best for: Formal tables, tall rooms, and anyone who has been told tall centerpieces never work.
Cost: 20 to 40 dollars for a tall vase or a candelabra. Time: About 15 minutes to build.
Keep the base narrow and heavy, so it cannot tip, and keep the top light, a few branches, a few stems, nothing wide. Sit in every chair after you place it and check the view. If you have to lean to see the person across, the piece is too wide, not too tall. Move it to the sideboard and try a slimmer one.
You may also like: 23 Friendsgiving Party Ideas That Make Hosting Feel Easy
9. Build a Tray Centerpiece You Can Lift Off When the Turkey Lands
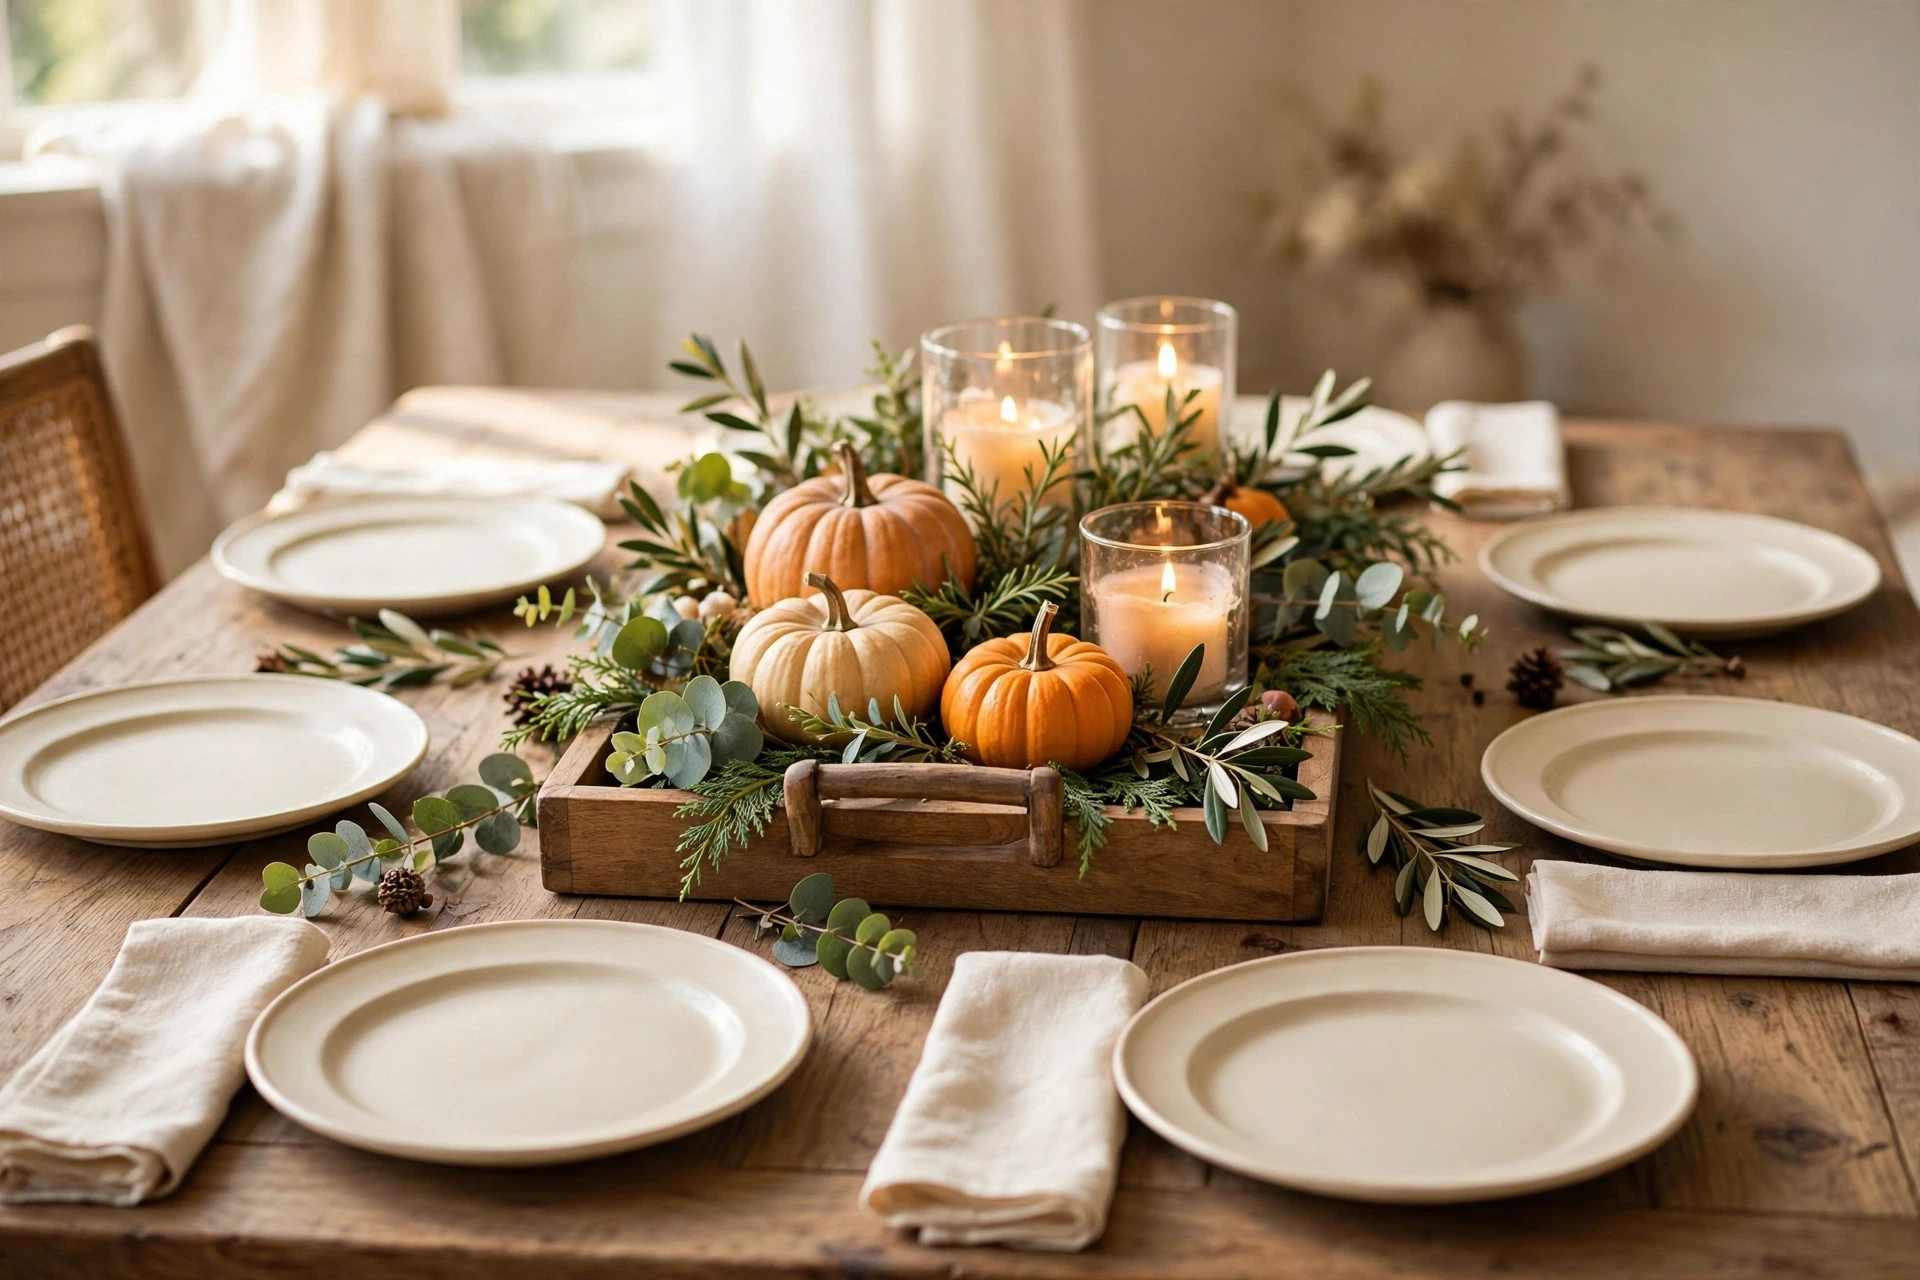
Build the whole centerpiece on a tray, a wooden board, or a large platter. Pumpkins, candles, greenery, all of it on the tray. When the turkey arrives, you lift the tray off the table in one move and set it on the sideboard, and suddenly there is a whole clear space for the food. No one piece to move, no rearranging, no panic. This is the most practical build in this guide, and it is the one I use when the table is small and the menu is big. The tray also protects the tablecloth from wax and water, which is a bonus.
Best for: Small tables, big menus, and anyone who has ever cleared a centerpiece in a hurry while holding a hot dish.
Cost: Free if you own a tray, 15 to 30 dollars for a wooden board. Time: About 20 minutes to build on the tray.
Choose a tray with handles or a low rim, so it lifts easily and nothing slides off. Keep the arrangement low and balanced, with the heaviest pieces in the middle, so it does not tip when you carry it. And clear a spot on the sideboard before dinner, so the tray has somewhere to land.
You may also like: 22 Holiday Cleaning Checklist Ideas for a Calm, Ready Home
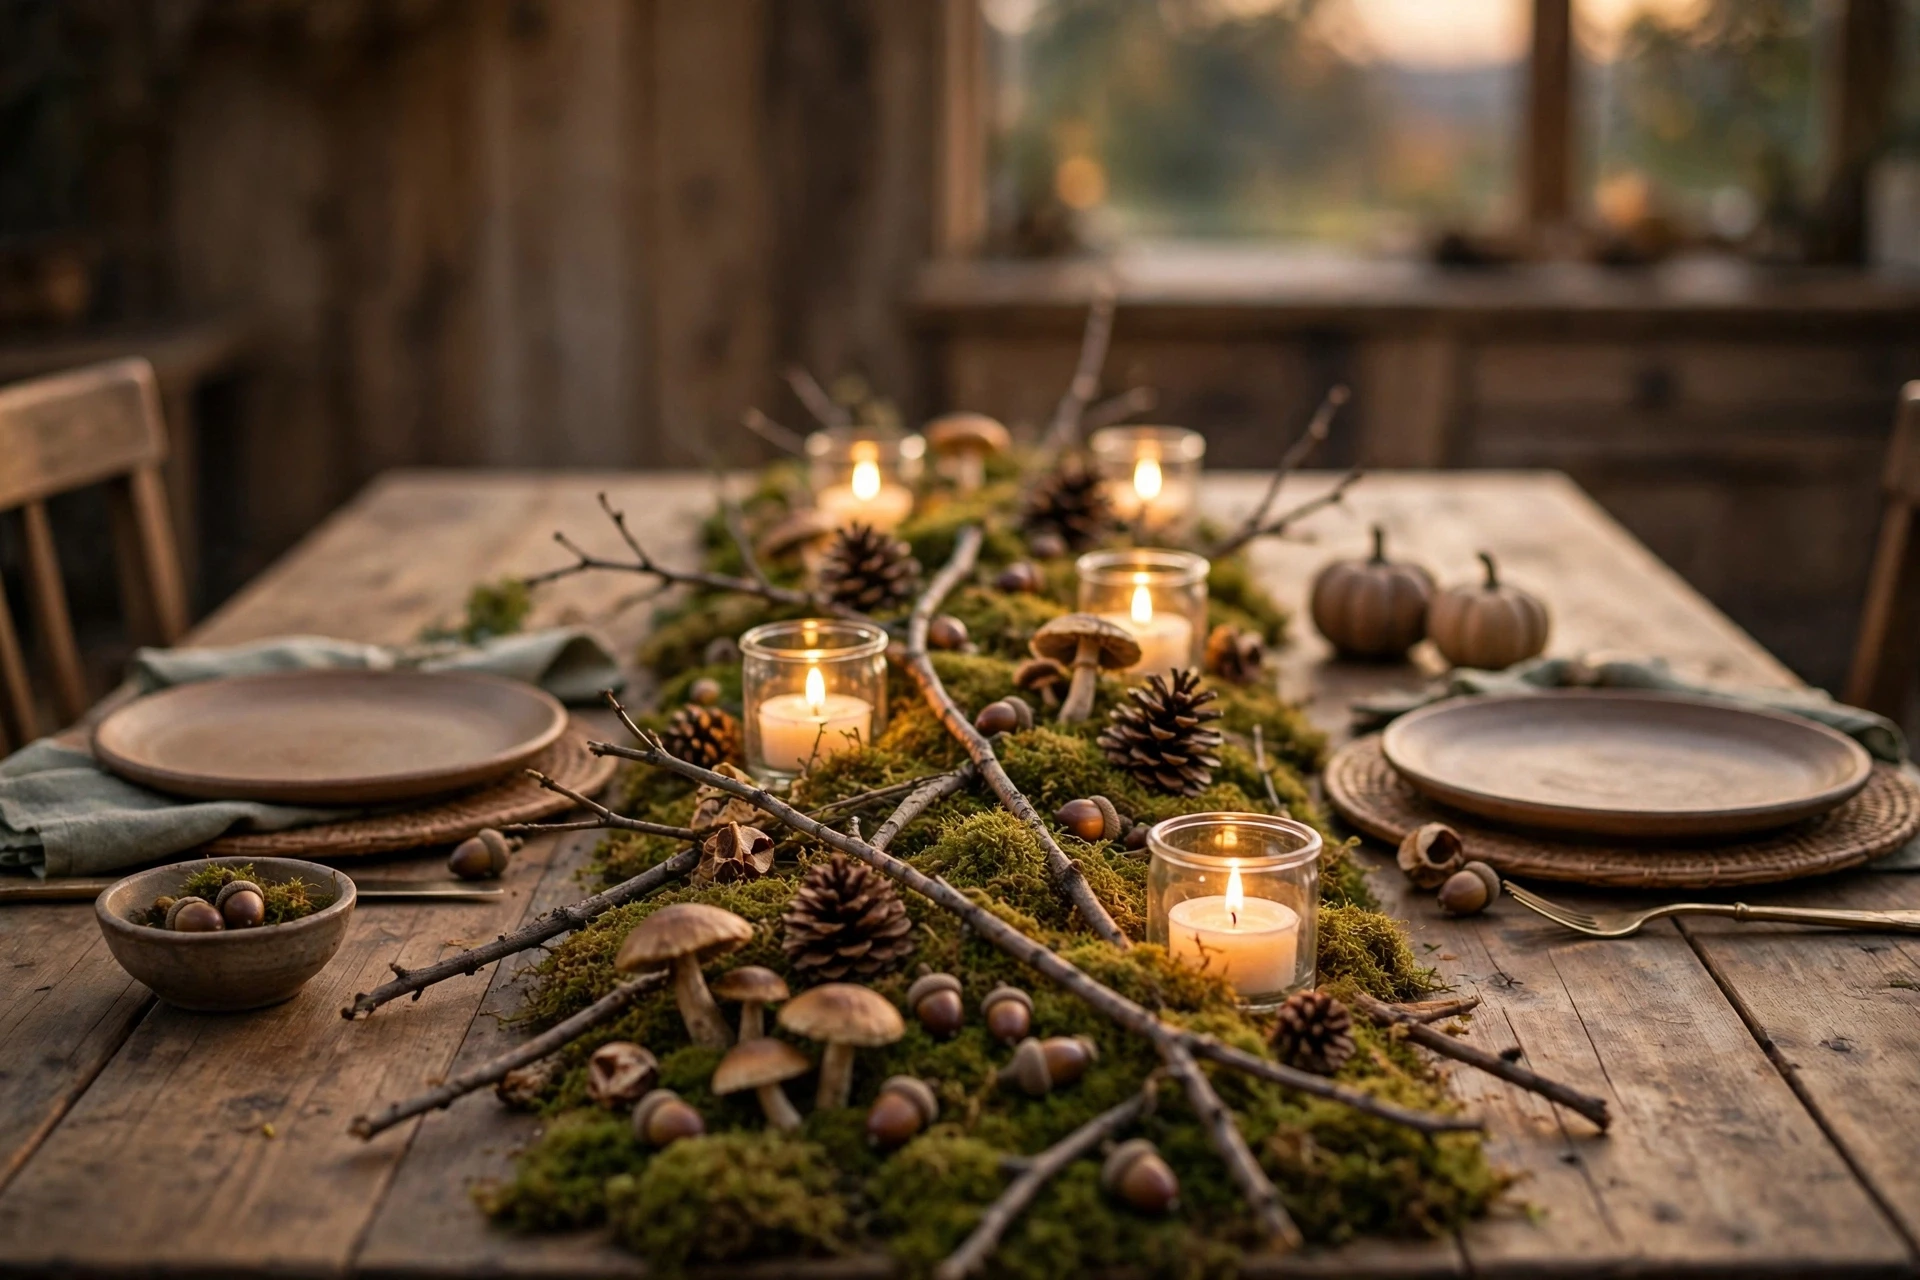
10. Build a Woodland Scene With Moss, Mushrooms and Pinecones
A woodland scene is the wildest build in this guide, and it is the one that feels most like November outside. Lay a bed of moss down the middle of the table, on a runner or a tray, then add pinecones, small mushrooms, acorns, and a few bare branches laid flat. Tuck tea lights in glass jars between the pinecones. No pumpkins, no flowers, just forest floor. It smells like a walk in the woods, it costs almost nothing if you gather it, and it is the scene guests ask about most, because it does not look like every other Thanksgiving table.
Best for: Rustic homes, nature lovers, and anyone who wants a scene nobody else on the street has.
Cost: Free to 15 dollars if you gather the moss and pinecones. Time: About 30 minutes to gather and arrange.
Gather the moss and pinecones a day early and shake them out outside, so you do not bring bugs to the table. Keep the moss on a tray or a runner, never straight on the wood, and keep the tea lights in jars, far from the dried moss. If you use real mushrooms, keep them decorative only, and do not let anyone eat them.
You may also like: 22 Driftwood Decor Ideas That Make Your Home Feel So Calm
Place Setting Formulas
A place setting formula is a repeat you can copy at every seat without thinking. One formula, used the same way ten times, is what makes a table look like a scene instead of a set of random plates. Pick one formula from this group and use it at every seat. Mixing two formulas at one table is the fastest way to make the scene look unsettled.
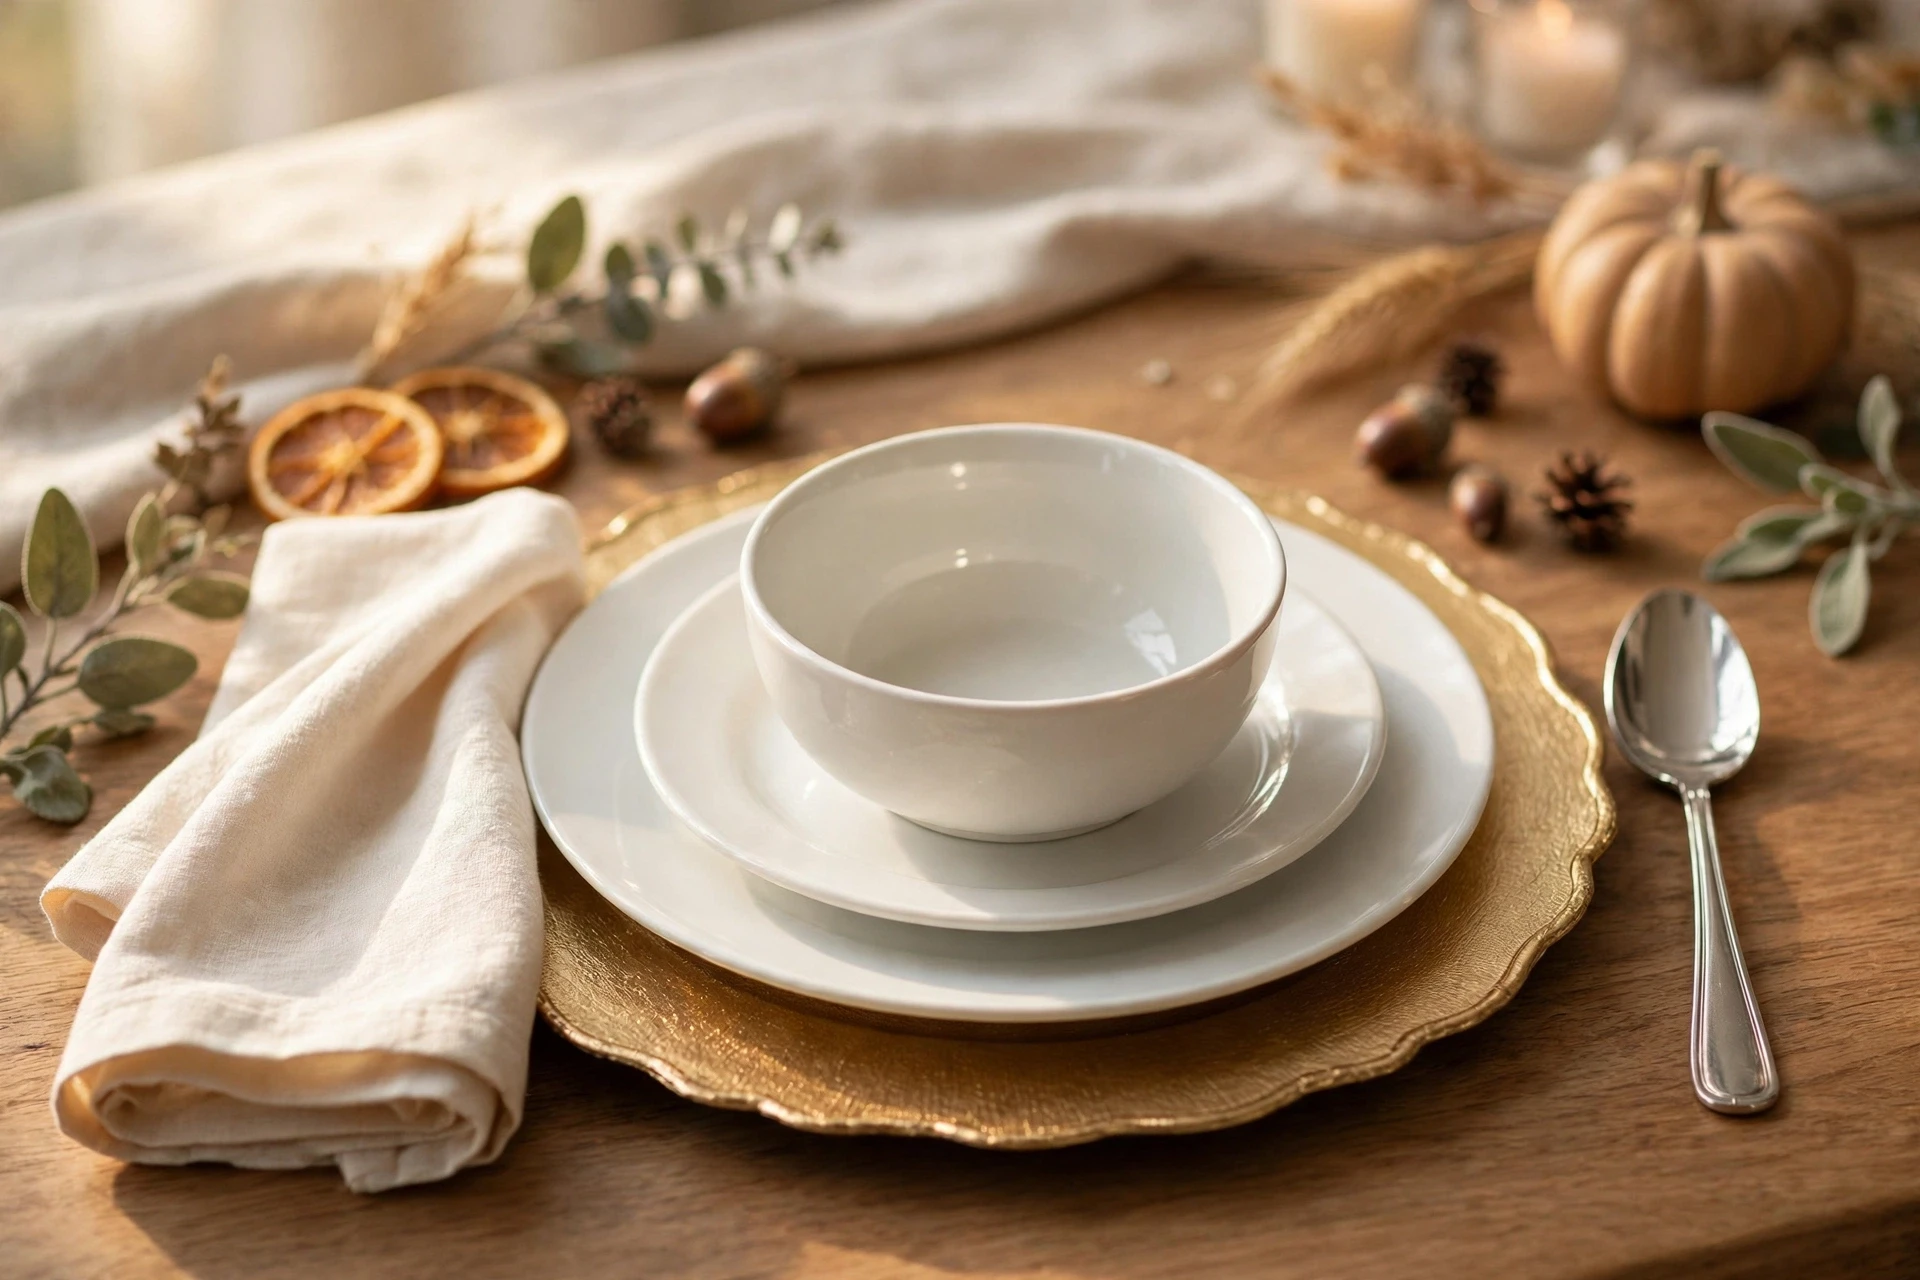
11. The Soup First Formula: Bowl on the Plate, Spoon Ready
If soup is your first course, build the place setting around it. Charger down first, then the dinner plate, then a soup bowl on top, with the soup spoon to the right of the knife. The napkin goes to the left of the forks, and the bread plate sits above the forks. That stack is the formula, and it tells guests the meal has courses before anyone says a word. It also looks generous, because a bowl on a plate reads as a real dinner, not a plate on a bare table. When the soup is done, the bowl comes away and the dinner plate is already there, clean and waiting.
Best for: Formal dinners, cold Novembers, and anyone serving soup as a first course.
Cost: Free if you own bowls, 20 to 40 dollars for a set of soup bowls. Time: About 15 minutes to set a full table.
Keep the bowl small, so the stack does not tower, and put the soup spoon on the outside right, because it is used first. If you do not own matching bowls, use plain white ones. A plain bowl on a pretty plate looks intentional. A patterned bowl on a patterned plate looks busy.
You may also like: 22 Easy Crockpot Soups That Make Cold Nights Feel So Warm
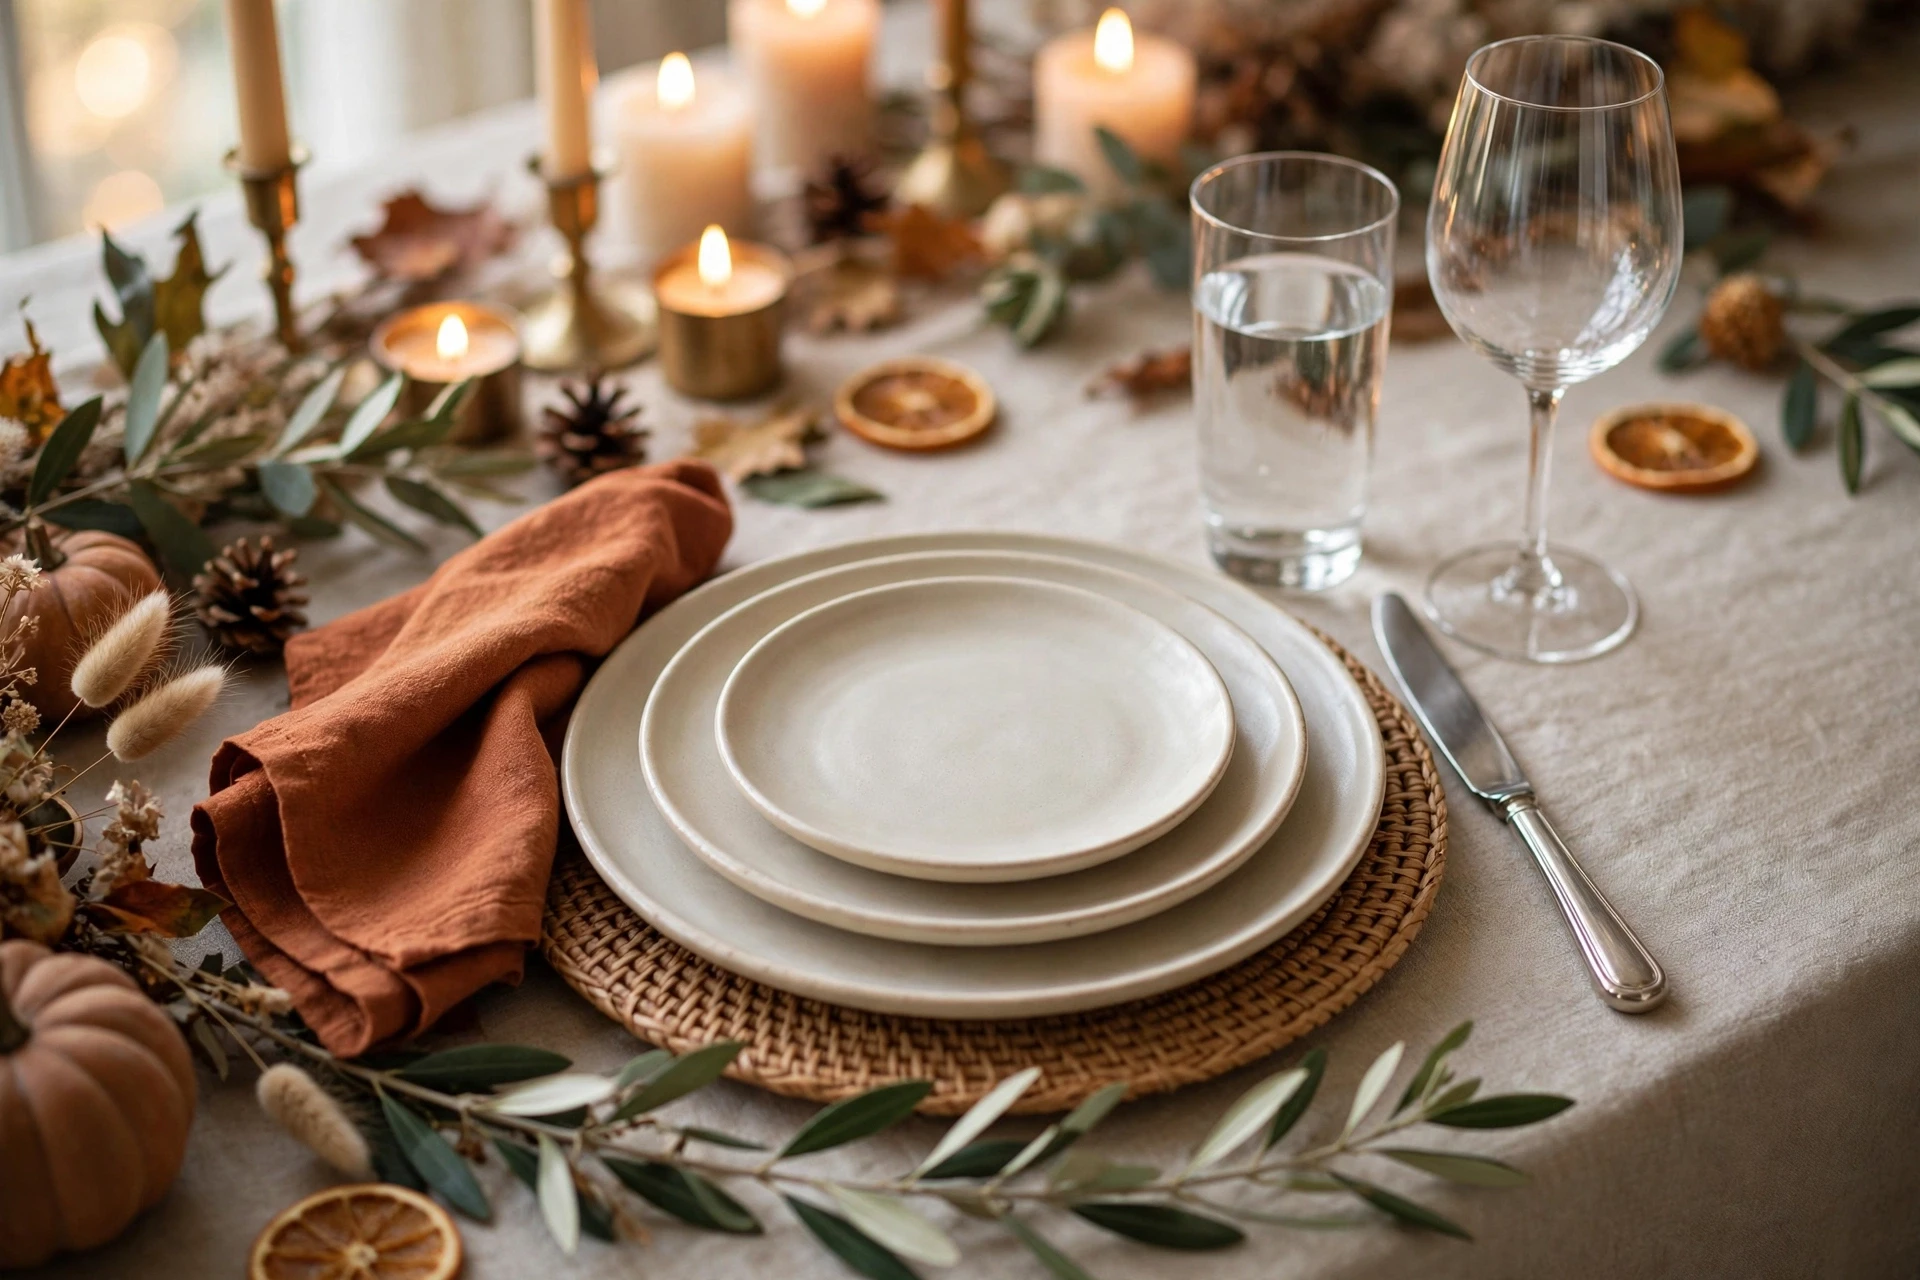
12. The Two Glass Formula for a Formal Feeling Scene
Two glasses at every seat change the whole register of a table. A water glass above the knife, and a wine glass to its right, both the same height or close to it. That is the formula. Two glasses say this is a long meal with courses, even if the plates are plain and the food is simple. One glass says weekday dinner. Two glasses say holiday. The trick is to keep both glasses the same style family, so they read as a pair, and to keep them clear, so the candlelight passes through them. Coloured glass is lovely, but two coloured glasses at every seat can crowd a small table.
Best for: Formal tables, evening meals, and anyone who wants the table to feel dressed without buying china.
Cost: Free if you own the glasses, 15 to 30 dollars for a set. Time: About 10 minutes to place them all.
Put the water glass above the knife and the wine glass to its right, and leave a finger of space between them so they do not clink when someone reaches for the bread. If you are serving only one drink, use the second glass for water anyway. An empty second glass looks like a mistake. A full water glass looks like a plan.
You may also like: 21 Cozy Christmas Living Room Decor Ideas That Make Your Home Feel Magical
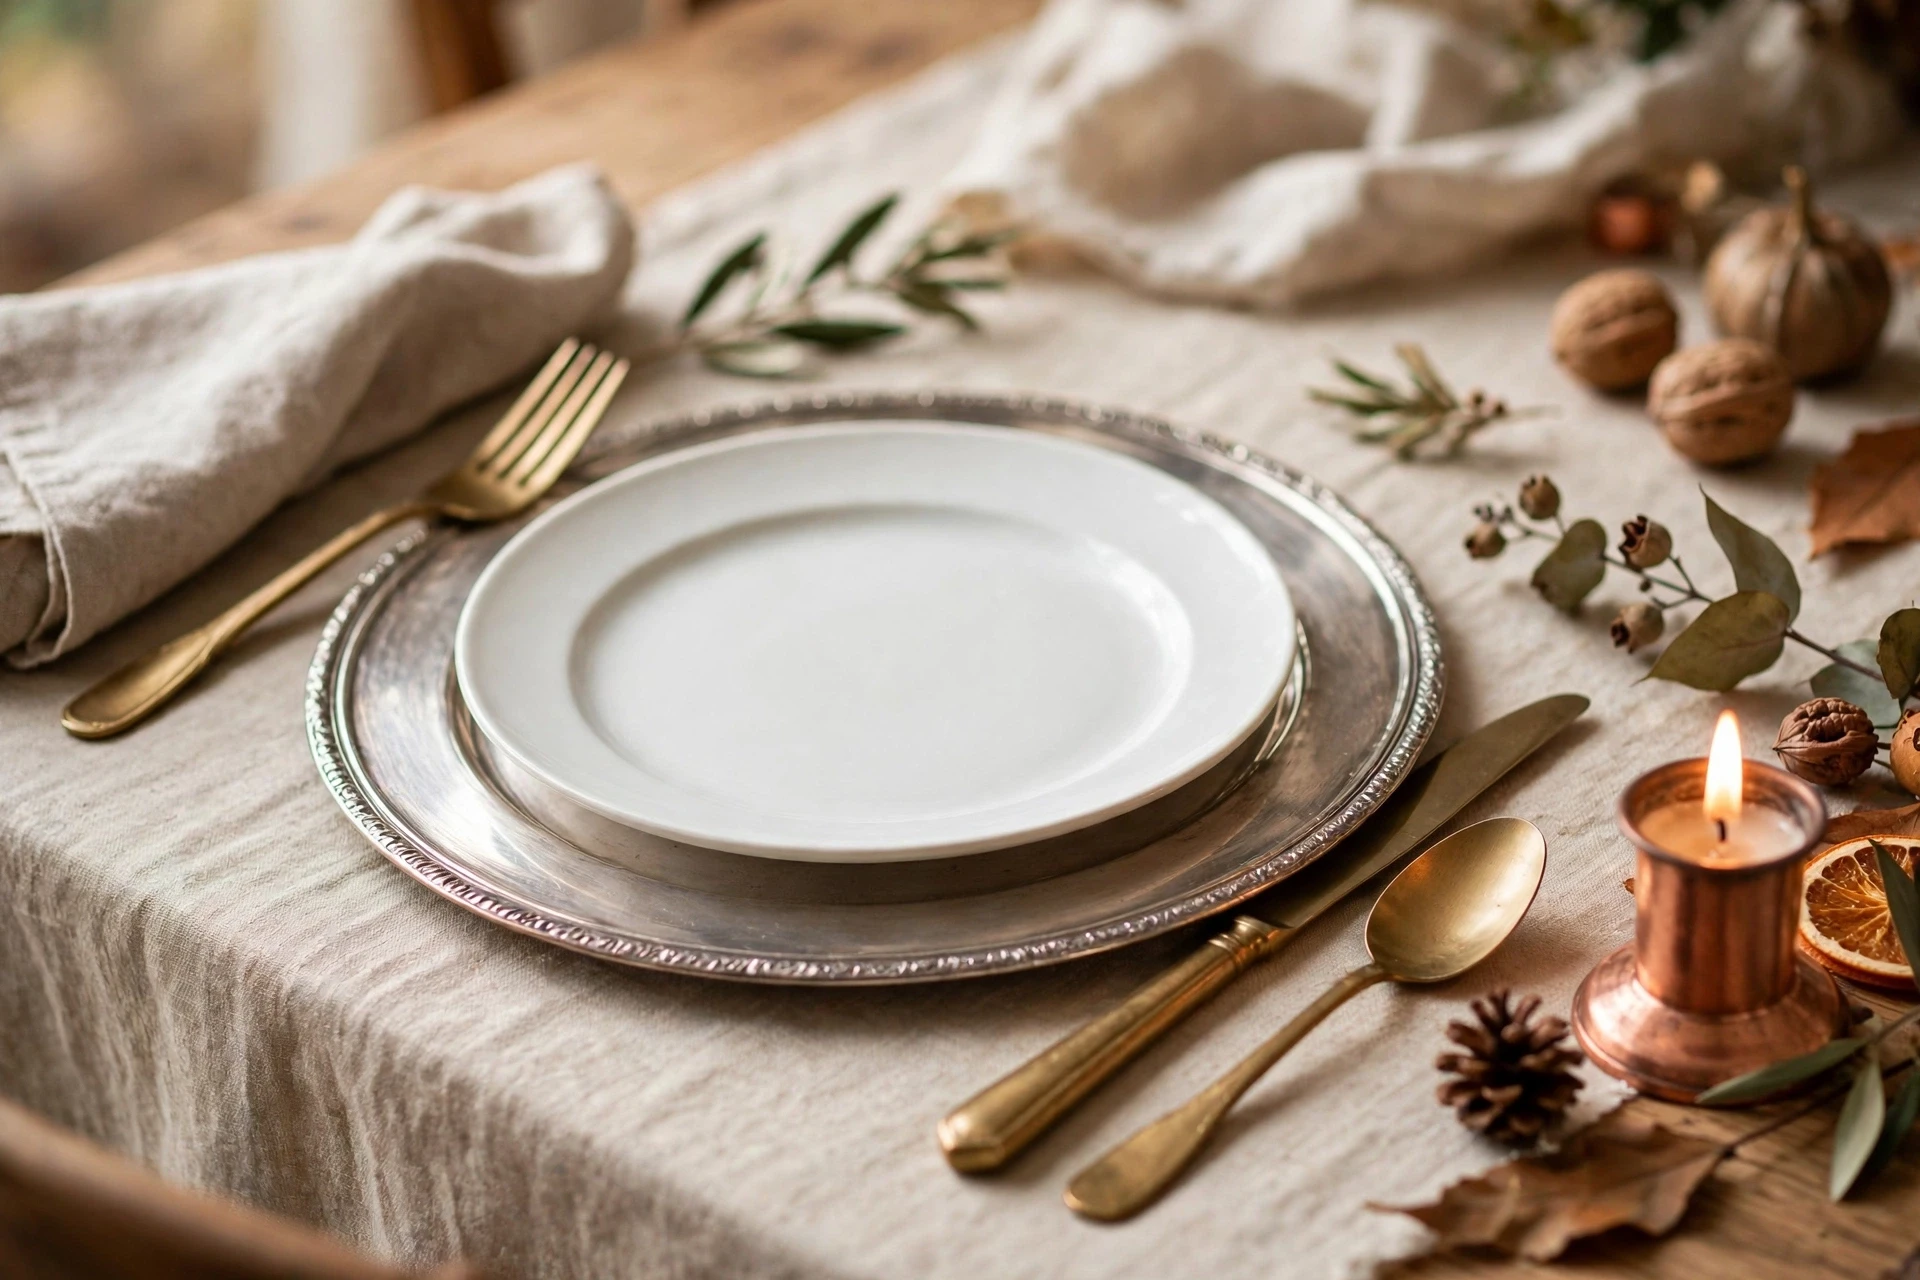
13. Mix Two Metals at Every Seat, But Keep One Metal Quiet
Pick two metals and use both at every seat, in the same way, every time. Brass flatware with a silver charger. Gold flatware with a pewter napkin ring. Copper mugs with steel cutlery. The rule is that one metal leads and the other whispers. The leading metal shows up in the big pieces, the flatware or the charger. The quiet metal shows up in one small piece, a napkin ring or a candle holder. Two metals, one loud and one quiet, look collected. Two metals at equal volume look like a mistake, and three metals look like a drawer that was emptied onto the table.
Best for: Tables that feel flat, and anyone who owns mixed flatware and wants to use it on purpose.
Cost: Free if you own the pieces, 20 to 40 dollars for a set of flatware. Time: About 15 minutes to set a full table.
Count your pieces before the day, including the spares, so every seat gets the same two metals. If you run short of one metal, use it at every other seat and make the pattern regular, not random. A regular alternation looks like a design. A random shortfall looks like an accident.
You may also like: 22 November Nail Colors That Feel Warm, Chic and Beautiful
14. Let the Napkin Carry the Colour, Plain Plates Everywhere Else
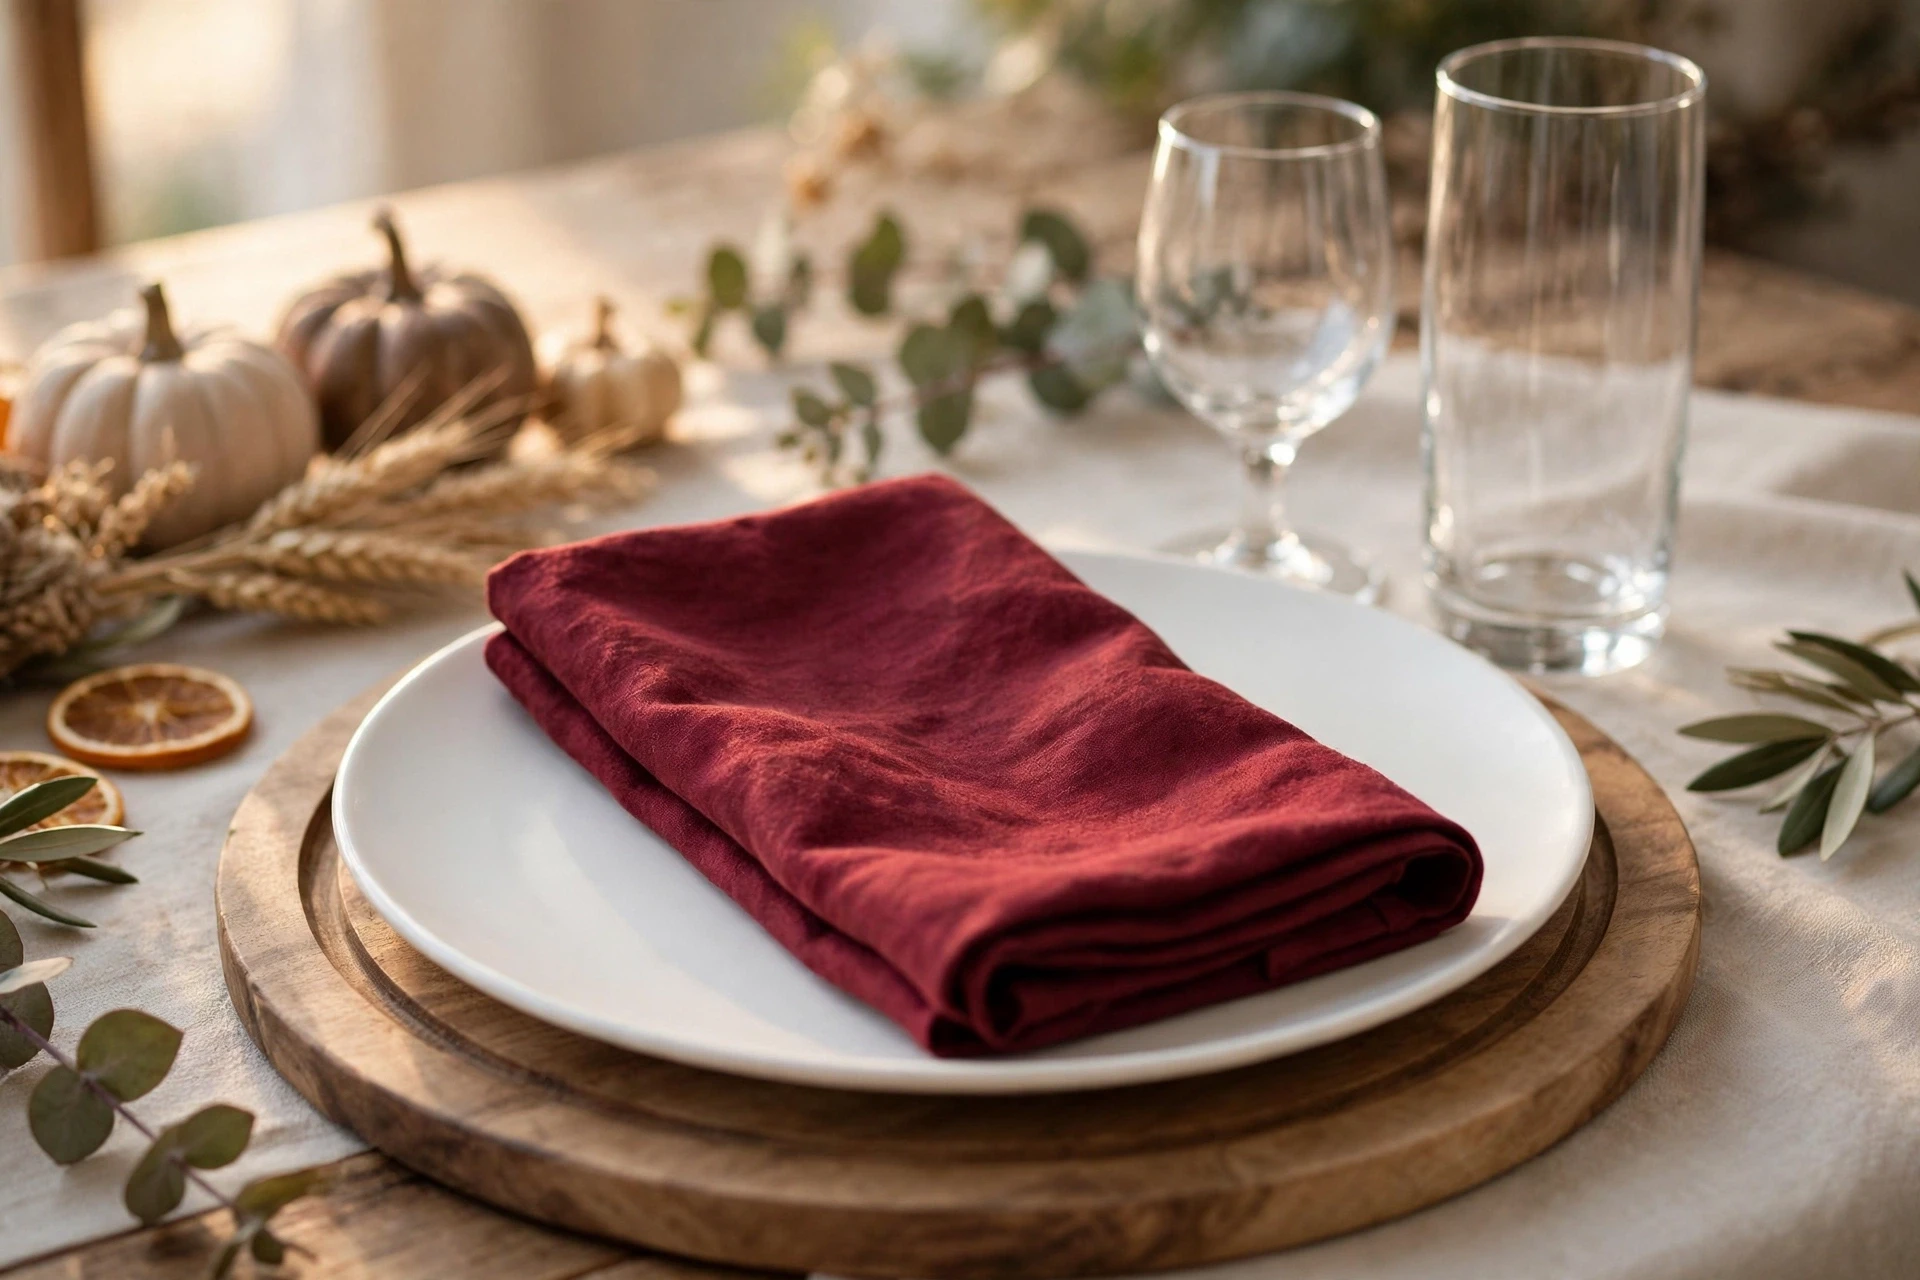
Here is the cheapest formula in this guide. Keep the plates plain white, the chargers plain wood, and the glasses clear, then let one bold napkin carry the whole colour story. Burgundy napkins on a cream table. Forest green napkins on a wood table. Rust napkins on a pale table. The napkin is the colour, and because it sits on every plate, the colour repeats at every seat without any other piece having to match. Fold it simply, a rectangle or a loose roll, and let it be the brightest thing on the table. If the napkins are the colour, nothing else needs to be.
Best for: Tight budgets, small tables, and anyone whose plates are plain and who wants them to look like a choice.
Cost: 10 to 25 dollars for a set of cloth napkins. Time: About 10 minutes to fold them all.
Buy napkins in one colour, not a set of four different autumn shades. One colour, repeated, is the formula. A set of mixed colours is a different idea, and it needs a calmer table underneath it. Iron the napkins the day before and fold them the same way at every seat, so the repeat is exact.
You may also like: 22 Cozy Christmas Apartment Decor Ideas for Small Spaces
15. Put the Seating Chart by the Door, Not a Card at Each Seat
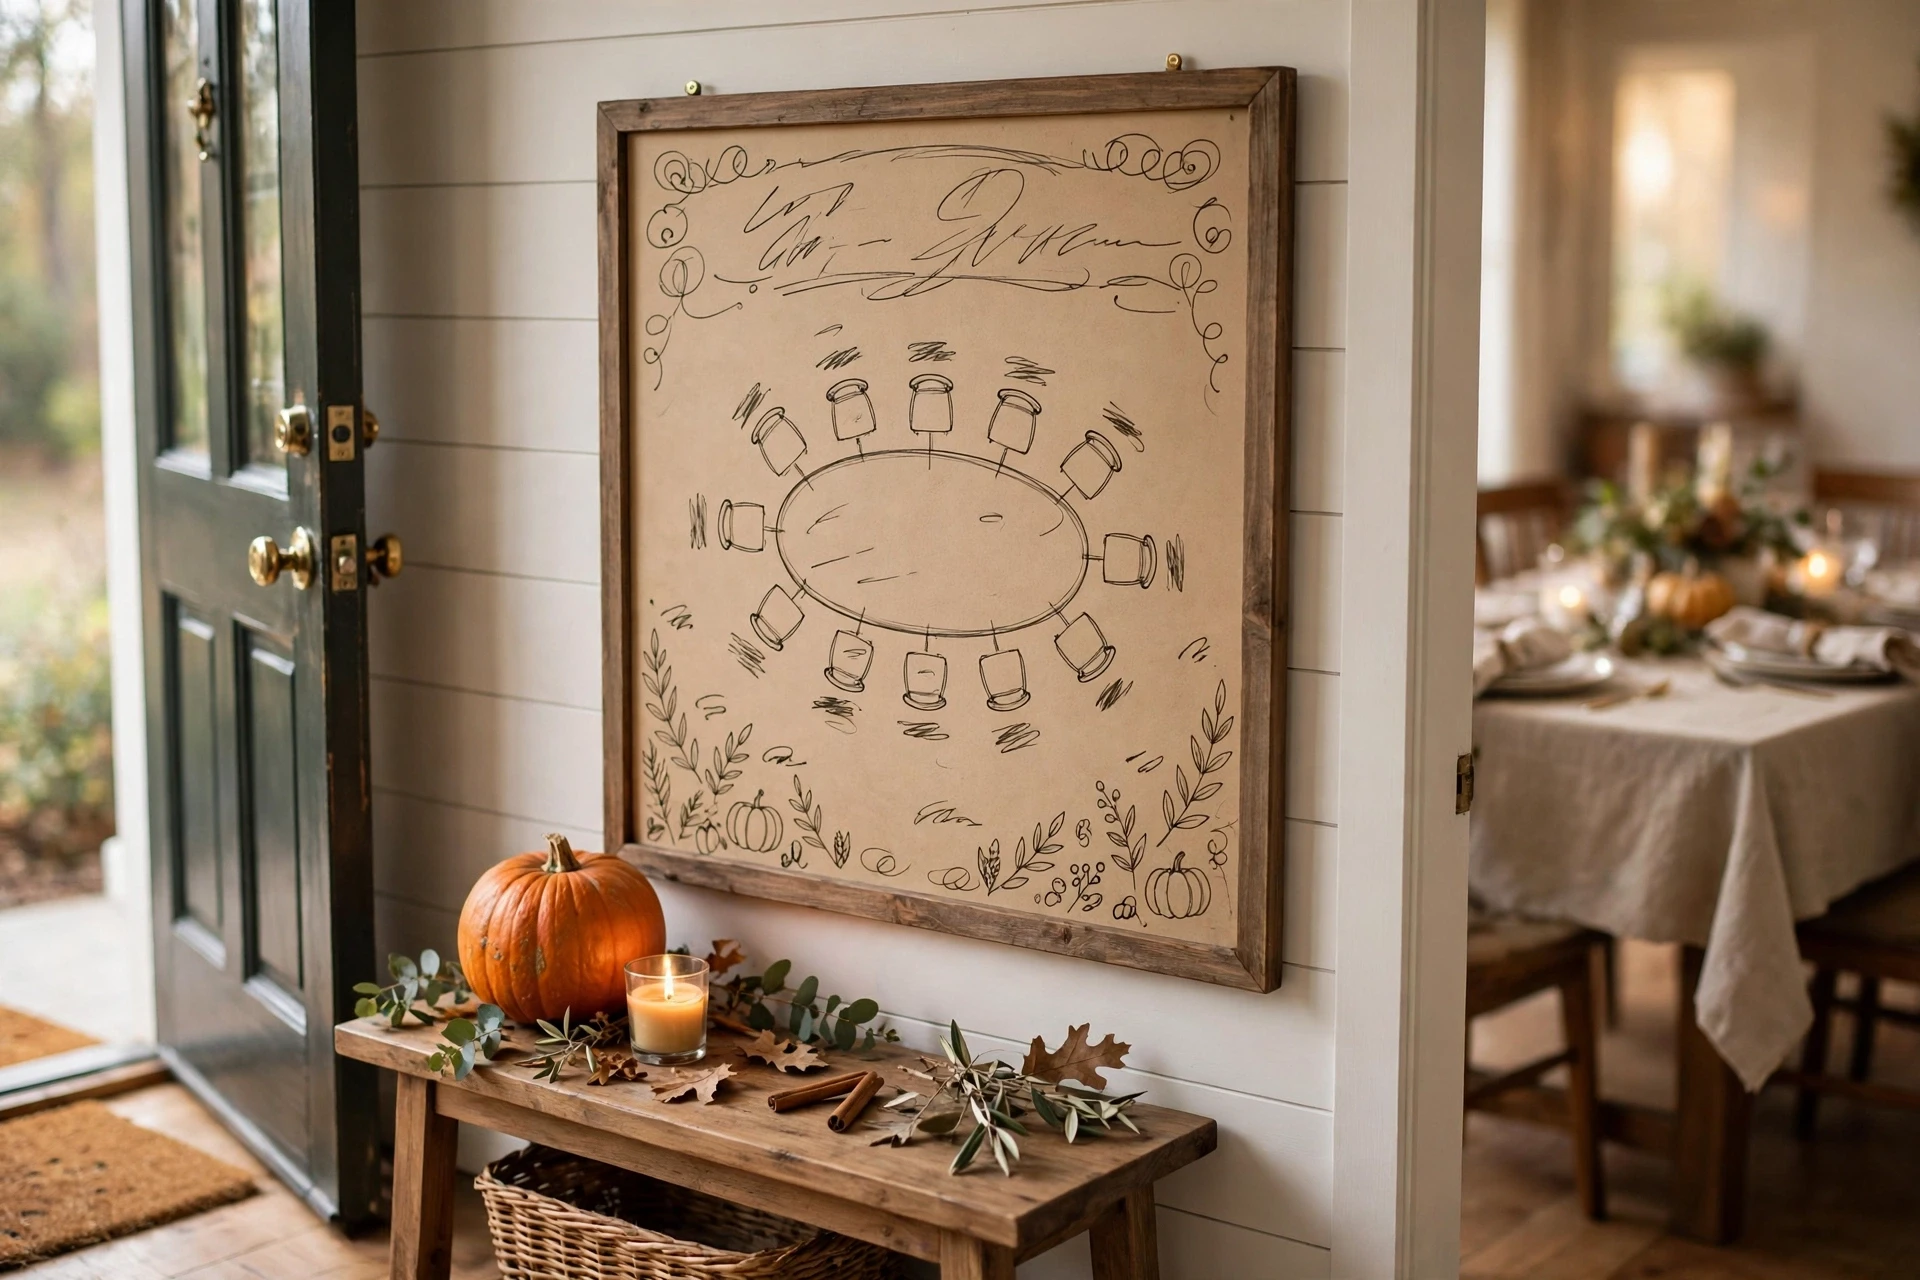
Move the seating plan off the table entirely. Put a simple chart by the door, on a framed board or a sheet of kraft paper, with the table drawn on it and each name written in its seat. Guests check the chart as they come in, find their seat, and sit down. The table stays clean, with no cards to blow over or get stained, and the chart becomes a talking point in the hallway. This works best for big tables, where name cards get lost among the dishes, and for hosts who like the table to look calm when the door opens.
Best for: Big groups, formal dinners, and anyone who hates fiddly name cards.
Cost: Free to 10 dollars for a board or kraft paper. Time: About 15 minutes to draw the chart.
Draw the table shape on the chart, not just a list of names, so people can find their seat at a glance. Write the names big enough to read from three feet away, and put the chart at eye level by the door, not on a side table where it gets covered by coats. If two guests share a first name, use first and last names on the chart.
You may also like: 7 Entryway Ideas That Make Your Home Feel Put Together Instantly
Light, Colour and Texture
Light, colour and texture are the three things that make a scene feel warm instead of just looking neat. They are also the three things most people leave to chance. This group is about choosing them on purpose, in threes, so the table glows instead of glaring.
16. The Grounded Greens Scene: Forest, Olive and Sage With Brass
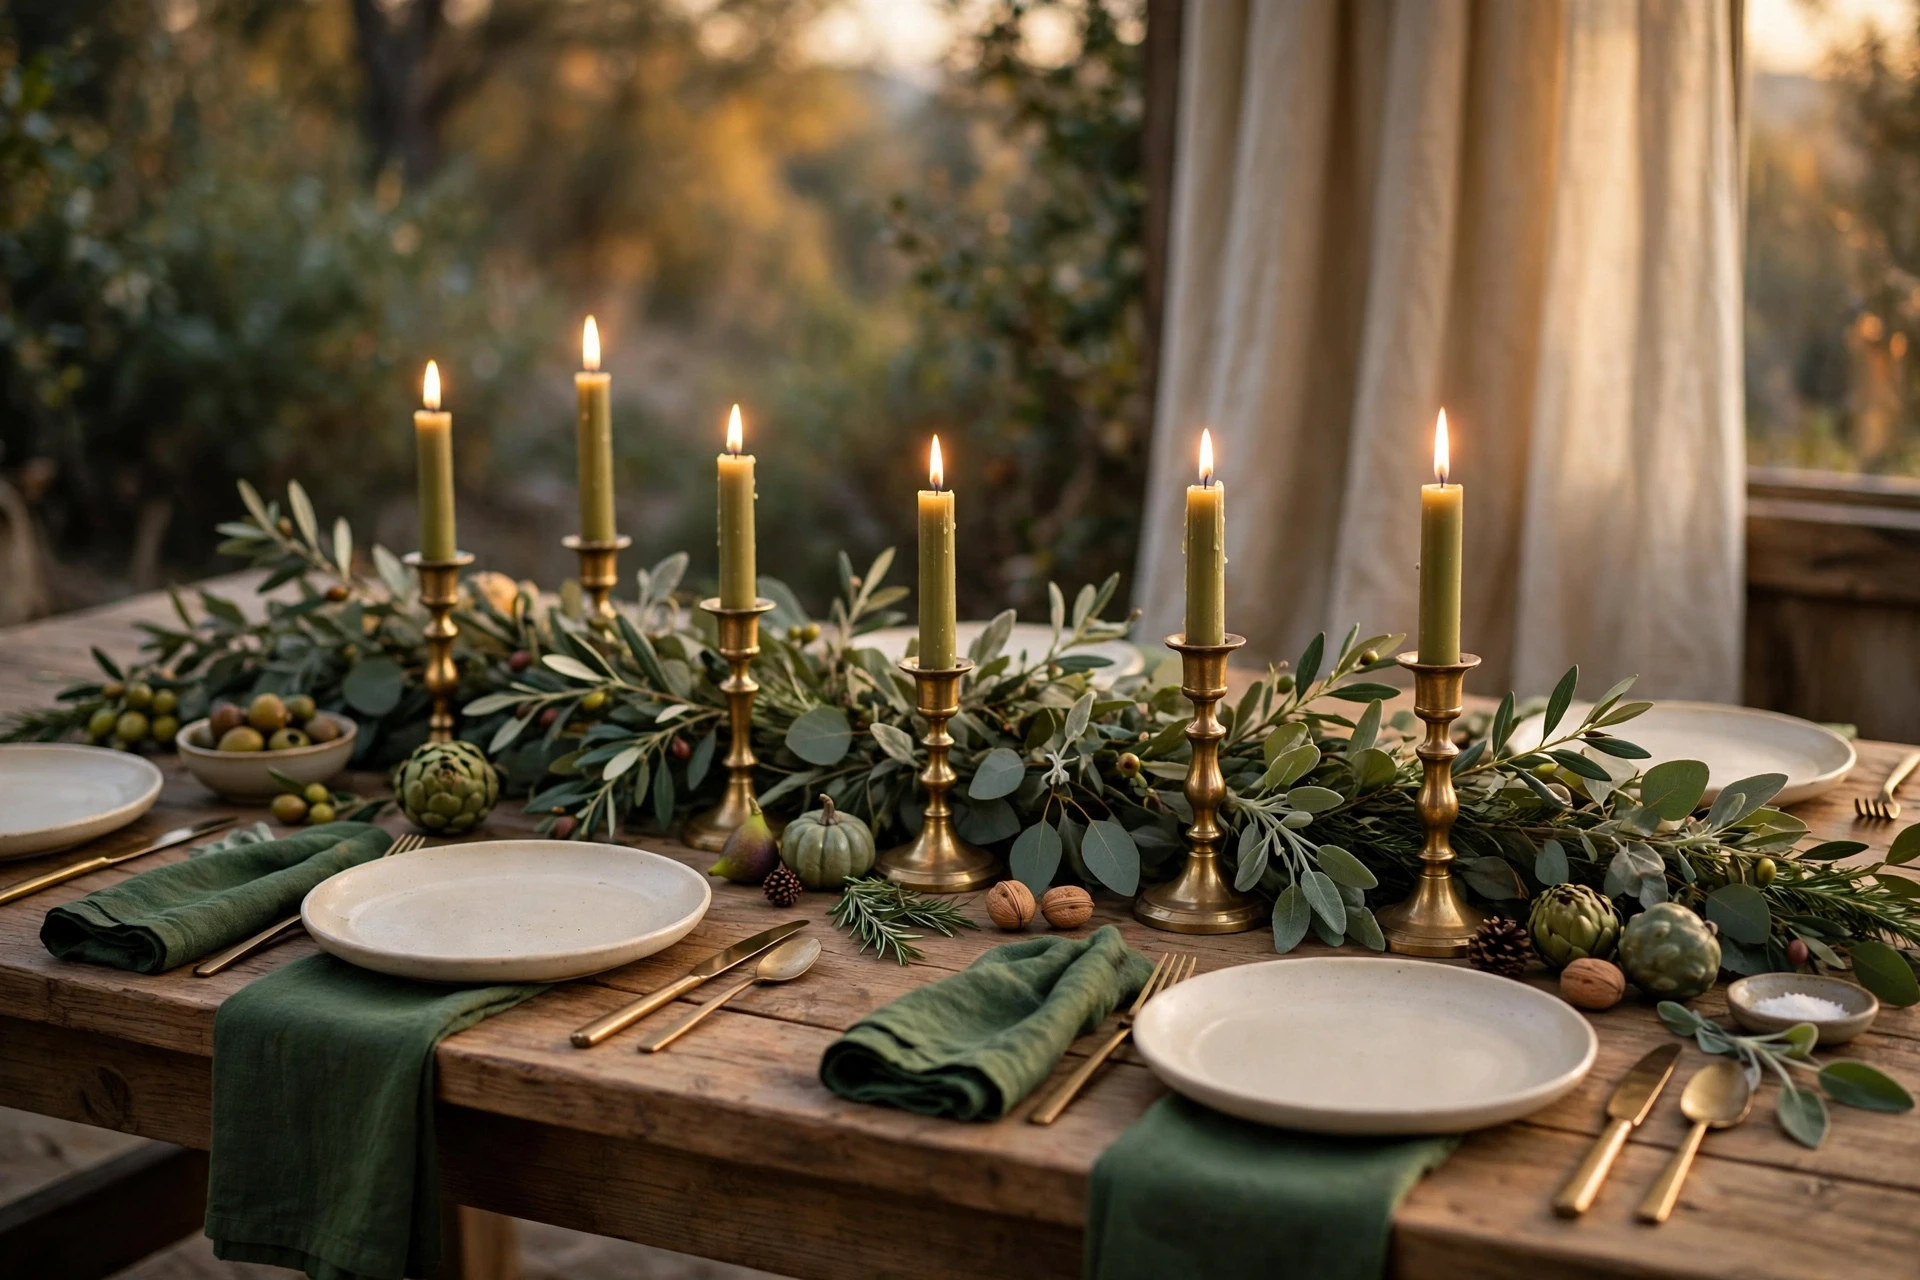
The grounded greens scene is the calmest colour story in this guide, and it is the one that feels most current. Forest green napkins, olive candles, sage greenery down the middle, brass candlesticks and flatware, cream plates. No orange, no rust, no pumpkins as the star. The green does the autumn work, and the brass does the warmth. It suits rooms with a lot of wood and rooms with white walls, and it photographs beautifully, because the green reads as deep and rich in candlelight. If your room runs cool, this is the scene to pick.
Best for: Modern homes, cool rooms, and anyone who is tired of orange.
Cost: 20 to 40 dollars for green napkins and candles. Time: About 30 minutes to set the whole scene.
Repeat the green in three places at least: napkins, greenery, and candles. If the green shows up only once, the table reads as cream with a green accident. And keep the brass to one tone, not mixed gold and copper, so the metal stays quiet and the green stays the star.
You may also like: 22 Fireplace Mantel Ideas for Fall and Christmas That Work
17. The Burgundy and Gold Jewel Scene
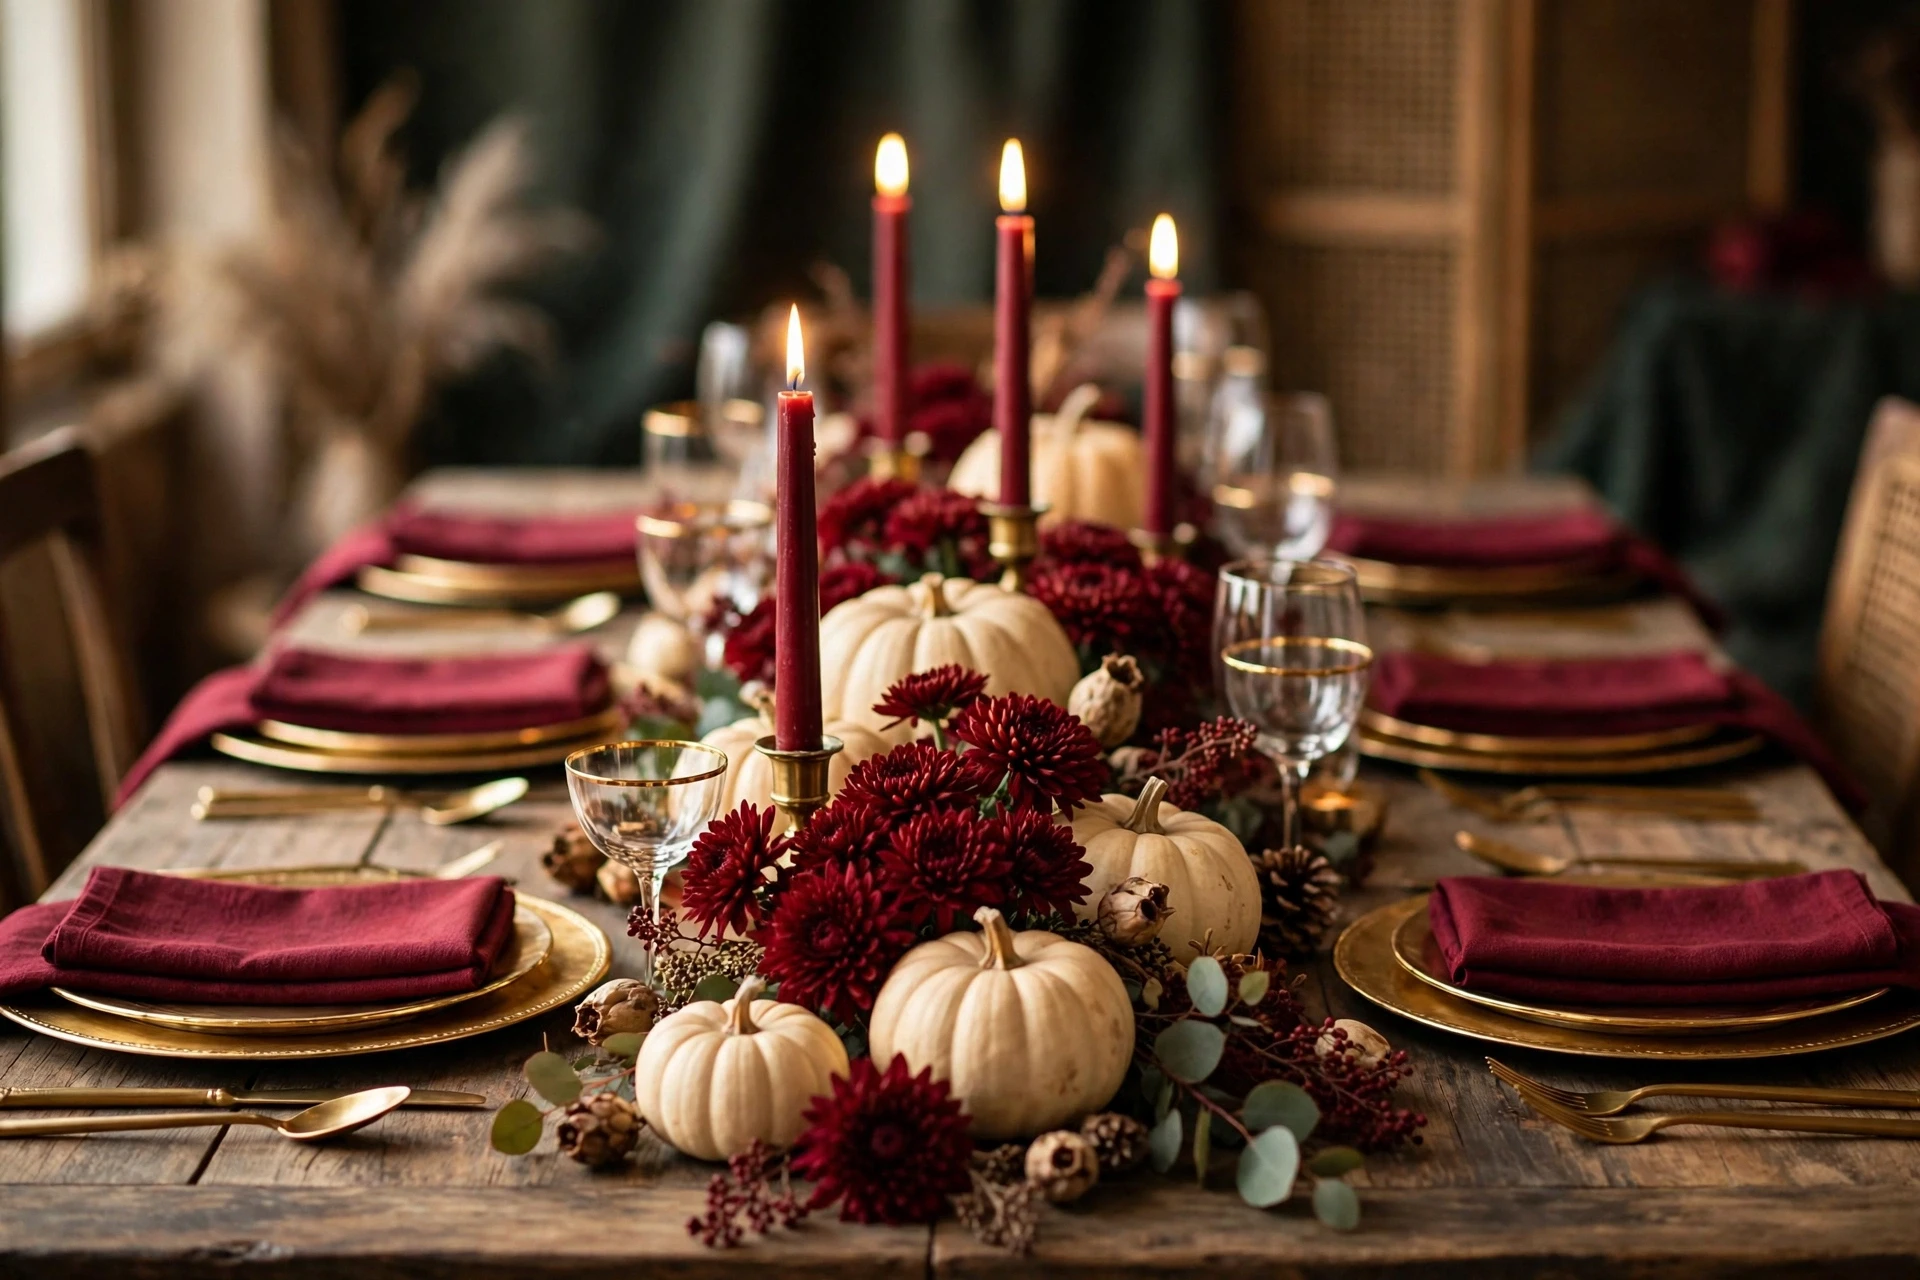
If grounded greens is calm, burgundy and gold is a feast. Burgundy napkins, deep red candles, gold chargers, brass flatware, and a centerpiece of dark red mums or burgundy leaves with cream pumpkins to soften it. The scene feels rich without feeling heavy, because the cream plates and the cream runner keep it light. This is the scene for a long evening meal, when the room is dark and the candles are doing most of the work. It is also the scene that suits a formal table best, because the colours already feel dressed up.
Best for: Formal dinners, evening meals, and anyone who wants the table to feel like an occasion.
Cost: 25 to 50 dollars for burgundy napkins, candles and chargers. Time: About 30 minutes to set the whole scene.
Keep the burgundy to the napkins, the candles and the flowers, and keep the plates and the runner cream. If the burgundy covers the whole table, the scene goes dark and the food disappears into it. Cream is the light in this scene. Burgundy is the depth. Gold is the shine, and a little of it goes a long way.
You may also like: 21 Cozy Christmas Living Room Decor Ideas That Make Your Home Feel Magical
18. Layer Four Textures, Not Four Colours
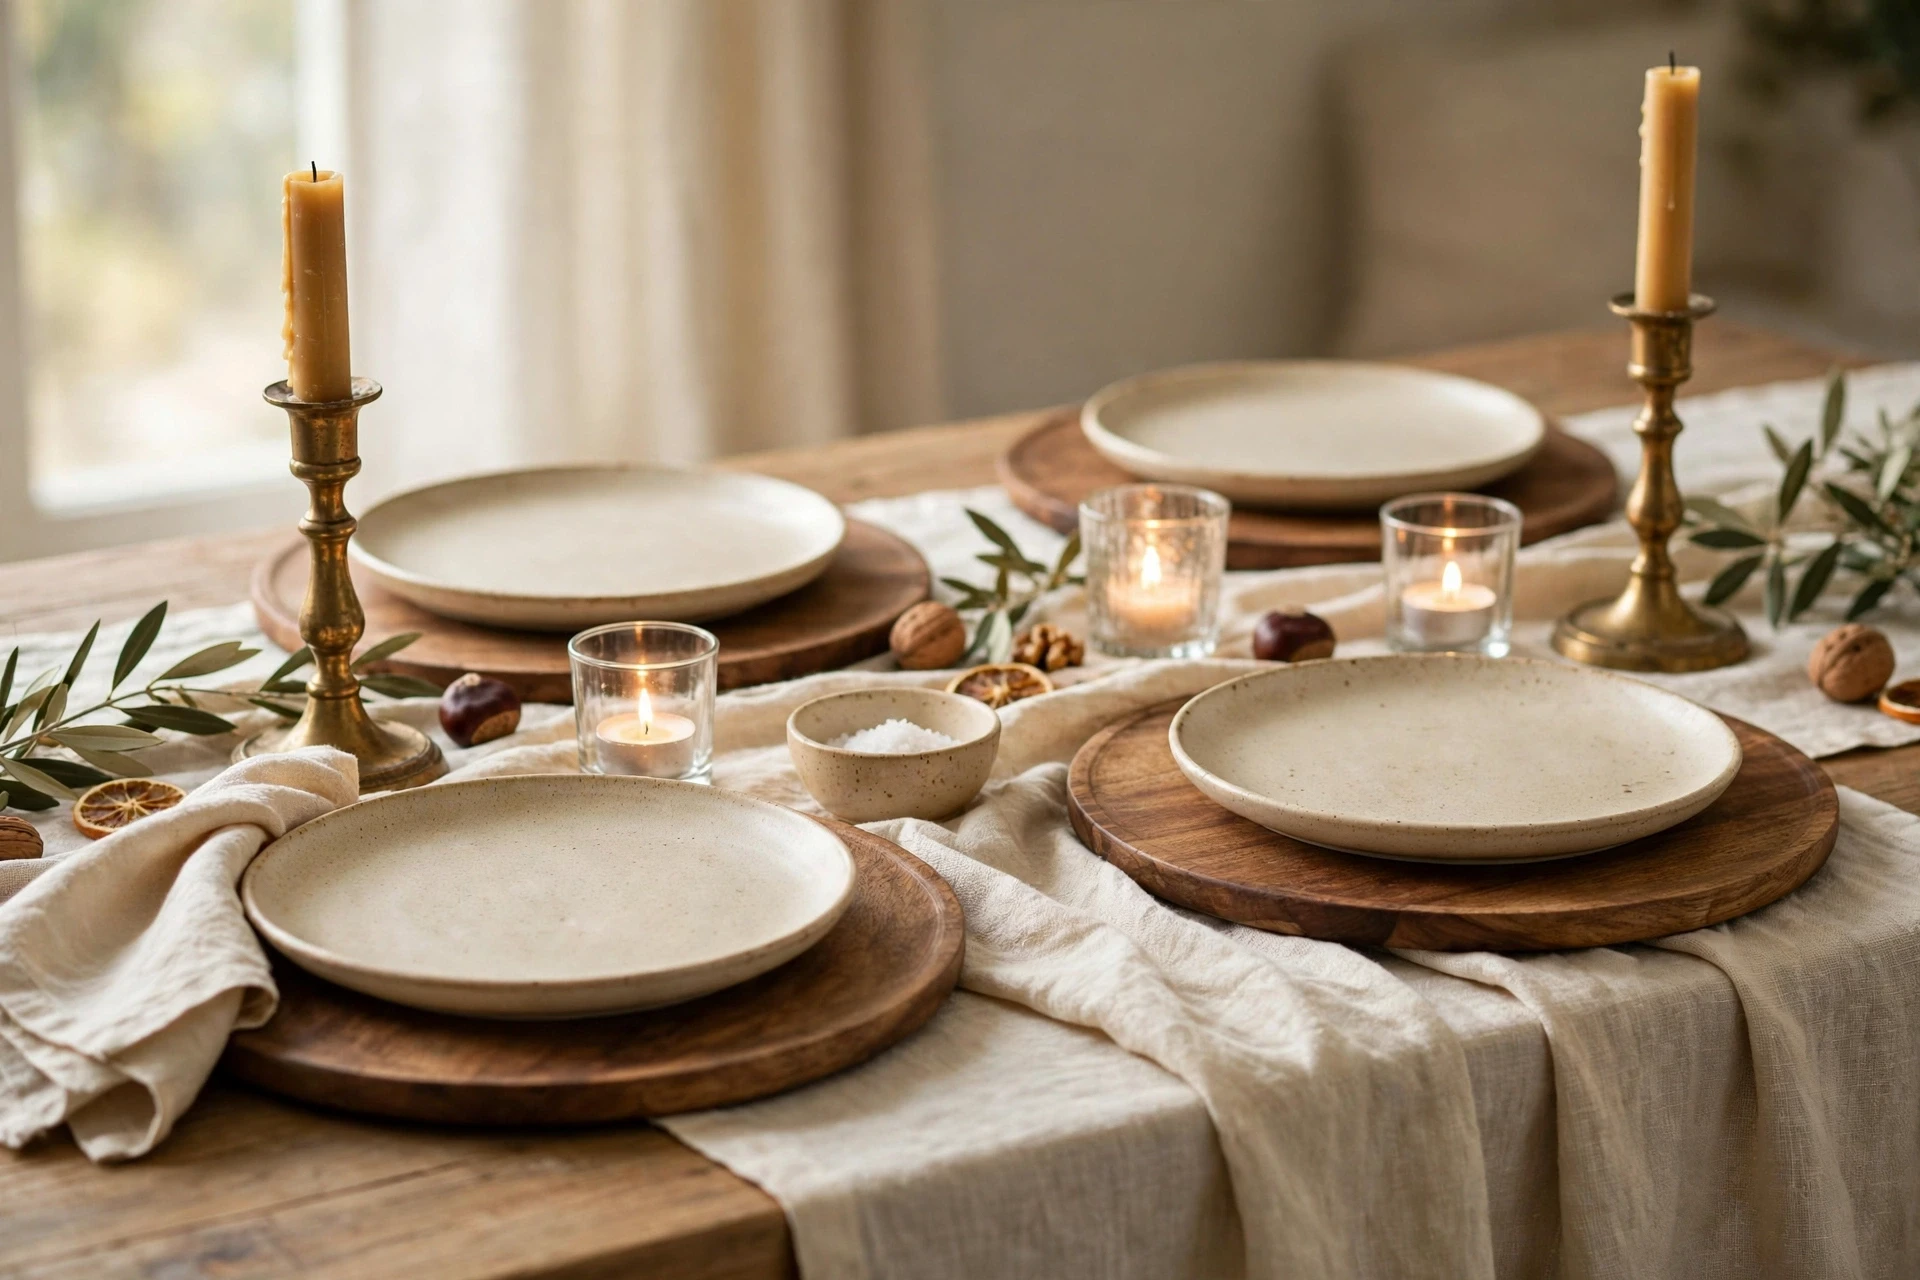
A scene can be built from texture instead of colour. Linen, wood, glass and metal, all in the same warm cream and brown family, layered at every seat and down the middle. A linen runner, a wooden charger, a glass votive, a brass candlestick, a ceramic plate. Four textures, one colour family. The table feels rich because your hand would meet a different surface at every touch, not because your eye meets a different colour at every glance. This is the scene for people who love neutrals, and it is the one that ages best, because it never looks dated.
Best for: Neutral lovers, minimal homes, and anyone who owns beautiful plain pieces.
Cost: Free if you own the pieces, 20 to 40 dollars for a linen runner or wooden chargers. Time: About 20 minutes to layer the table.
Put the rough textures low and the smooth textures high: linen and wood at the base, glass and metal above them. That order keeps the table feeling grounded. And keep the palette to two tones, cream and warm brown, so the textures do the talking. A third colour would steal the attention from the surfaces.
You may also like: 22 Driftwood Decor Ideas That Make Your Home Feel So Calm
19. Plan the Light in Three Clusters, Then Turn the Ceiling Light Off
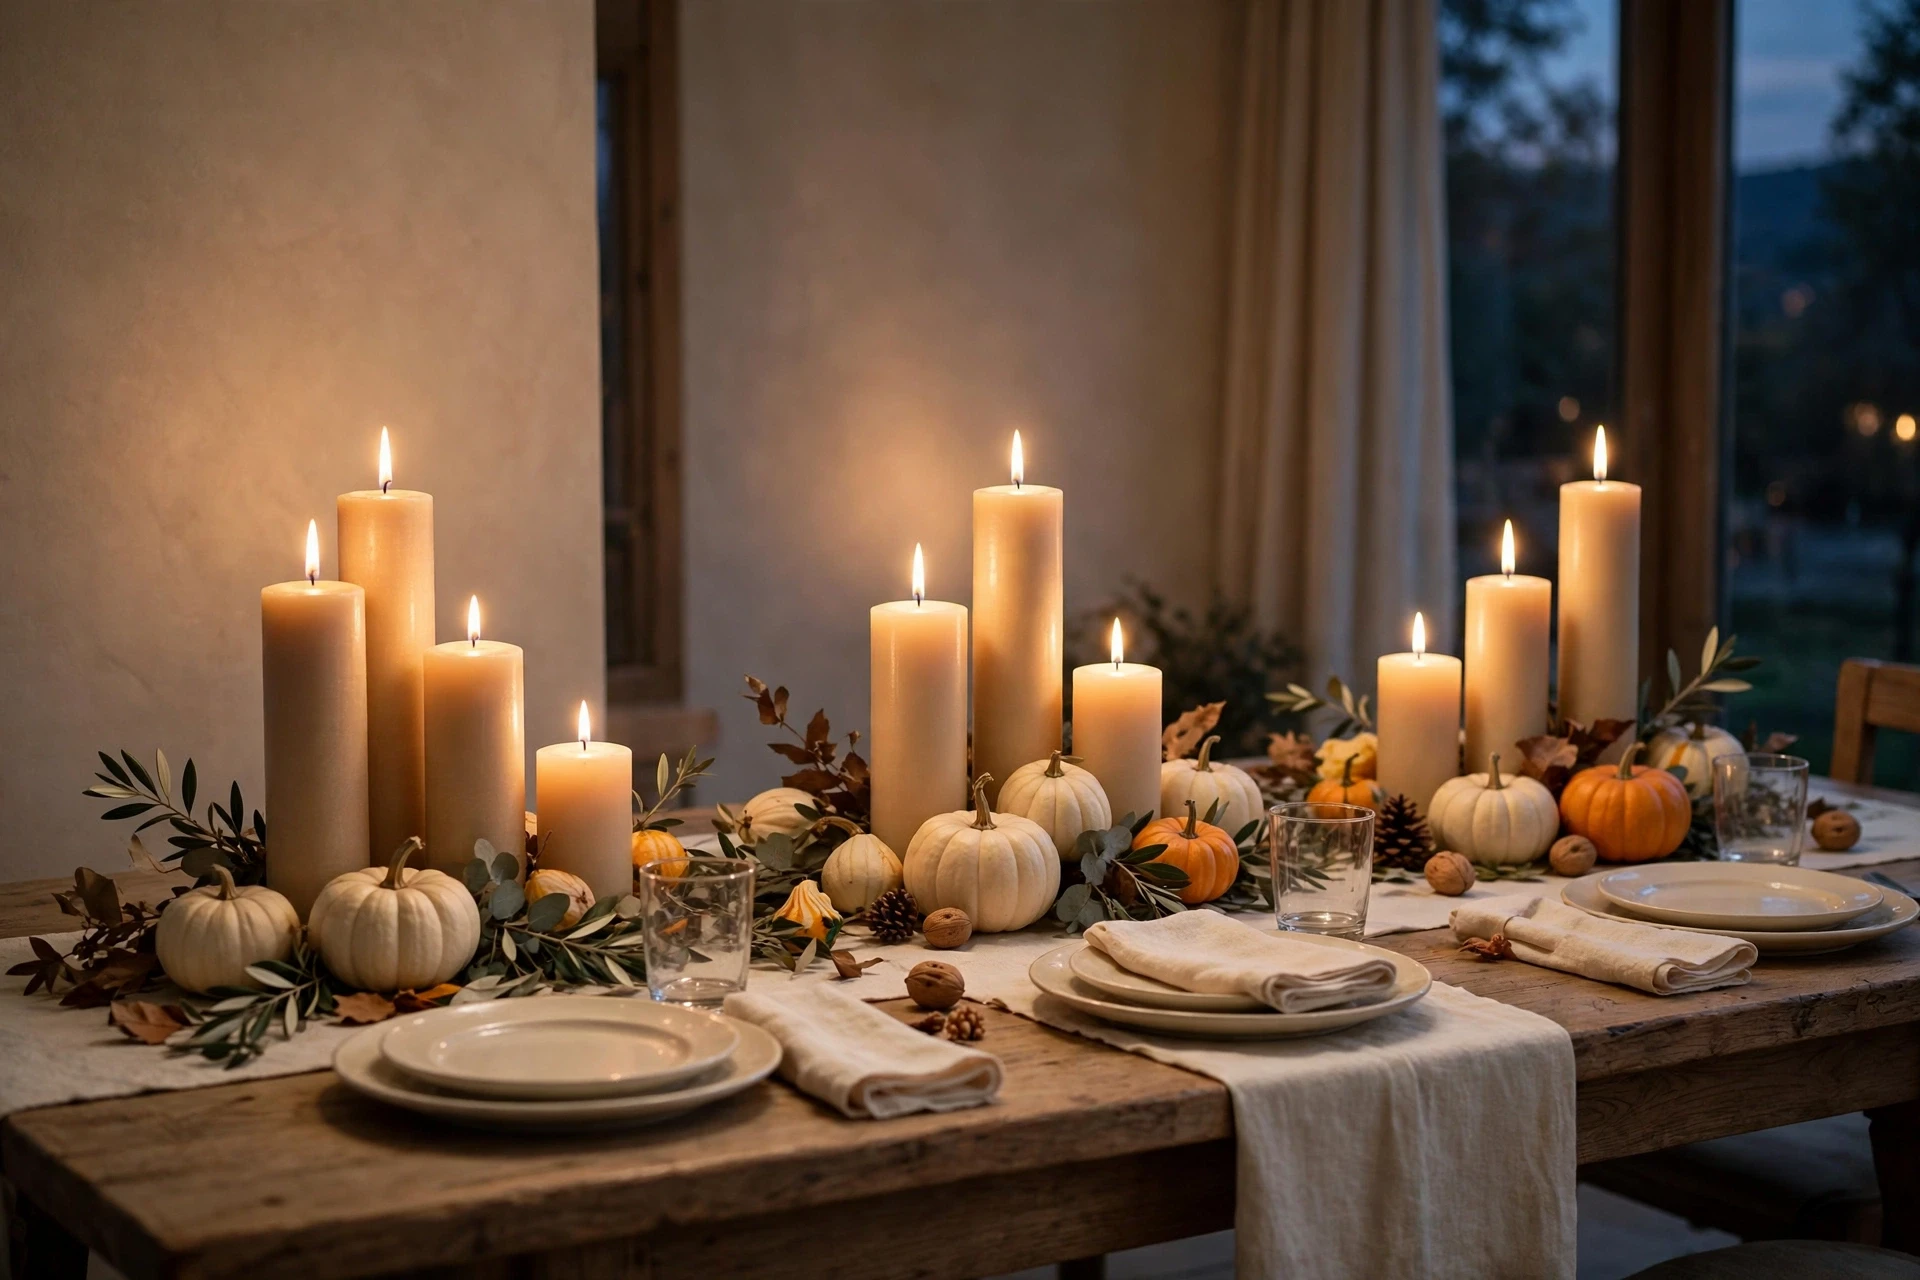
Candlelight is not one light. It is three clusters. One cluster at each end of the table and one in the middle, each with candles at three heights, tall, medium and short. That is the light plan. When the clusters are lit and the ceiling light is off, the table glows and the room softens, and everyone at the table looks good. The ceiling light is the enemy of a good scene. It flattens everything and makes the candles pointless. Turn it off half an hour before guests sit down, and let the three clusters do the work.
Best for: Evening meals, and any table that looks flat in photos.
Cost: 10 to 30 dollars for candles and holders. Time: About 15 minutes to place the clusters.
Use unscented candles, put every one on a holder or a tray, and keep a clear 12 inches around every flame, away from napkins, paper and dried greenery. Light the clusters right before the first guest arrives, not hours early, so the candles are tall and bright when dinner starts. If you have kids at the table, make the middle cluster flameless and keep the real flames at the ends.
You may also like: 22 DIY Candles That Make Fall Feel Warm and Truly Special
The Table Around the Table
A scene does not stop at the edge of the dining table. The dessert, the kids, the outdoors, the small table and the last check before the door opens are all part of the same picture. This group is about the scenes that happen around the main one, so the whole evening feels planned, not just the first course.
20. The Dessert Scene That Takes Over After the Plates Clear
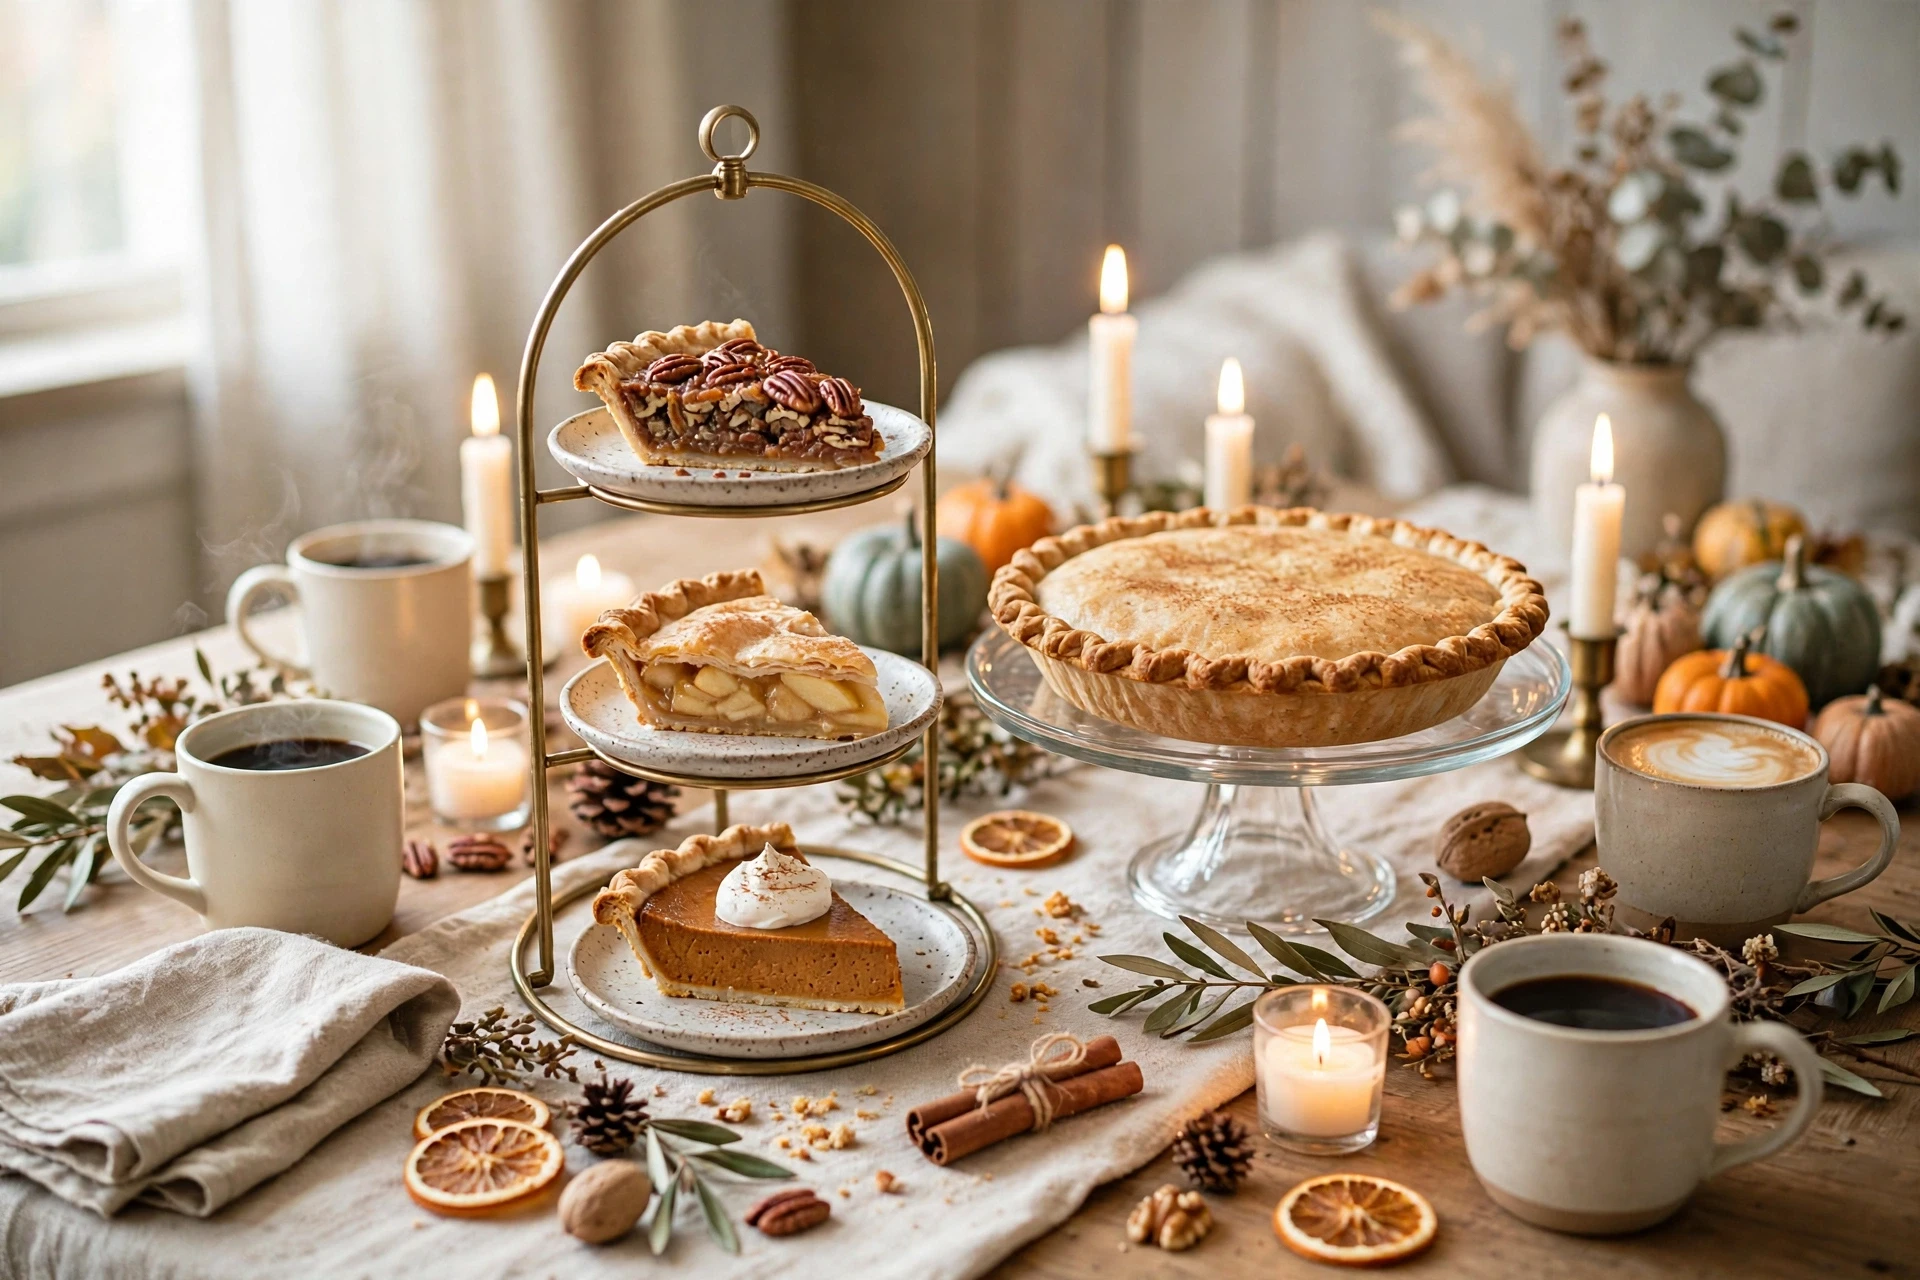
Plan a second scene for dessert, and let it take over when the plates clear. While the main meal is happening, the dessert scene waits on the sideboard: a tiered stand, a pie on a cake stand, small plates stacked and ready, a pot of coffee. When dinner ends, clear the centerpiece to the sideboard, put the tiered stand in the middle of the table, and the table has a whole new scene in two minutes. Guests notice the change, and it makes dessert feel like a second event instead of an afterthought. It also gives you a reason to clear the table properly, instead of leaving the dinner scene to wilt.
Best for: Big dessert lovers, long evenings, and anyone whose pies always end up balanced on a chair.
Cost: Free if you own a tiered stand, 15 to 30 dollars for one. Time: About 10 minutes to set the dessert scene on the sideboard.
Set the dessert scene before dinner, so you are not building it while guests wait. Put the coffee and the small plates on the sideboard with it, so the whole changeover happens in one trip. And keep the dessert scene low, like the dinner one, so the conversation does not stop when the plates change.
You may also like: 21 Best Christmas Cookie Recipes to Bake This Holiday Season
21. One End of the Table Just for the Kids, Same Scene, Tougher Pieces
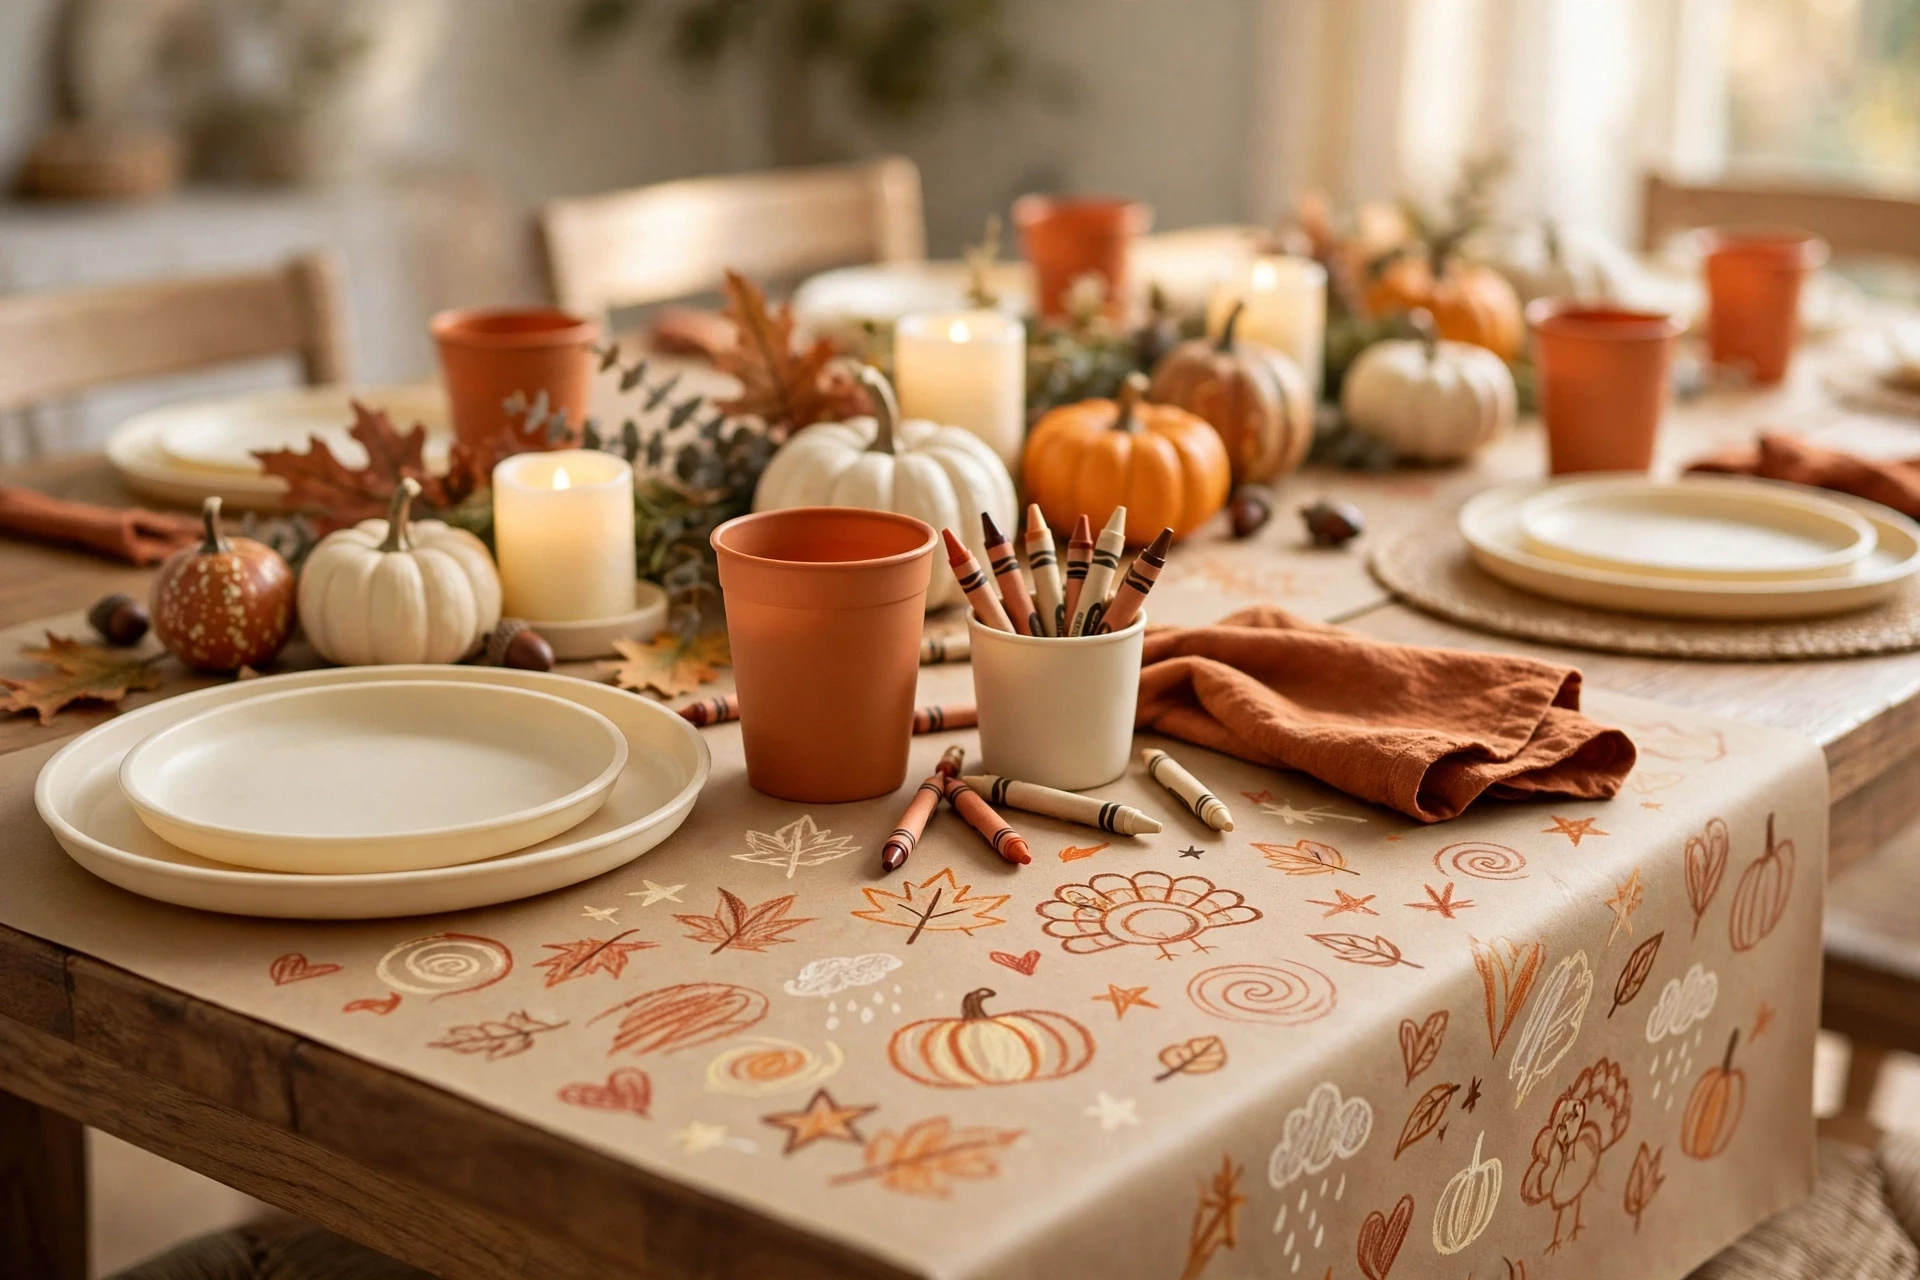
Do not exile the kids to a side table. Give them one end of the main table, dressed in the same scene, but with tougher pieces. Unbreakable plates, plastic cups, flameless candles, and a kraft paper runner they can draw on, all in the same palette as the big table. The kids sit at the same table, in the same scene, and the parents can see them. The kids feel included, the main table stays calm, and nobody worries about a broken plate every five minutes. One end, same colours, tougher pieces. That is the whole idea.
Best for: Families with young kids, and anyone who has watched a toddler near a taper candle.
Cost: 10 to 25 dollars for unbreakable plates, cups and a paper runner. Time: About 20 minutes to set the kids end.
Seat the kids at the end nearest the kitchen, so a spilled drink is a short walk to a towel, and give them one job, like handing out the bread or lighting the flameless candles. A kids end that is dressed like the big table tells the kids they matter, and they notice. Keep their centerpiece low and soft, small pumpkins and flameless candles only, no glass and no real flames.
You may also like: 22 Kid Friendly Dinner Ideas for Picky Eaters Who Say No
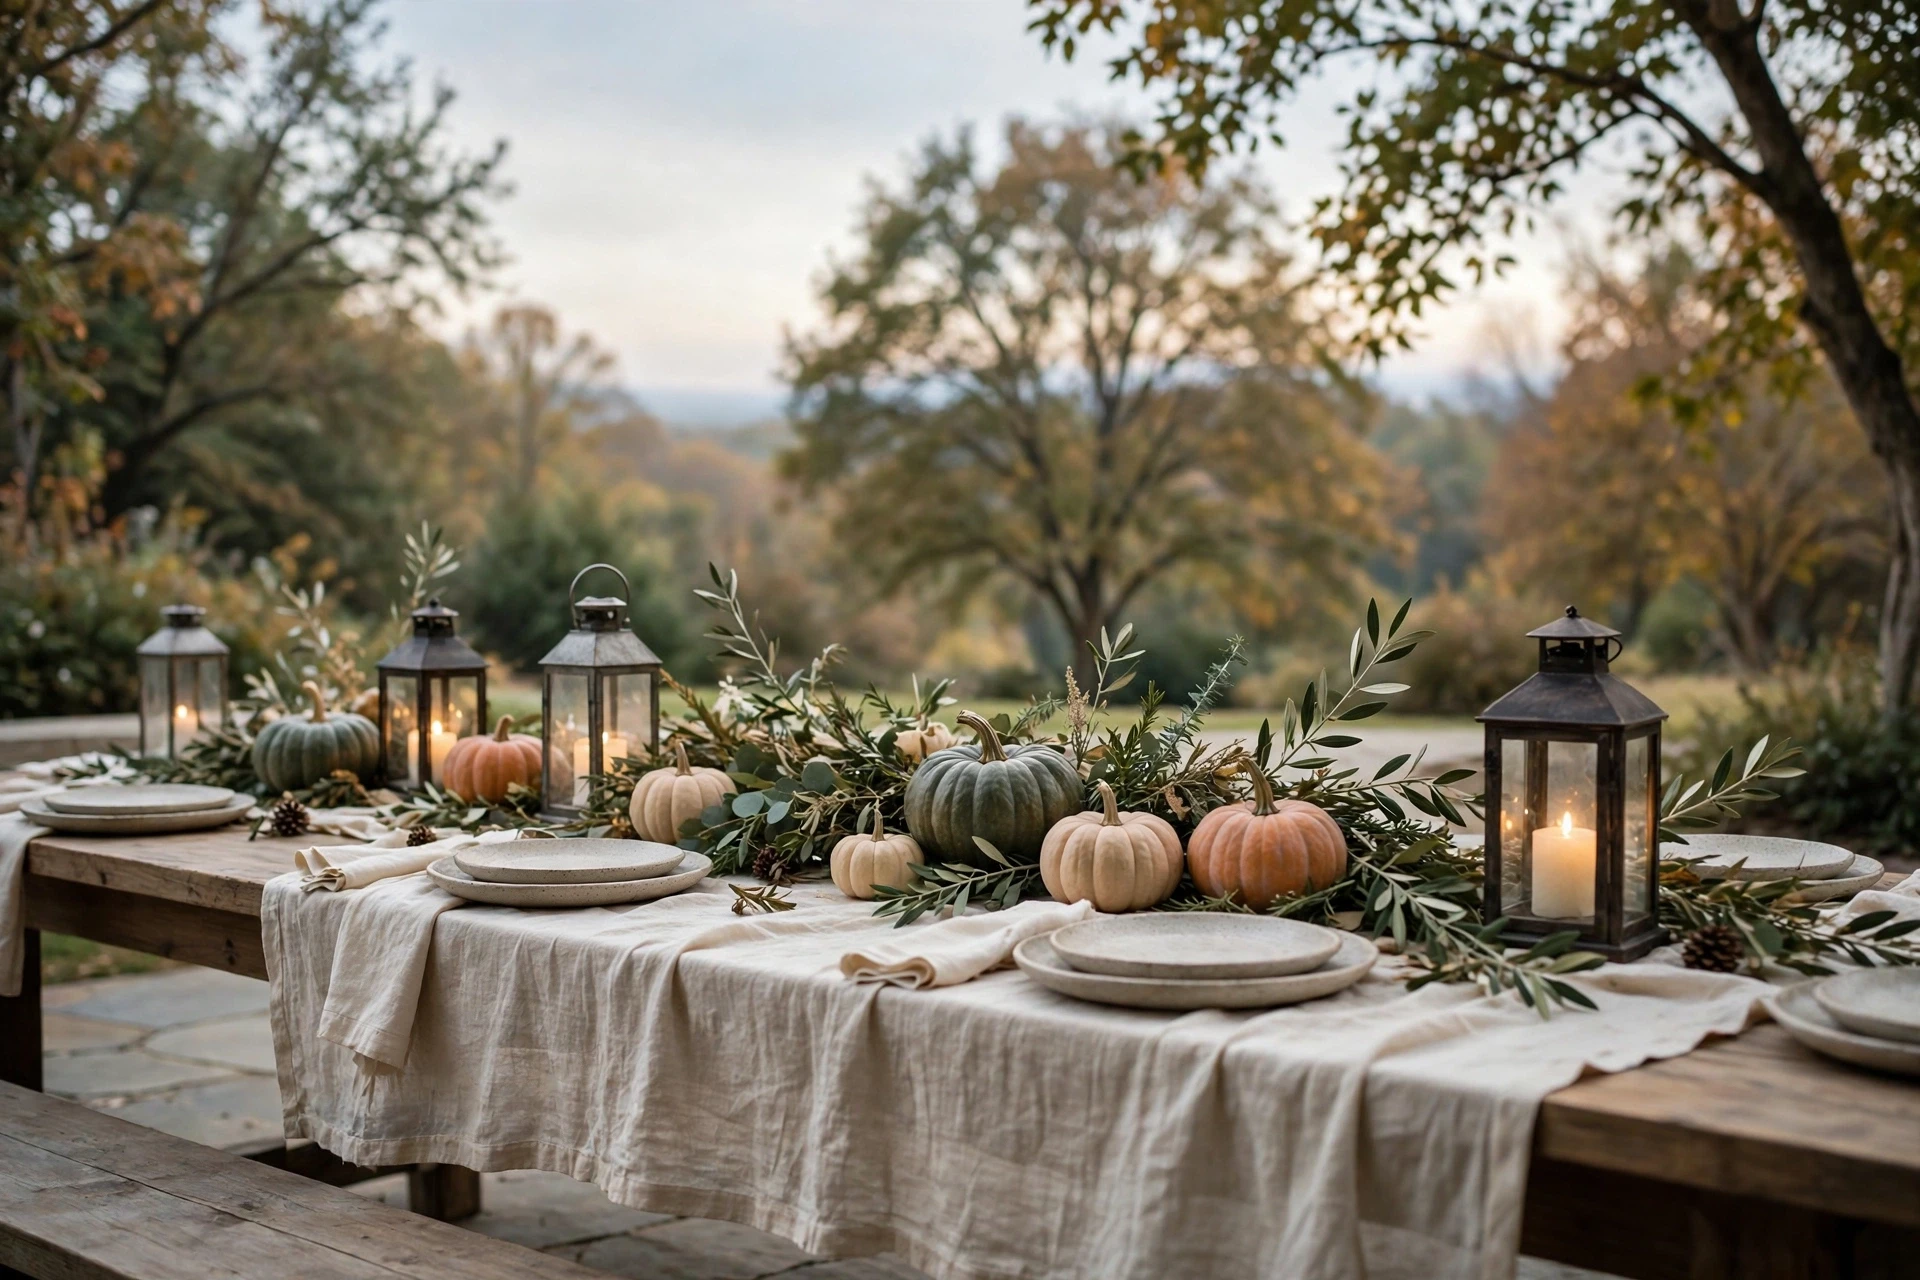
22. The Outdoor Tablescape for a Mild November Afternoon
If November is mild where you live, take the scene outside. A long table on the patio or in the yard, the same low centerpiece and the same place formula, but with heavier pieces that will not blow away, stoneware plates, a linen cloth weighted at the corners, and lanterns instead of open candles. The sky does the lighting, the trees do the backdrop, and the table needs less decoration, because the setting is already beautiful. Keep the scene simple outdoors. Wind is the enemy of a fussy table, and a simple scene survives it.
Best for: Mild climates, big yards, and anyone whose dining room is too small for the guest list.
Cost: Free to 20 dollars for lanterns and cloth weights. Time: About 30 minutes to set the outdoor table.
Check the forecast the morning of, and have a plan to move inside in ten minutes if the wind picks up. Put a heavy cloth on the table, not a light runner that will lift, and use lanterns with glass doors, so the flames stay lit. Serve the food from a table near the door, so it does not sit in the wind, and bring the dishes out as they are needed.
You may also like: 22 Cozy Weeknight Dinners for Tired Nights in 30 Minutes
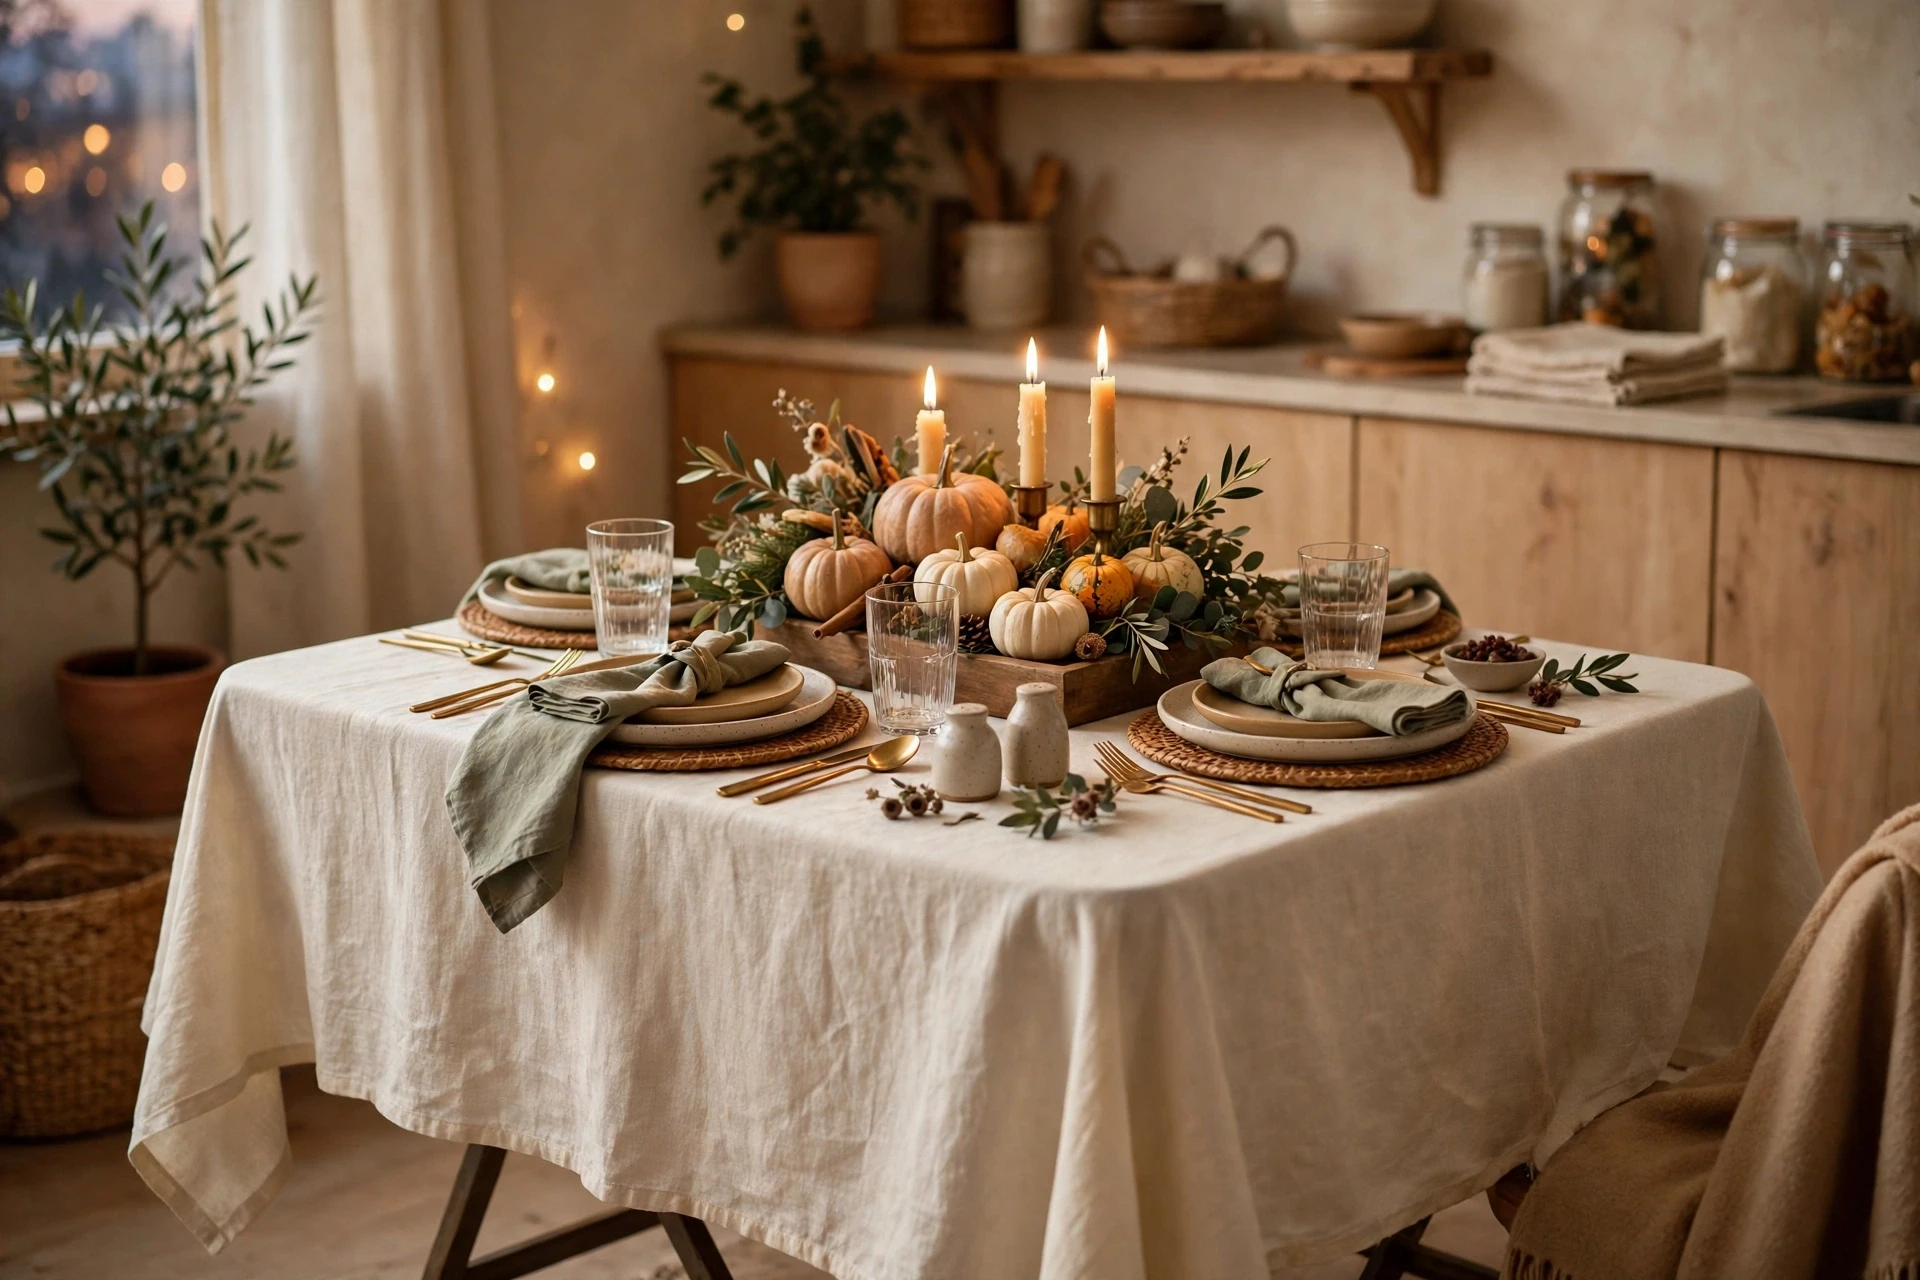
23. The Small Table Scene for Four, Built on a Folding Table
A small table needs a small scene, not a big scene squeezed in. For four people, use one contained centerpiece on a tray, let the place settings do the decorating, and keep everything low. A folding table with a cloth that reaches the floor looks like a real dining table, and four perfect place settings feel more special than a large table that is overfilled. The formula is the same, one feeling, one repeat, room for the food, just smaller. A small scene, done well, beats a big scene done halfway, every time.
Best for: Apartments, small families, and anyone hosting Thanksgiving for the first time.
Cost: Free to 20 dollars for a cloth and a tray. Time: About 20 minutes to set the small table.
Use a cloth that hides the folding legs, and put the tray centerpiece in the middle with a gap on each side for the serving dishes. Four seats need about 24 inches each, so a 4 foot table is enough, and a round table works beautifully for four, because everyone can see everyone. Keep the candles to one cluster in the middle, and skip the second glass if the table is tight. One glass, done well, is enough for four.
You may also like: 22 Cozy Christmas Apartment Decor Ideas for Small Spaces
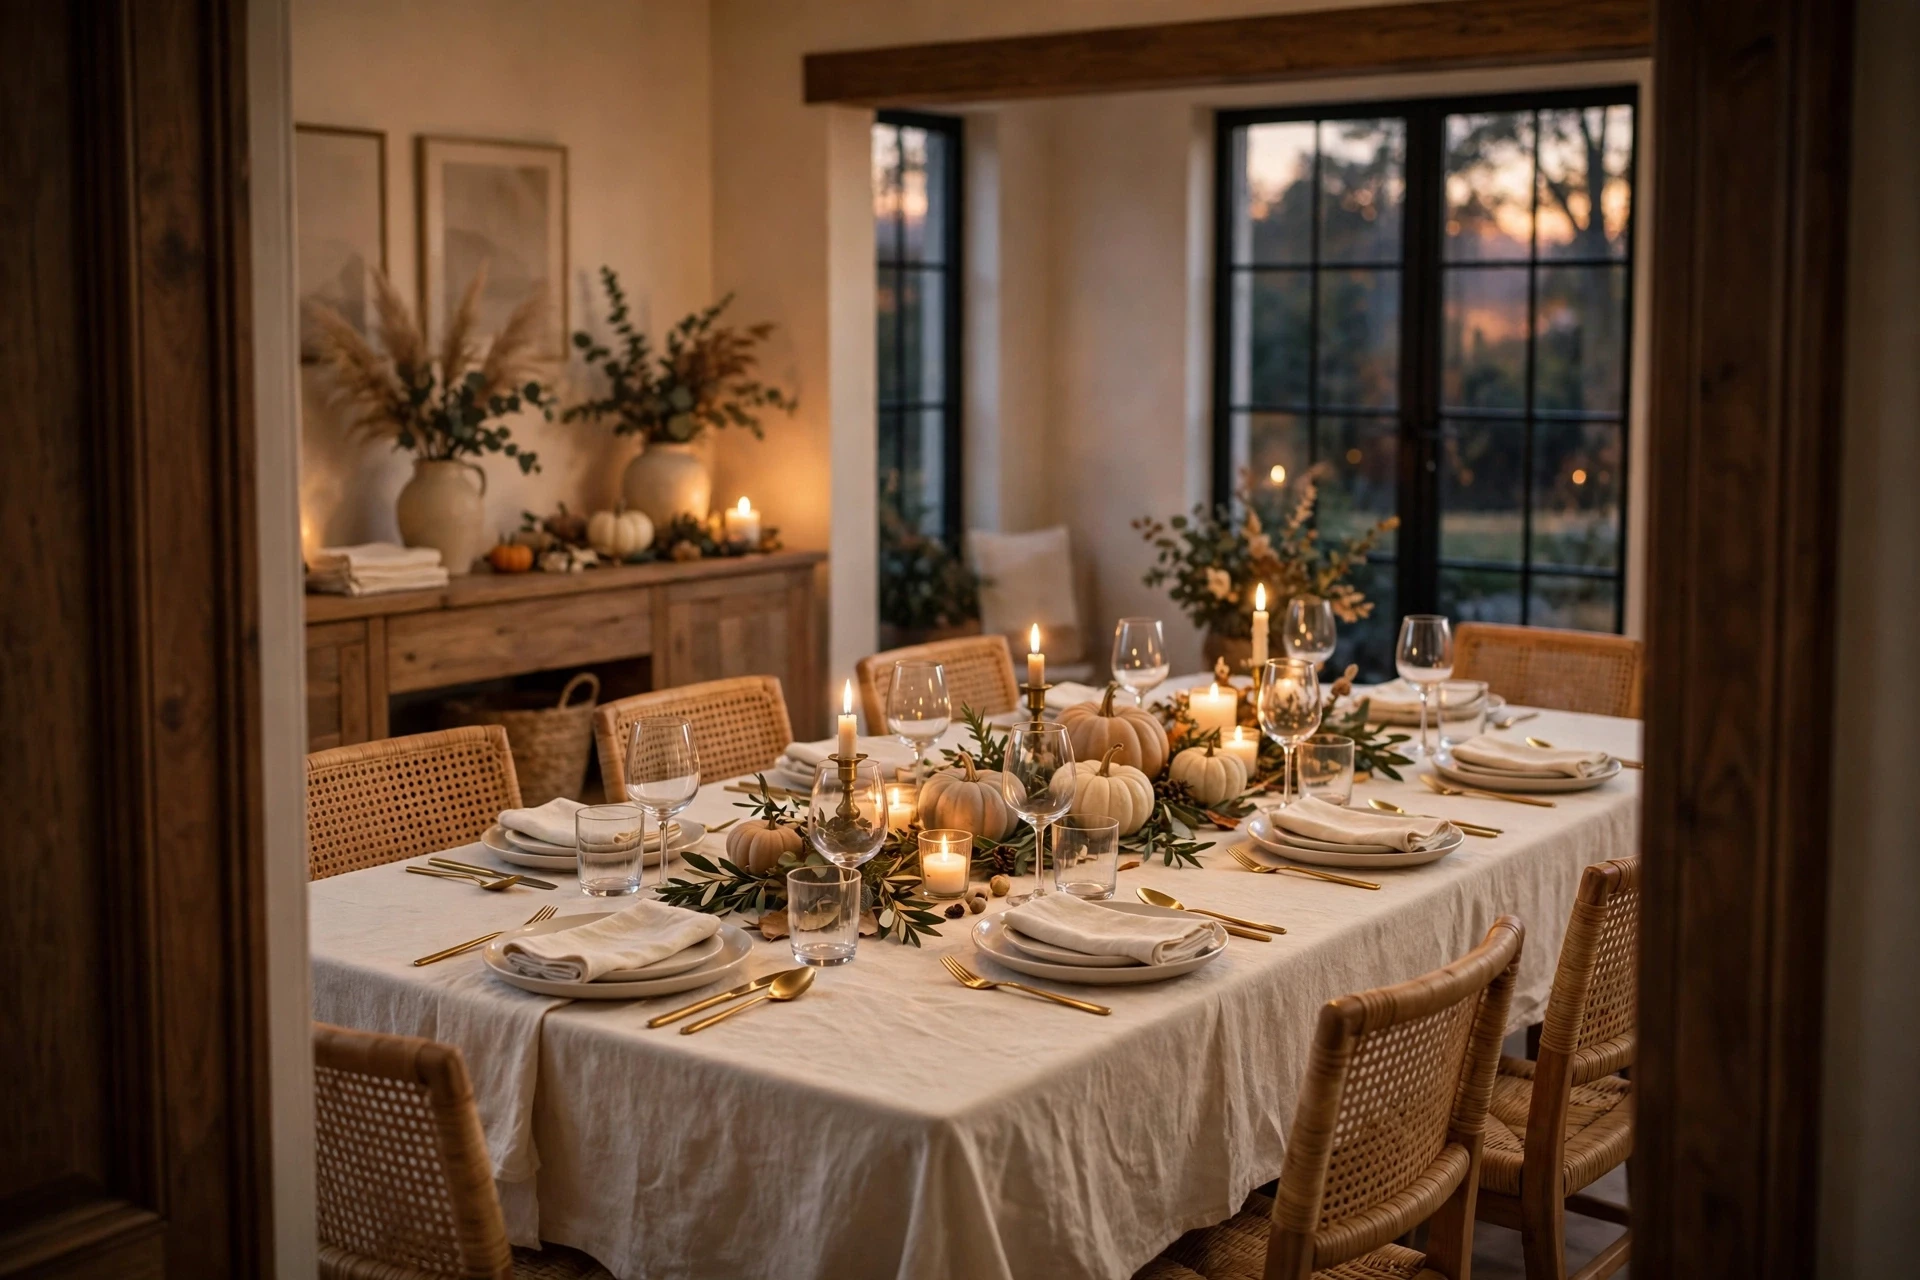
24. The Doorway Check: Photograph the Scene Before Anyone Sits Down
Before the first guest arrives, stand in the doorway and take a photo of the table with your phone. Look at the photo, not the table. A photo shows you what the room actually looks like, and it shows the problems your eyes skip when you are standing in the room. A candle that is too tall, a napkin that is crooked, a gap that looks empty, a color that does not repeat. Fix what the photo shows, take another photo, and stop when the photo looks warm and calm. The doorway check takes two minutes and it is the last step in this guide for a reason. It is the step that catches everything else.
Best for: Every host, and especially anyone who sets the table in a hurry.
Cost: Free. Time: About 5 minutes to photograph and fix.
Take the photo from the doorway guests will use, not from the best corner of the room. And take it with the candles lit and the ceiling light off, the way the table will look at dinner, not the way it looks at noon. If the photo looks good, the table is done. Do not add one more thing. The scene is ready, and so are you.
You may also like: 22 Holiday Cleaning Checklist Ideas for a Calm, Ready Home
The 1-2-3 Thanksgiving Tablescape Method: One Scene, Two Heights, Three Days
Here is the part most Thanksgiving tablescape lists skip. A list of 24 ideas is not a plan. It is a wish list. If you try to do all 24, you will spend the whole week shopping and the whole morning arranging, and you will be tired before the first guest arrives. So here is the simple ratio I use when I build a Thanksgiving tablescape, and it works every time.
The 1-2-3 Thanksgiving Tablescape Method
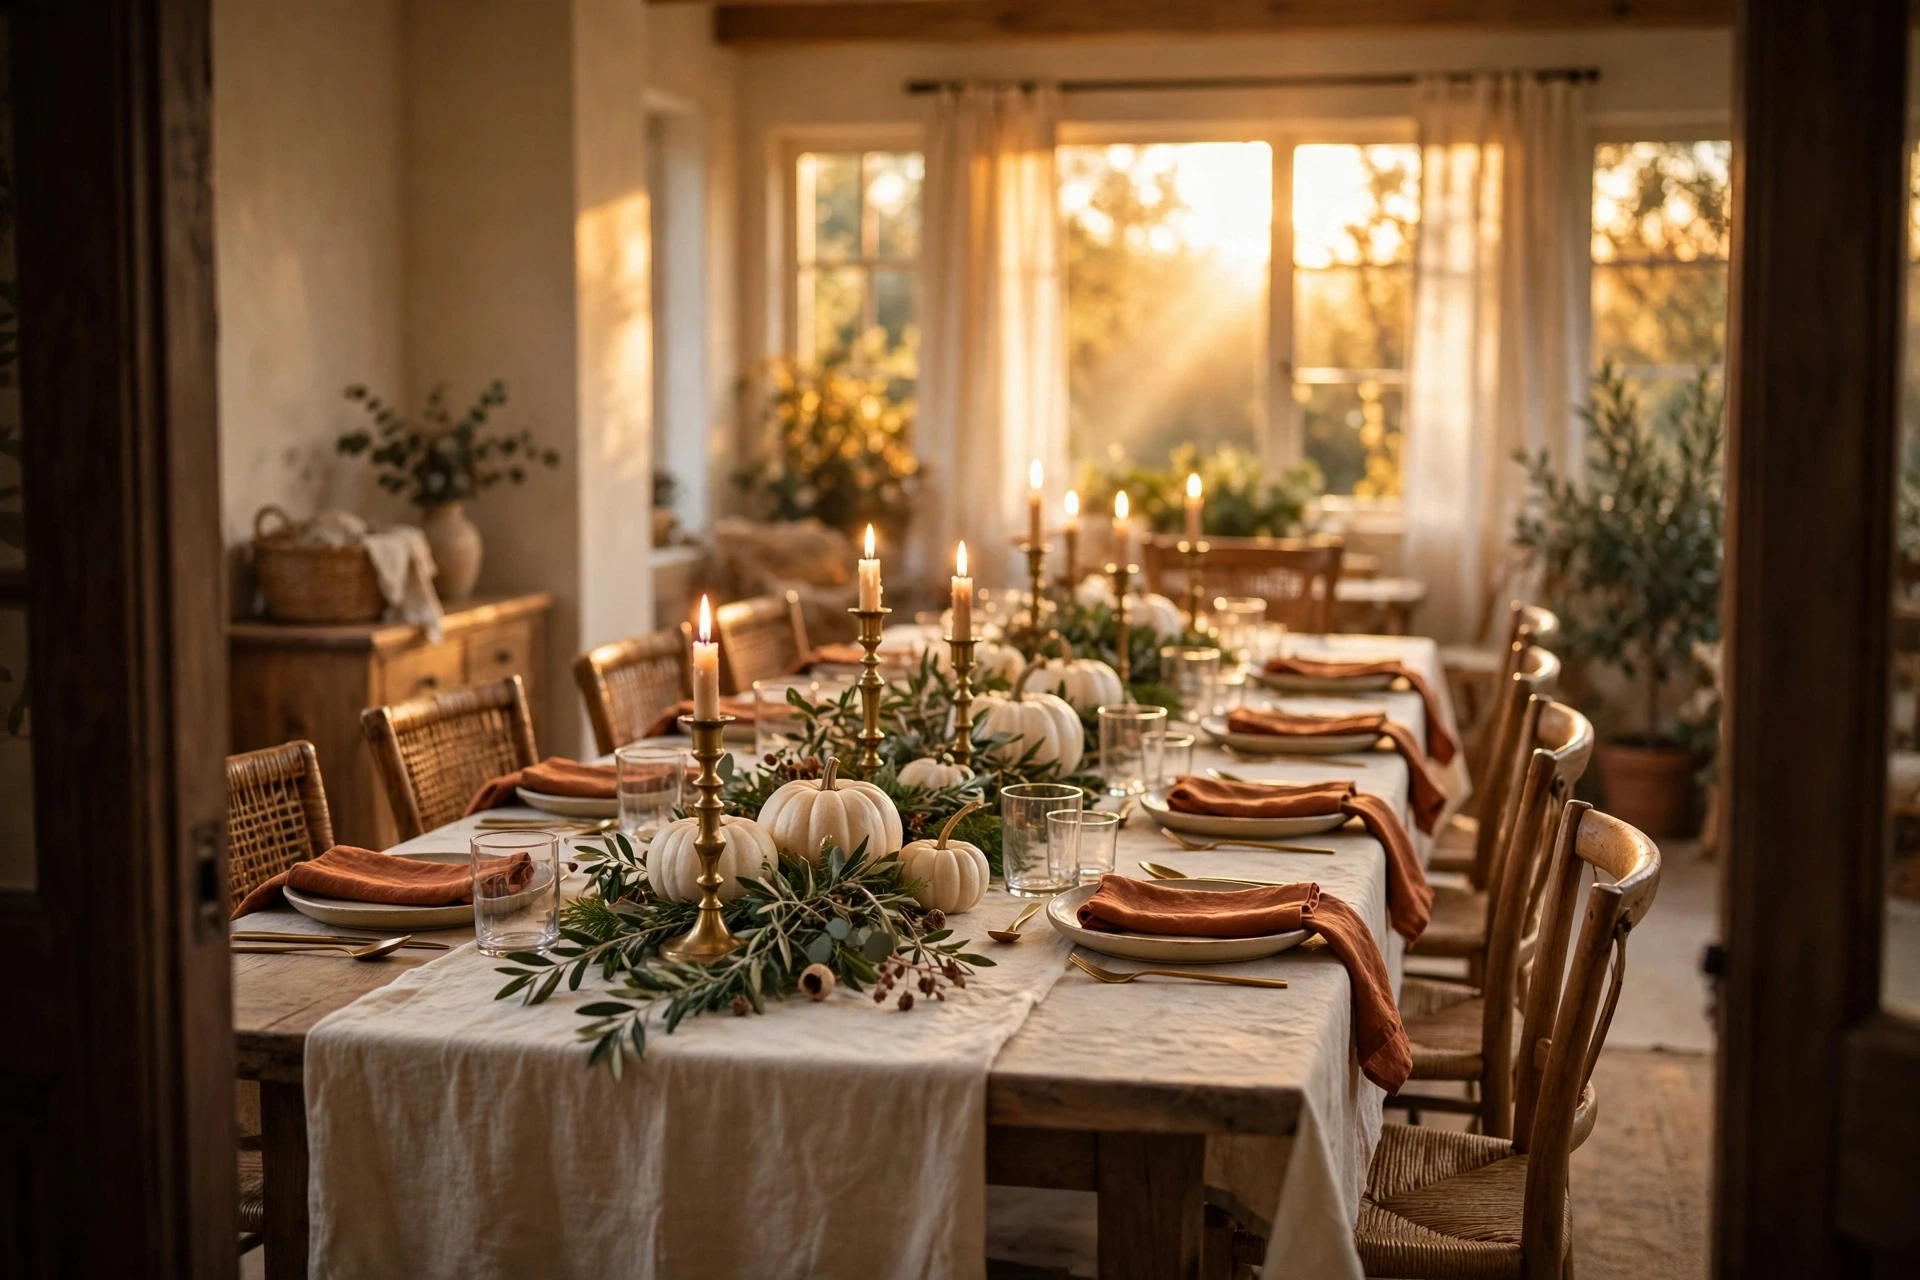
1 Scene — Pick 1 sentence for the whole scene and let it decide everything. Cream, rust and candlelight. Grounded greens and brass. Burgundy and gold. It does not matter which one you pick. What matters is that every piece on the table fits that one sentence, and anything that does not fit goes on the sideboard. One scene, repeated in the linens, the napkins, the candles and the produce, always beats four scenes used once each. If you cannot decide, pick the colours from your runner and stop there.
2 Heights — Give the scene 2 heights and nothing in between. Low, under 12 inches, for the centerpiece, the pumpkins and the greenery. And tall and thin, above 24 inches, for one slim piece, a candelabra or a tall vase, if you want height at all. Nothing between 12 and 24 inches, because that band sits right at seated eye level and blocks faces. Two heights, low and tall thin, and the table keeps its sightlines while still having drama. One height looks flat. Three heights look busy. Two is the number.
3 Days of Prep — Spread the work over 3 days, not one frantic morning. Two days before, you shop and gather. One day before, you set the table and build the scene. Thanksgiving morning, you add the fresh stuff, light the candles, and do the doorway check. Three days of light work beats one morning of panic every time, and it means nothing is left to the last hour. If a job cannot be done in one of those three days, it does not need doing.
That is it. 1 scene, 2 heights, 3 days of prep. No Thanksgiving tablescape needs more than that to feel special.
Before the 1-2-3 Thanksgiving Tablescape Method
- A table full of decorations with nowhere to put the food
- Five colours that do not talk to each other
- A tall centerpiece that blocks every face across the table
- Everything done on Thanksgiving morning in a panic
- A scene that looks like a shop shelf, not a dinner table
- A sideboard full of mail and keys while the table does all the work
After the 1-2-3 Thanksgiving Tablescape Method
- 1 scene, repeated in the linens, plates, candles and produce
- 2 heights, low under 12 inches and tall thin above 24 inches, so everyone can see each other
- 3 days of light prep, so nothing is left to the last hour
- Serving gaps planned first, so the food has somewhere to go
- One place setting formula, copied at every seat, so the table looks like one idea
- A table that looks like it was set for the people sitting at it
Pick your 1, your 2, and your 3 from the 24 thanksgiving tablescape ideas above. Write them down. Then stop. The scene is planned.
At a Glance: Every Idea, Its Cost, and Its Time
| Group | Ideas | Budget | Time to do them all |
|---|---|---|---|
| The Whole Scene First | 1 to 5 | Free to 50 dollars | About 30 minutes |
| Centerpiece Builds | 6 to 10 | Free to 50 dollars | About 1 hour |
| Place Setting Formulas | 11 to 15 | Free to 40 dollars | About 1 hour |
| Light, Colour and Texture | 16 to 19 | 10 to 50 dollars | About 1 hour |
| The Table Around the Table | 20 to 24 | Free to 30 dollars | About 1 hour |
Most of these thanksgiving tablescape ideas cost under 25 dollars on their own, and most of them take under half an hour. The dough bowl and the chargers are the only pieces that cost real money, and you will use them every year. Everything else is small, cheap, and easy to skip if you do not need it.
Do This, Not That
| Do This | Avoid This |
|---|---|
| Pick one sentence for the whole scene and check every piece against it | Buying five things that do not match and putting them all on the table |
| Plan the serving gaps first, then fill the rest with decorations | A beautiful table with nowhere to put the turkey |
| Keep the centerpiece under 12 inches, or go tall and thin above 24 inches | A wide arrangement between 12 and 24 inches that blocks faces |
| Use one place setting formula at every seat | Mixing two formulas at one table |
| Repeat one colour or one metal in three or four places | Five colours and three metals that do not talk to each other |
| Light three candle clusters and turn the ceiling light off | Bright ceiling light all night with candles nobody notices |
| Set the table the day before, so the morning is free | Doing everything on Thanksgiving morning in a panic |
| Do the doorway check with a phone photo before guests arrive | Adding one more thing after the table is already done |
Your Thanksgiving Tablescape Week
You do not need a whole month to build a Thanksgiving tablescape. Three days is enough if you split it right. The shopping happens earlier, but the real work fits into three days.
Two Days Before: The Shopping and the Gathering
Buy the pumpkins, the candles, the greenery and the napkins. Gather the plates, the chargers, the glasses and the holders from the cupboards and count them, including the spares. Iron the tablecloth and the runner and roll them up loosely. Write the seating chart while the house is quiet. This is the gathering day, and it takes about an hour. Once everything is in one pile on the dining table, the scene is already half built, and you can stop thinking about it for a day.
The Day Before: The Scene
Set the table. Lay the cloth and the runner, put the hero piece in the middle, build the centerpiece zones, set every place with the same formula, and place the candle clusters in their holders but do not light them. Put the empty serving dishes in their gaps, so you know the food fits. Cover the set table with a clean sheet if the house is dusty or pets roam, so the work stays intact overnight. By the night before, the room should already look like Thanksgiving, and the only jobs left are the fresh ones.
Thanksgiving Morning: The Fresh Touches and the Light
Morning: Add the fresh greenery and any flowers, put the fruit in the bowl if you are using one, and set the dessert scene on the sideboard. Put the serving dishes where they will go, so you know the food fits before the guests arrive. Half an hour before everyone sits down, light the candles, turn the overhead light off, and do the doorway check with your phone. If the photo looks warm and you can see every chair, it is done. Do not add one more thing. The scene is ready, and so are you.
Take It Further
If you liked this guide, these are the next ones to read. They build on the same ideas, room by room, and they will help you get the house ready for the people you love.
- 22 Thanksgiving Table Decor Ideas for a Cozy Holiday Feast
- 23 Friendsgiving Party Ideas That Make Hosting Feel Easy
- 21 Cozy Christmas Living Room Decor Ideas That Make Your Home Feel Magical
- 22 Cozy Christmas Apartment Decor Ideas for Small Spaces
- 22 DIY Candles That Make Fall Feel Warm and Truly Special
- 22 Fireplace Mantel Ideas for Fall and Christmas That Work
- 22 Easy Crockpot Soups That Make Cold Nights Feel So Warm
- 22 Holiday Cleaning Checklist Ideas for a Calm, Ready Home
Designer’s Cheat Sheet
If you read nothing else, read this.
- The rule: 1 scene, 2 heights, 3 days of prep. That is the 1-2-3 Thanksgiving Tablescape Method, and it is the whole guide in one line.
- The three things: One feeling for the whole table, room for the food and the faces, one thing that repeats. If the table has all three, it feels like one scene.
- The budget: Most ideas are under 25 dollars. The dough bowl and the chargers are the only big costs, and you will use them every year.
- The time: Three days of light prep, and about half an hour of fresh touches on the morning.
- The centerpiece rule: Under 12 inches tall, or tall and thin above 24 inches. Nothing wide between 12 and 24 inches, because that band sits at seated eye level.
- The seat rule: About 24 inches of table width per guest, so everyone has elbow room and the food can pass.
- The mistake to avoid: A table so crowded with decorations that the food has nowhere to go, and a tall wide centerpiece that blocks faces.
- The one thing to do first: Write one sentence for the whole scene, and set the table the day before. Everything else follows from those two choices.
Questions People Ask
What is a Thanksgiving tablescape?
A Thanksgiving tablescape is the whole styled scene of the dinner table, not just the centerpiece. It includes the tablecloth or runner, the centerpiece build, the place setting formula at every seat, the candles and the light, and the space left for the serving dishes, all planned as one picture. A tablescape is different from table decor, which is usually a set of separate decorations. A tablescape is the full composition, and it works when one feeling, one palette and one repeat tie all the pieces together.
How tall should a Thanksgiving tablescape centerpiece be?
Keep it under about 12 inches tall, or below eye level when your guests are seated, so everyone can see across the table and talk comfortably. If you want height, use one tall thin piece above 24 inches, on a slim stem or stand, so guests look under it instead of through it. Anything wide between 12 and 24 inches sits right at seated eye level and blocks faces. A low centerpiece of pumpkins, greenery, fruit or candles down the middle of the table does more than a tall wide one ever will, because it leaves the conversation open.
How do you plan a Thanksgiving tablescape for a small table?
Use one contained centerpiece on a tray, let the place settings do the decorating, and keep everything low. A small table set beautifully with four perfect place settings feels more special than a large table that is overfilled. Put the empty serving dishes in their gaps first, so you know the food fits, and use one candle cluster in the middle instead of three. A folding table with a cloth that reaches the floor looks like a real dining table, and a round table works beautifully for four, because everyone can see everyone.
How far ahead should I set the Thanksgiving tablescape?
Set it the day before if you can. The tablecloth, the runner, the hero piece, the centerpiece zones, the place settings and the candle holders can all go out on Wednesday, so on Thursday you only need the fresh greenery, the seating chart and the food. Some hosts set the table two or three days early, which also works and gives you time to fix anything that looks wrong. Cover the set table with a clean sheet if the house is dusty or pets roam, and light the candles half an hour before guests sit down.
A Thanksgiving tablescape does not need a perfect house. It needs one feeling, room for the food and the faces, and one thing that repeats across the table. Start with one idea from this list, the one that made you smile, and let the rest follow. Your table will be ready long before the first guest knocks.
Happy Thanksgiving. I will see you in the next one.
Neuman