Too Long; Didn’t Read
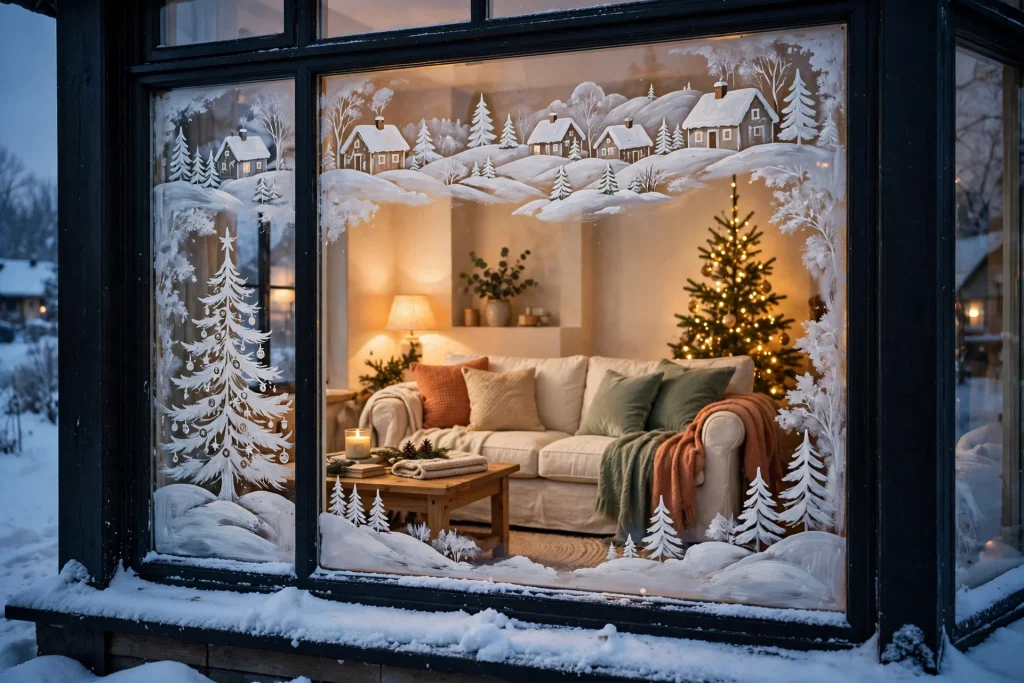
Christmas window painting is the cheapest way to make your house look like Christmas from the street. A bottle of washable paint or a few window paint markers turns a plain window into a snowy village, and it all washes off in January. These 21 window painting ideas that Christmas decorators love go from a ten minute dotted snow border to a full village scene, and most of them cost under 15 dollars. The rule that runs through the whole guide is simple: pick washable paint, paint one window, and use two colours. The 1-2-3 Window Method near the end shows you how to put it together without covering every inch of glass.
What's Inside This Guide
ToggleThe January I Spent Scraping the Window
The first December I ever painted a window, I did it the wrong way. My daughter wanted a snowman on the kitchen window, and I grabbed the paint we already had in the craft cupboard, a tube of acrylic. The snowman looked wonderful. Big smile, orange carrot nose, red scarf, the whole thing. The neighbours stopped to look at it. I felt like a genius for about three weeks.
Then January came. The snowman would not come off. I tried a wet cloth. Nothing. I tried soapy water. A little came off, and the rest smeared into a grey cloud. I spent a whole Saturday with a spray bottle, a sponge, and a plastic scraper, picking paint off the glass flake by flake, while my daughter watched the snowman lose his nose. That Saturday taught me the lesson this whole guide is built on. With Christmas window painting, the paint matters more than the design. A beautiful design in the wrong paint is a January problem. A simple design in the right paint is a December joy.
These 21 ideas all use paint that comes off. Washable tempera with a drop of dish soap, or liquid chalk markers. Nothing permanent. Nothing that needs a razor blade. Pick the idea that made you smile, paint one window, and enjoy it until January, when it wipes away in ten minutes.
What’s Inside This Guide
- The 3 Things That Make a Painted Window Look Good
- The 21 Ideas, Grouped by Style
- The 1-2-3 Window Method: How to Combine Ideas Without Overdoing It
- At a Glance: Every Idea, Its Cost, and Its Time
- Do This, Not That
- Your Christmas Window Painting Weekend
- Take It Further
- Designer’s Cheat Sheet
- Questions People Ask
The 3 Things That Make a Painted Window Look Good
Before you pick up a brush, it helps to know what you are aiming for. A painted window is not a painting on a wall. It is glass with light behind it, and people see it from two sides, from the sofa and from the street. After a few Decembers of getting this wrong and then right, I have landed on three things. Every one of the window painting ideas in this list comes back to these three things. If a window has all three, it looks like Christmas. If it is missing one, no amount of detail will fix it.
Clean glass first
Paint only looks good on clean glass. A streaky or dusty window makes the whole design look dirty, no matter how well you paint. Wash the inside of the glass with warm soapy water, dry it with a lint free cloth, and do not touch it again with bare hands before you paint. The five minutes of cleaning is the difference between a design that glows and a design that looks like a smudge. Do the test patch too, a small mark in a bottom corner, let it dry, wipe it off. If it comes off clean, the whole design will.
One focal point
A window is not a wall. It has edges, light, and a view behind it, and filling every inch of it reads as messy from the street. Pick one focal point. One village along the sill. One wreath in the middle. One border around the edge. Leave breathing room around it. The empty glass is part of the design, because it lets the light through and lets the painted part stand out. When a window has one clear scene, people stop and look. When it has five scenes fighting each other, people walk past.
Light behind the paint
A painted window is a light box. It looks its best at dusk, with the room lights on behind it and the street dark outside. That is when the white paint glows and the colours shine through the glass. So design for how the window looks at five in the evening, not how it looks from the sofa at noon. Put the warmest colours where the lamp sits behind them. Keep the painted shapes a little bigger than you think, because small details disappear in the glow. And step outside at dusk on the first evening to see it the way your neighbours see it. That is the real test.
Neuman’s Note: The year I learned the light rule, I had painted a whole village on the front window, tiny houses, tiny windows, tiny chimneys. From the sofa it looked perfect. From the street at dusk it looked like a white blur. My neighbour came over and said, kindly, “It looks nice, what is it?” I went back inside, wiped the tiny details off, and painted the houses twice as big with warm yellow windows. That night the whole street could see it. Bigger and simpler always wins on glass.
The 21 Ideas
I have grouped these by style, because that is how you actually choose. You stand in front of the window, you decide if you want something easy, something white and elegant, or something the kids will love, and you start there. Work through one group at a time, and stop when the window feels done. It will feel done sooner than you think.Easy First Time Ideas
If you have never painted a window before, start here. These five window painting ideas use one colour each, big simple shapes, and no drawing skill at all. They are the easy Christmas window painting starting point, and they are kind to first timers. Pick one, paint one window, and you will be done before lunch.1. Start With a Snowy Dotted Border
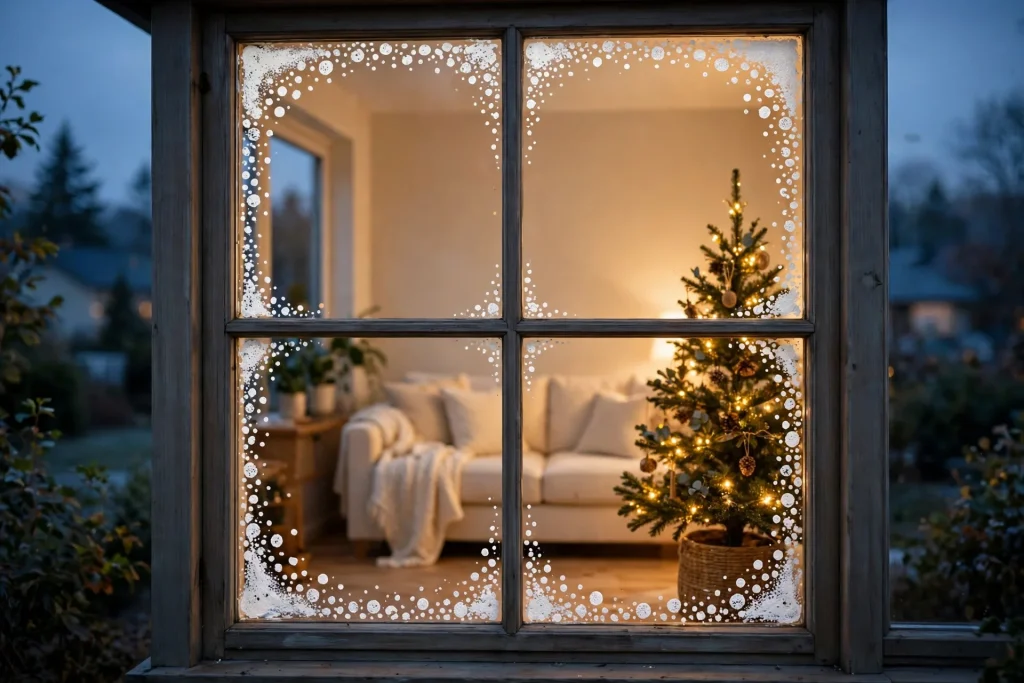
A border of white dots around the edge of the window reads as falling snow, and it is the easiest design on this list. Stamp half inch dots with a round sponge, closer together at the corners and sparser toward the centre, so it feels like snow drifting in. Use washable white tempera with a drop of dish soap stirred in, and keep a damp cloth nearby for the dots that land in the wrong place. The border frames the window without blocking the view, and it looks wonderful from the street at night, because the dots catch the light from the room behind them.
Best for: First timers, renters, and anyone who wants a finished window in under half an hour.
Cost: Under 5 dollars for a bottle of white washable tempera and a sponge. Time: About 20 minutes.
Vary the dot sizes, from tiny specks to circles about half an inch wide. Same size dots look like wallpaper. Mixed sizes look like snow.
You may also like: 21 Cozy Christmas Living Room Decor Ideas That Make Your Home Feel Magical
2. Paint Holly Clusters in the Bottom Corners
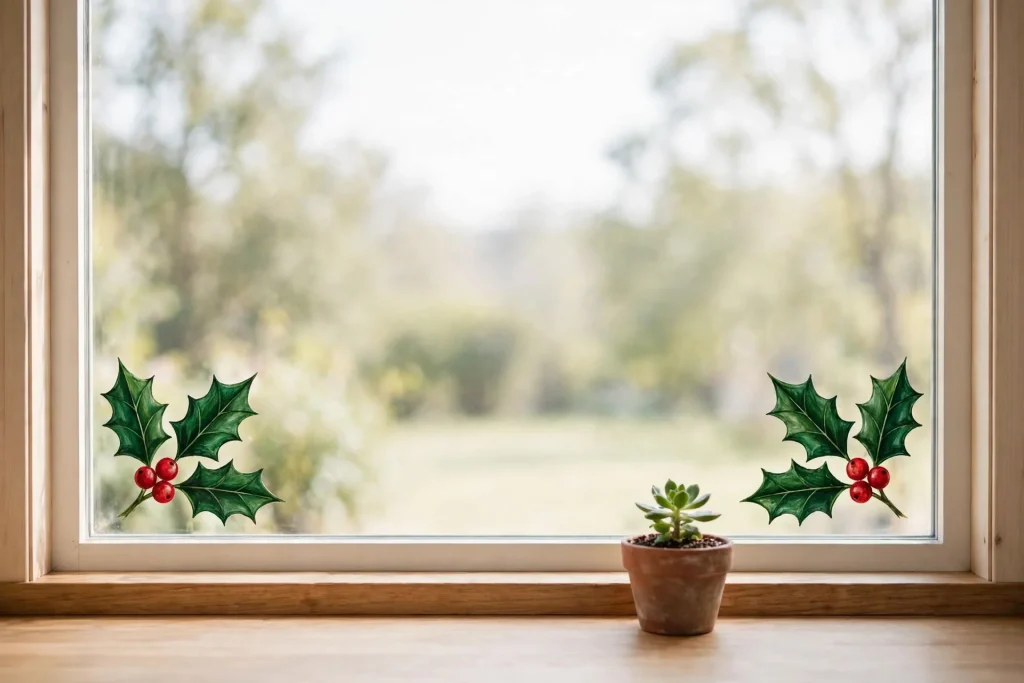
Paint holly in the two bottom corners of the window and leave the middle clear. Each cluster is about six inches across, three pointed leaves in deep green, three red berries, one thin stem, and that is the whole design. It is one of the best simple window painting ideas for a kitchen window, because it sits low where you see it while you cook, and it does not block the light. Use window paint markers for the leaves and berries, because markers give you clean edges on small shapes, and a marker dries fast enough that you can do both corners in one sitting.
Best for: Kitchen windows, small windows, and anyone who wants a classic look with two colours.
Cost: Under 10 dollars for two window paint markers, green and red. Time: About 15 minutes.
Paint the leaves first and let them dry before you add the berries, or the red will smudge into the green. Three berries per cluster is enough. More than that looks crowded.
You may also like: Living Room Decor Ideas That Feel Cozy and Clean
3. Scatter a Starry Night Across the Top
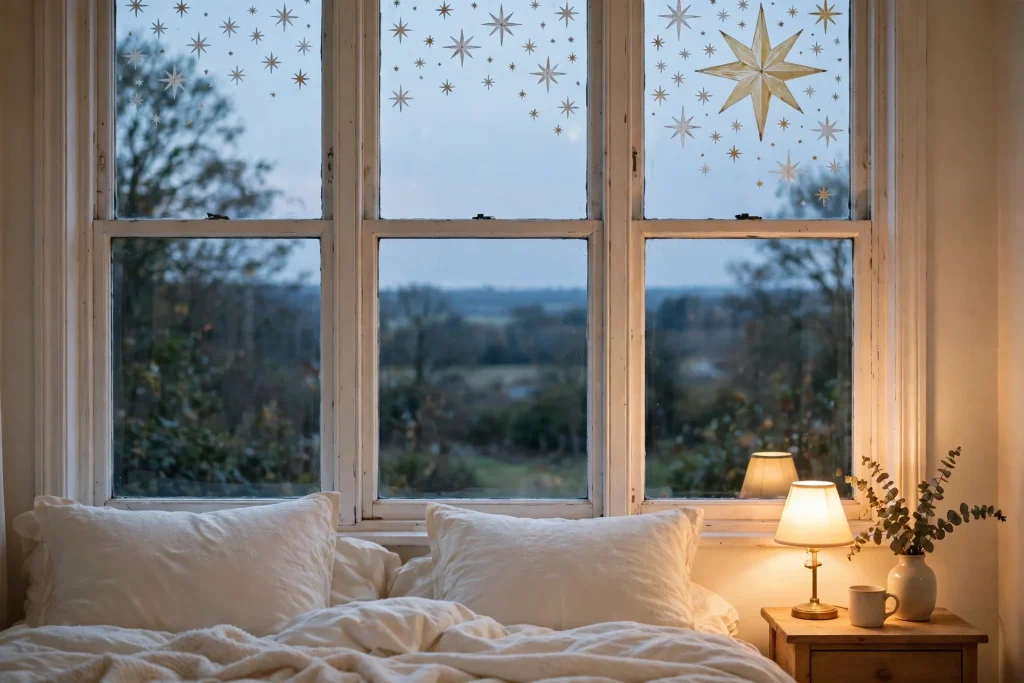
Scatter white and pale gold stars across the top third of the glass, one to three inches wide, with a few tiny dots between them. The stars sit where the sky is, so they look natural, and they catch the room light beautifully at night. Draw the stars with white window paint markers, then add a few gold ones with a gold marker for warmth. Do not line them up in rows. Real stars are random, and a random scatter looks like a night sky while a neat grid looks like a pattern on a curtain.
Best for: Bedroom windows, tall windows, and anyone who loves the way a window glows at night.
Cost: Under 10 dollars for white and gold window paint markers. Time: About 20 minutes.
Make one big star, about three inches, near a top corner, and let the rest get smaller as they spread out. One big star gives the eye somewhere to land.
You may also like: Cozy Bedroom Ideas That Feel Relaxing
4. Hang a Row of Painted Ornaments
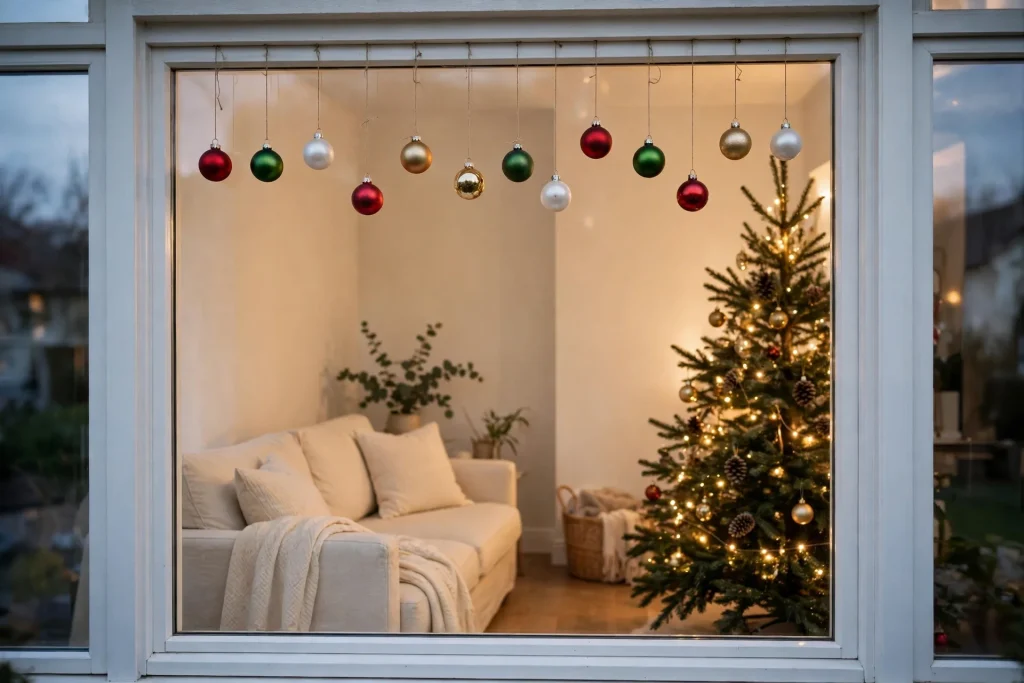
Paint a row of hanging ornaments from the top edge of the window, each one on its own thin string, in different sizes and colours. Draw a thin line down from the top, about six to ten inches long, then a round bauble at the end, two to four inches wide. Red, green, gold, and one white ornament, with a small highlight dot on each one so it looks round and shiny. The strings should hang at different lengths, because ornaments that all hang at the same height look like a fence. Different lengths look like a real tree branch.
Best for: Front windows, living room windows, and families with kids who want to help.
Cost: Under 12 dollars for washable tempera in four colours. Time: About 30 minutes.
Let the kids paint the baubles while you paint the strings. Give each child one ornament to design, and the window becomes a family project instead of a chore.
You may also like: Cozy Studio Apartment Ideas That Make Small Spaces Feel Bigger and Warmer
5. Fill One Corner With Big Snowflakes
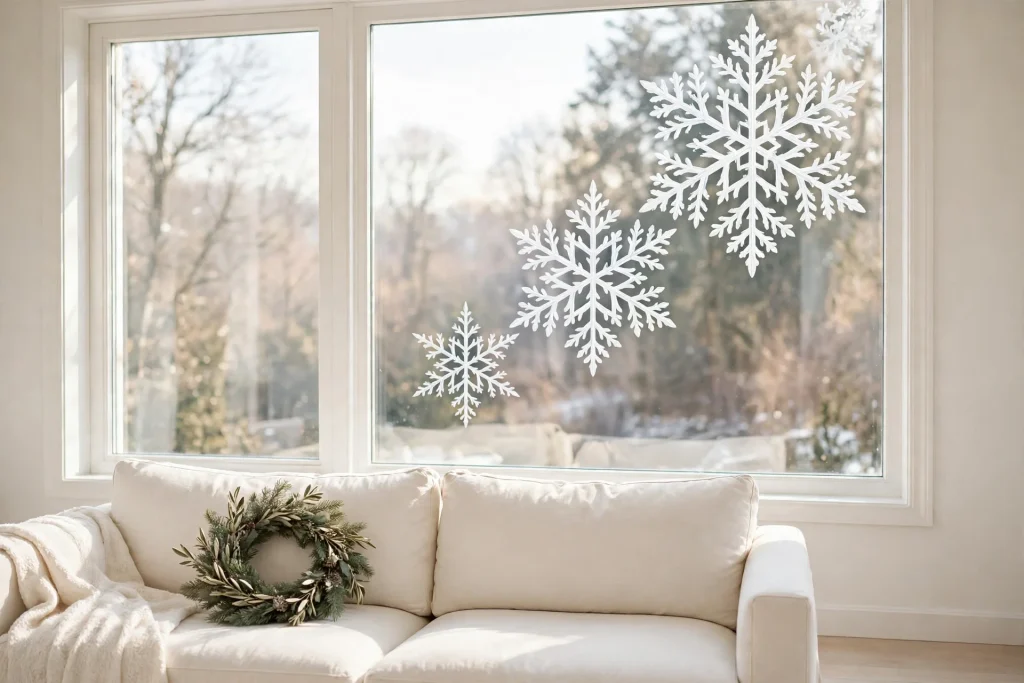
Fill one corner of the window with three or four big snowflakes, each one six to ten inches wide, in different sizes, and leave the rest of the glass clear. Draw each snowflake as six arms from a centre point, then add small branches on each arm, like a real snowflake. White window paint markers are the easiest tool for this, because they give you crisp lines, and you can wipe a mistake off with a damp cloth and redraw it. One corner full of snowflakes looks generous and festive. The same snowflakes spread across the whole window look thin and lost.
Best for: Any window, and the single best first project if you have never painted glass before.
Cost: Under 8 dollars for a white window paint marker. Time: About 20 minutes.
Draw the biggest snowflake first, right in the corner, then fit the smaller ones around it. If you start small, you run out of room for the big one.
You may also like: Wall Decor Ideas That Look Clean and Modern
White Only Elegance
One colour, painted well, looks more expensive than five colours painted fast. These are the window painting ideas white paint does best, and they are the ones that look like they belong in a magazine. White on glass is soft, it glows at night, and it suits every room in the house. If your home is calm and neutral, paint white and stop there.
6. Paint a Lace Garland Valance
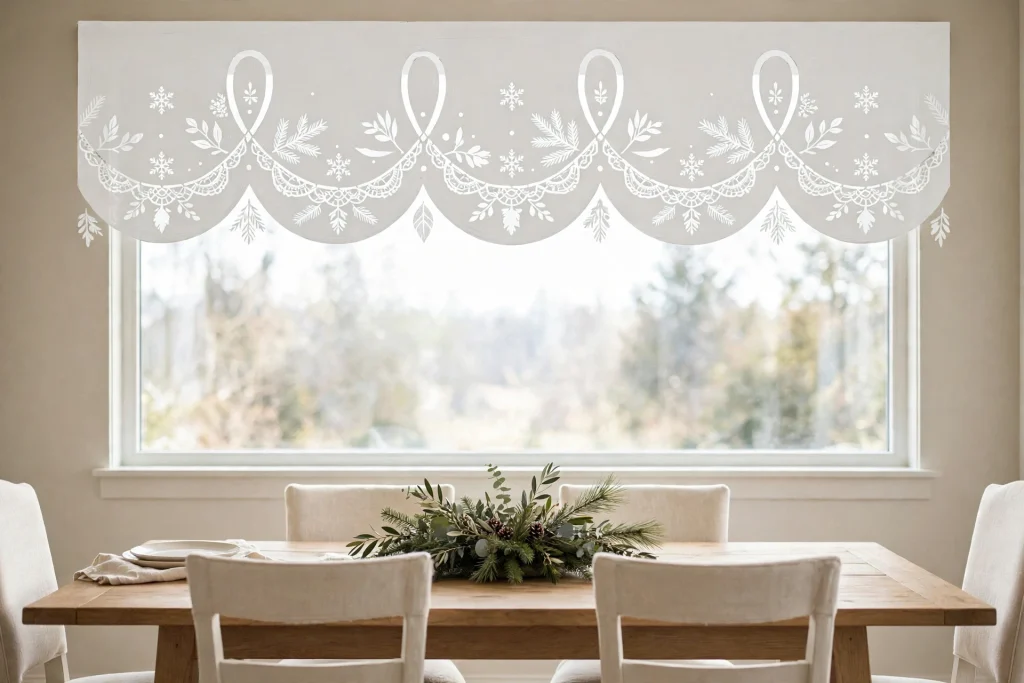
Paint a lace garland across the upper third of the window, eight to twelve inches tall, like a valance made of frost. Use looping scallops, small snowflakes, and simple leaf shapes, all in white washable tempera, and keep the bottom edge soft and open so daylight still comes through. The garland frames the top of the window the way a real valance frames a curtain, and it looks wonderful from outside at night, because the white shapes glow against the dark glass. Work one scallop at a time, left to right, and do not rush the curves. Slow, even loops are what make it read as lace.
Best for: Living room windows, dining room windows, and anyone who wants an elegant look with one colour.
Cost: Under 8 dollars for white washable tempera and a fine brush. Time: About 45 minutes.
Sketch the scallop line first with a white marker, very lightly, then fill it in with the brush. The light sketch line keeps the scallops even, and the paint covers it completely.
You may also like: How to Style a Boho Apartment: A Complete Guide to a Warm and Relaxed Space
7. Draw a Winter City Silhouette
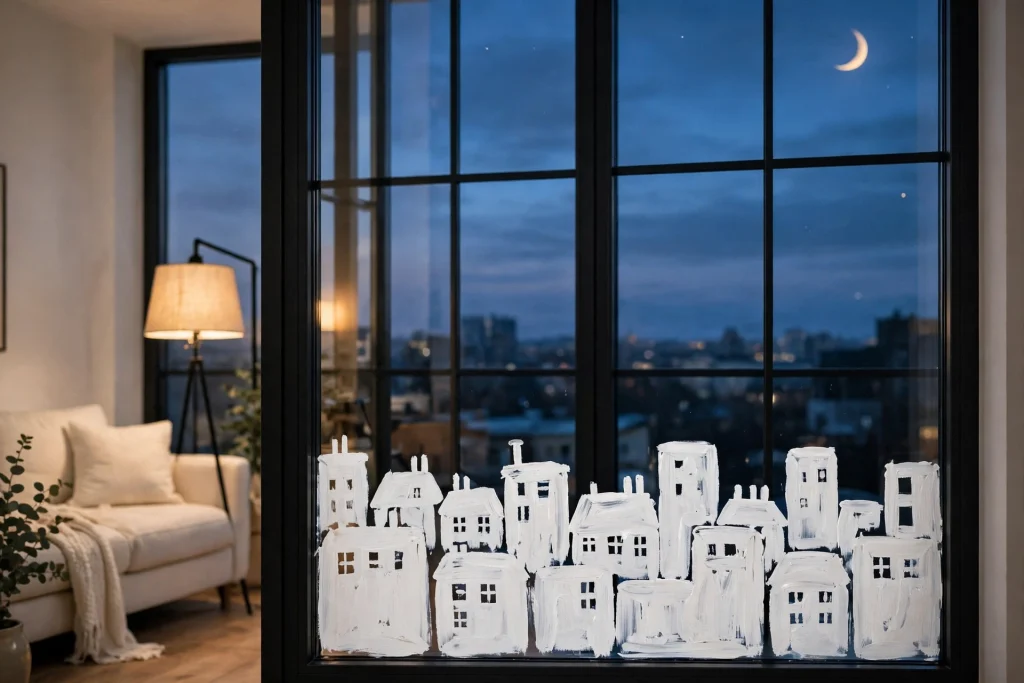
Paint a simple city skyline in white washable tempera across the bottom third of the window. Use varied building heights, pointed rooftops, small square windows, and a crescent moon up in a corner. The buildings should be solid white shapes, not outlines, because solid shapes read clearly from the street, and the little square windows glow warm when the room light shines through them. This is Christmas window art at its most grown up, quiet, graphic, and beautiful, and it takes less skill than it looks like, because a skyline is just rectangles with triangles on top.
Best for: Tall windows, apartment windows, and anyone who likes a modern, graphic look.
Cost: Under 8 dollars for white washable tempera. Time: About 30 minutes.
Cut a piece of paper into a rectangle, hold it against the glass, and paint around it to get a straight building edge. It is faster than a ruler and it works on any size.
You may also like: Mirror Wall Decor Ideas That Make Your Living Room Feel Bigger and Better
8. Paint a Forest of Tall White Firs
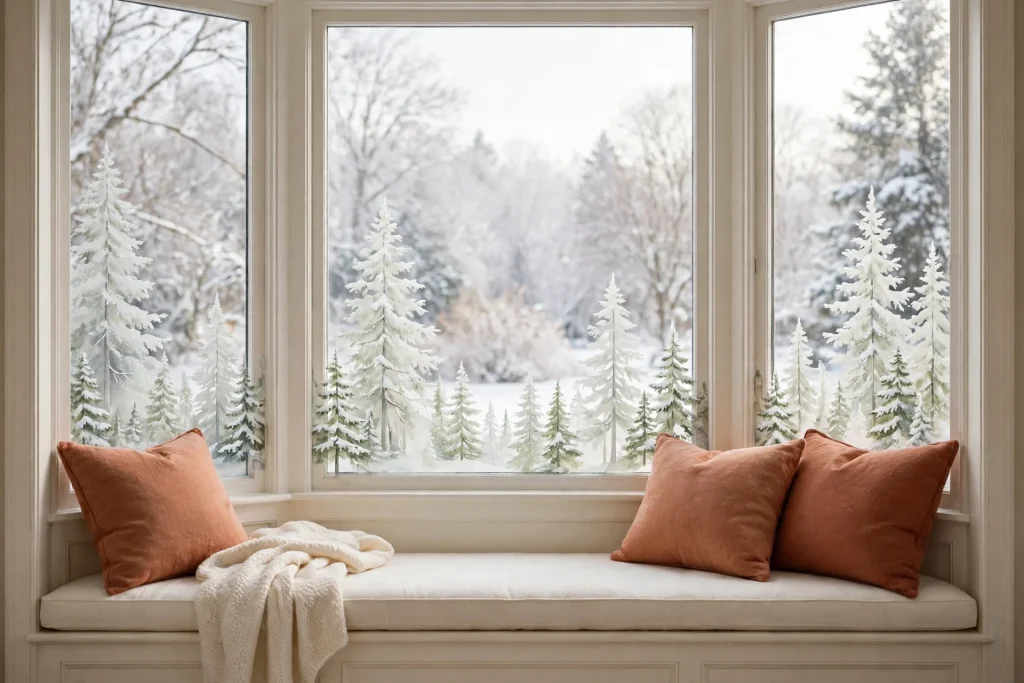
Paint a forest of tall white firs along the bottom of the window, six to ten trees of different heights, from about eight inches to about eighteen inches tall. Each tree is a simple triangle with a few branch lines and a dusting of snow on the tips, and the tallest tree goes near the middle so the forest has a peak. White on glass, with the room light behind it, makes the trees look like they are covered in frost, and the whole window feels like a walk in the woods. Keep the trees close together at the base, with the trunks almost touching, so it reads as a forest and not a row of separate trees.
Best for: Wide windows, bay windows, and anyone who wants a calm, wintry scene.
Cost: Under 8 dollars for white washable tempera. Time: About 30 minutes.
Paint the tallest tree first, then build the smaller ones around it. If you paint the small ones first, the tall one ends up squeezed into whatever space is left.
You may also like: 7 Entryway Ideas That Make Your Home Feel Put Together Instantly
9. Frame a White Wreath With Lettering
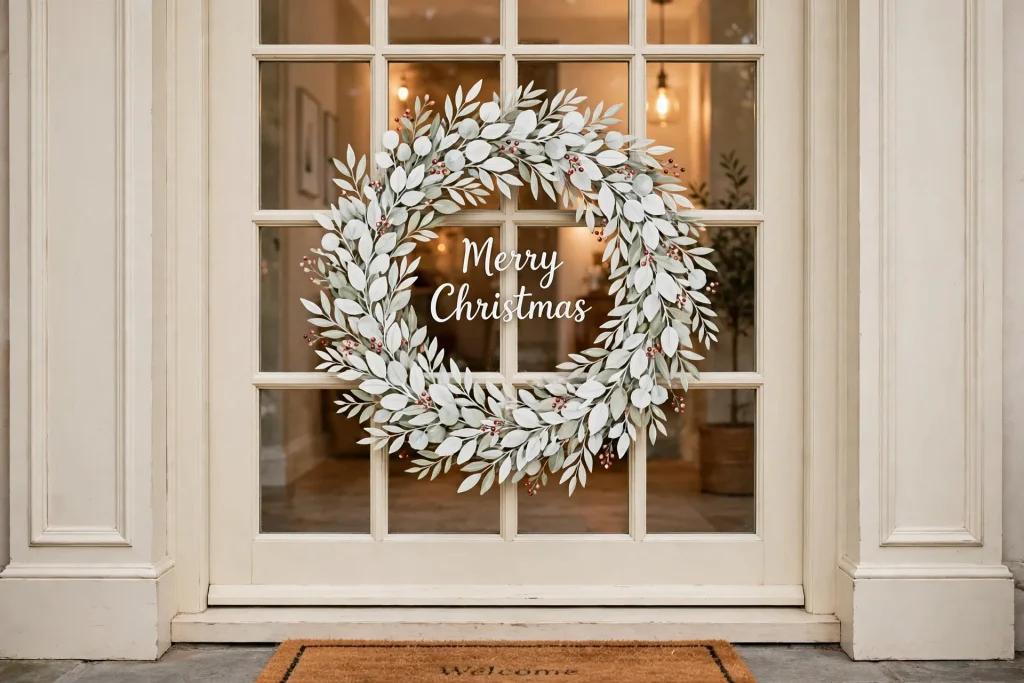
Paint a big white wreath in the centre of the window, about eighteen inches across, made of overlapping leaves and small berries, and letter the words “Merry Christmas” inside it in simple script. The wreath is the frame and the words are the picture, and together they fill the window without blocking much light, because the middle stays open and the glass shows through around the letters. Use a white window paint marker for the wreath and the lettering, because markers give you the control you need for curves and script. Practice the lettering on paper first, twice, before you touch the glass.
Best for: Front doors with glass panels, front windows, and anyone who wants words on their window.
Cost: Under 8 dollars for a white window paint marker. Time: About 30 minutes.
Write the words first, lightly, in the centre, then paint the wreath around them. If you paint the wreath first, you will run out of room for the words, and cramped lettering is the one thing people notice.
You may also like: 21 Cozy Christmas Living Room Decor Ideas That Make Your Home Feel Magical
Village and Story Scenes
These are the windows people photograph. A village along the sill, a sleigh across the sky, a whole story told in paint on glass. They take a little longer than the easy ideas, but they are the ones the neighbours remember, and they are the reason window painting for Christmas has become such a loved tradition. Pick one scene, give it the whole window, and let it be the star.
10. Build a Snowy Village Along the Sill
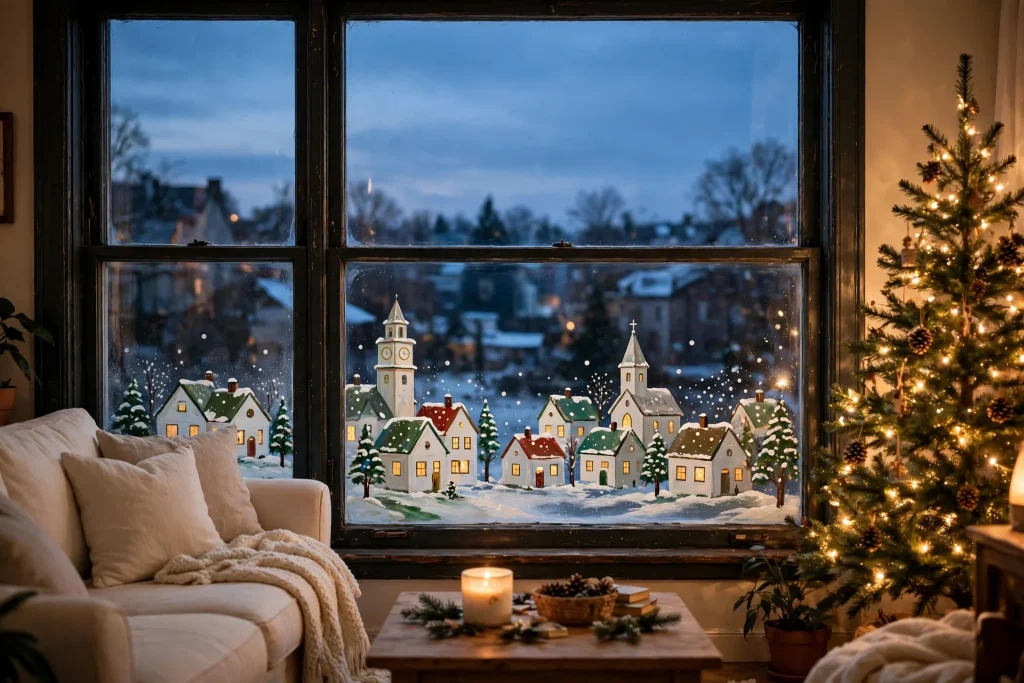
Build a village along the bottom third of the window, small houses four to six inches tall, a clock tower, a church with a pointed roof, and warm yellow windows in every house. Paint the houses white, the roofs green or red, and the windows warm yellow, because the yellow windows are what make the village glow at night. Add a few tiny snow dots on the rooftops and a wisp of smoke from one chimney, and the village feels alive. This is the classic of all Christmas window painting ideas, and it is the one people ask about most, because it turns a plain window into a place.
Best for: Front windows, living room windows, and anyone who wants the window to be the main decoration.
Cost: Under 15 dollars for washable tempera in white, green, red, and yellow. Time: About 1 hour.
Paint the houses white first and let them dry, then add the roofs, then the yellow windows last. The yellow windows are the detail that makes it glow, so save them for the end when your hand is steadiest.
You may also like: Living Room Decor Ideas That Feel Cozy and Clean
11. Draw a Chalk Village With a Nativity
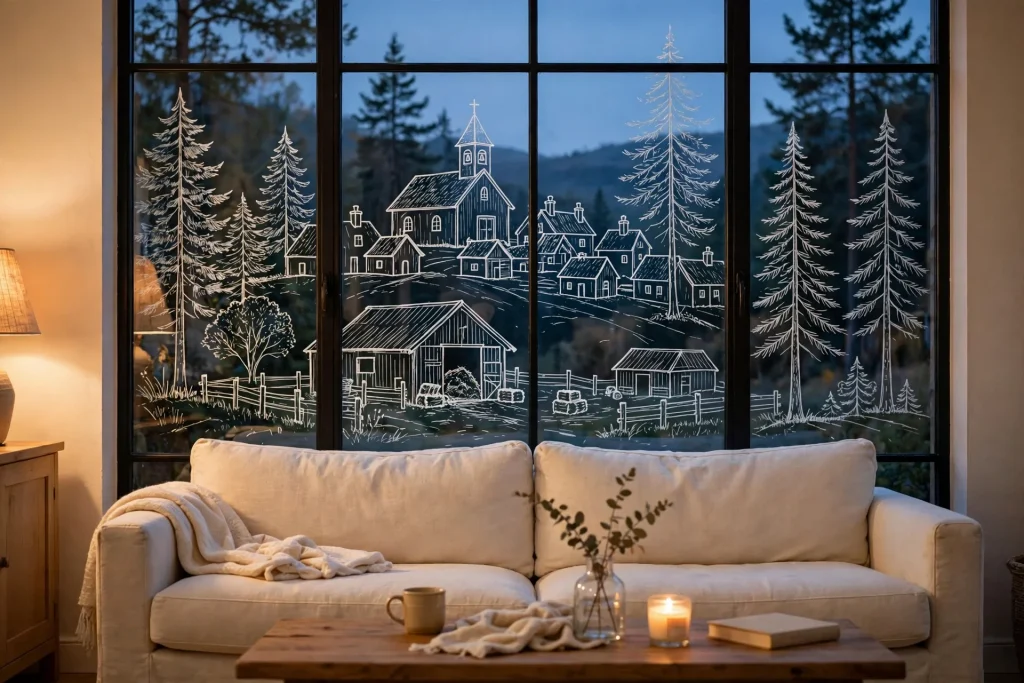
Draw a little white village on the window with washable chalk markers, a church, tall pines, and a stable with the Holy Family inside, all in fine white lines. Chalk markers are the right tool here, because they give you thin, clean lines for small details, and they wipe off with a damp cloth, so a wobbly line is a ten second fix, not a disaster. Keep the whole scene white, no colour at all, and let the room light behind the glass do the work. A white line drawing on glass at dusk looks like frost that someone drew on purpose, and it is the most peaceful design on this list.
Best for: Anyone who wants a quiet, meaningful window, and for first timers who like to draw.
Cost: Under 10 dollars for two white chalk markers, fine and medium. Time: About 45 minutes.
Draw the stable first, in the centre, then build the village around it. The stable is the heart of the scene, and everything else should point toward it, not away from it.
You may also like: Cozy Studio Apartment Ideas That Make Small Spaces Feel Bigger and Warmer
12. Paint Santa’s Sleigh Across the Night Sky
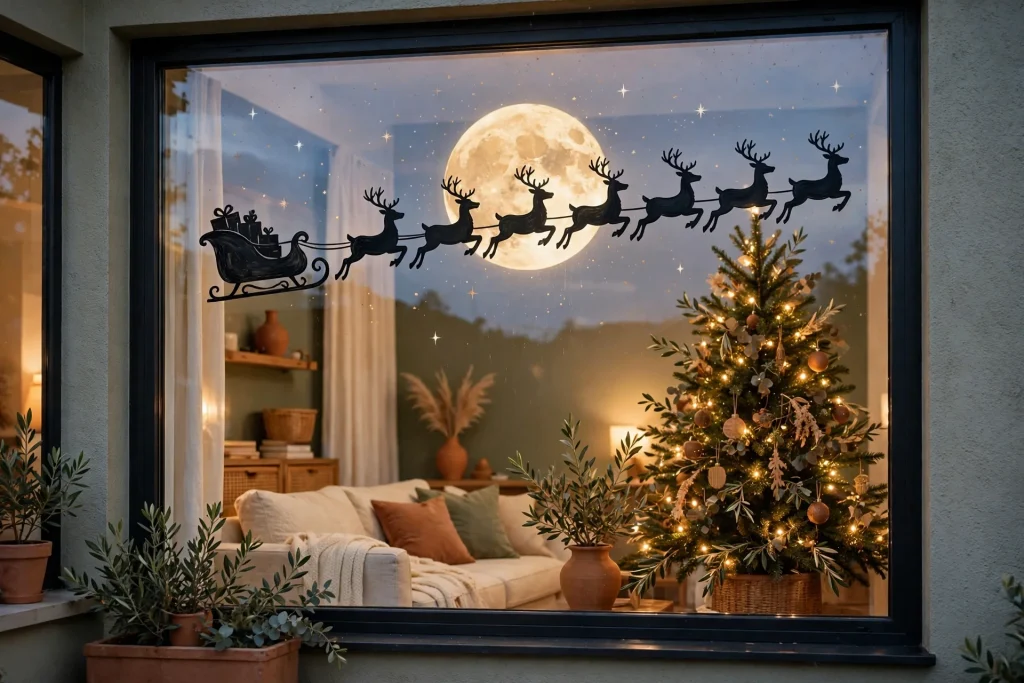
Paint Santa’s sleigh flying across the top half of the window, with eight reindeer in a line, a big moon behind them, and stars scattered around. Paint the sleigh and the reindeer as dark silhouettes, deep green or charcoal, against the glass, because a silhouette reads clearly from far away, and the moon behind them makes the whole scene glow. The reindeer do not need to be perfect. Eight simple shapes in a row, each one a little smaller than the last, reads as a team flying into the distance, and the moon does the rest of the work.
Best for: Front windows, kids’ bedrooms, and anyone who wants the window to make people smile from the street.
Cost: Under 12 dollars for washable tempera in dark green, white, and gold. Time: About 1 hour.
Paint the moon first, a big circle in the top corner, then the sleigh and reindeer across it. If you paint the sleigh first, you will have to paint the moon around it, and that never looks as clean.
You may also like: Wall Decor Ideas That Look Clean and Modern
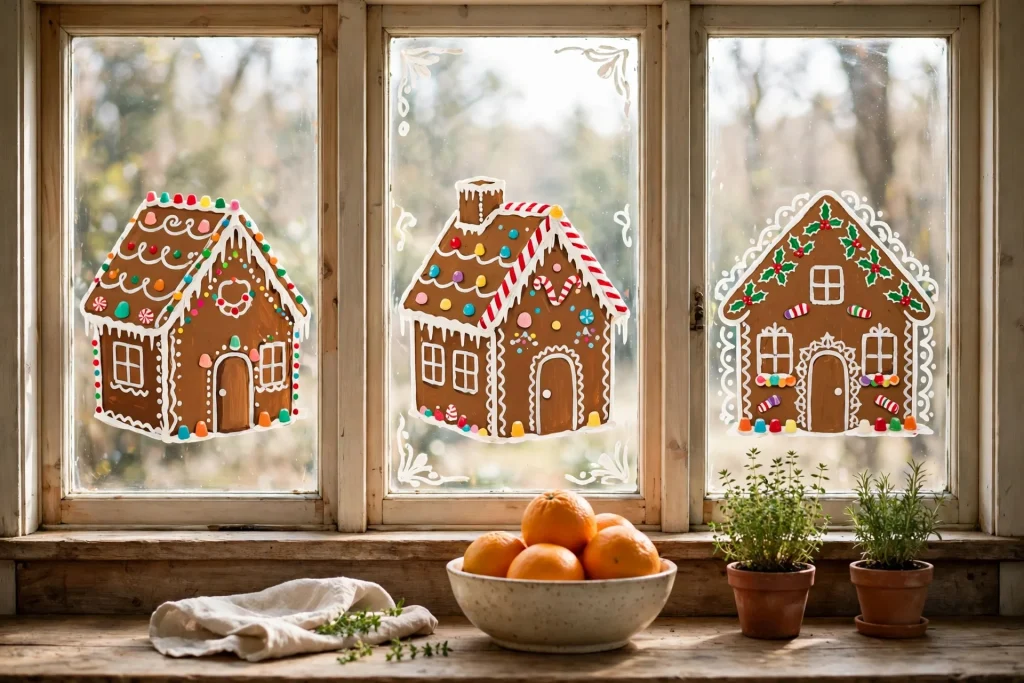
13. Paint a Gingerbread Village Across Three Panes
Paint a gingerbread village across three window panes, one house per pane, in warm brown, white icing lines, and candy colours. Each house gets a different roof, a different door, and a different candy trim, so the three panes feel like three neighbours on a street, not three copies of the same house. The brown houses with white icing lines look good in daylight, and they look even better at dusk, when the room light turns the icing lines gold. This is the best design for a window with separate panes, because the frames between the panes become the gaps between the houses, and the window does half the work for you.
Best for: Windows with separate panes, kitchen windows, and families who bake gingerbread every year.
Cost: Under 15 dollars for washable tempera in brown, white, red, and green. Time: About 1 hour.
Paint one house per sitting if you have the time, and let each one dry before you start the next. Three good houses beat three rushed ones, and the icing lines need a dry surface or they smudge.
You may also like: How to Style a Boho Apartment: A Complete Guide to a Warm and Relaxed Space
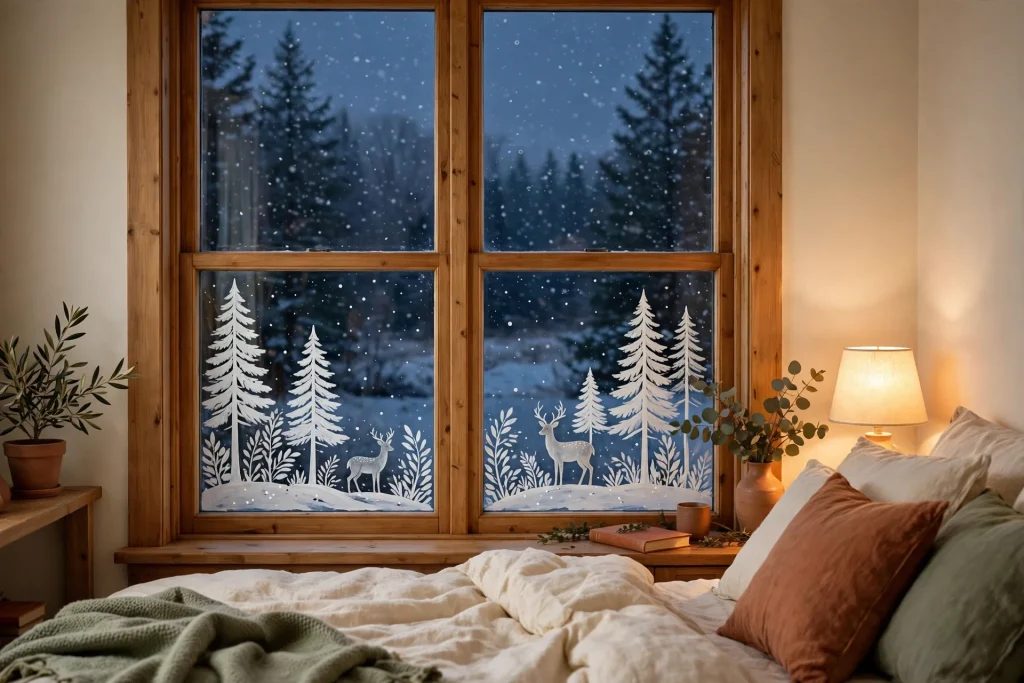
14. Paint a Woodland of White Deer and Pines
Paint a woodland of white deer and pines across the bottom half of the window, two deer silhouettes, one tall and one small, standing among tall white pine trees, with a few snow dots falling around them. The deer should be solid white shapes, simple and graceful, because a solid silhouette reads clearly from the street, and the pines behind them give the scene depth. This is the quietest design on this list, no red, no gold, no words, just white shapes on glass, and it is the one that looks most like a winter morning. It suits a calm room, and it suits a window that already has a lot going on around it.
Best for: Bedroom windows, calm neutral rooms, and anyone who loves a quiet Christmas.
Cost: Under 10 dollars for white washable tempera. Time: About 45 minutes.
Paint the pines first, then the deer in front of them. The deer should overlap the trees, not sit in the gaps between them, because overlapping is what makes the scene feel deep instead of flat.
You may also like: Cozy Bedroom Ideas That Feel Relaxing
Colourful Family Windows
These are the loud, happy windows, full of colour, full of characters, and full of the things kids ask for by name. A snowman family, a gingerbread house, a red truck with a tree in the back. They take a few more colours and a little more time, but they are the ones that make the house feel like Christmas from the road, and they are the ones your kids will remember when they are grown.
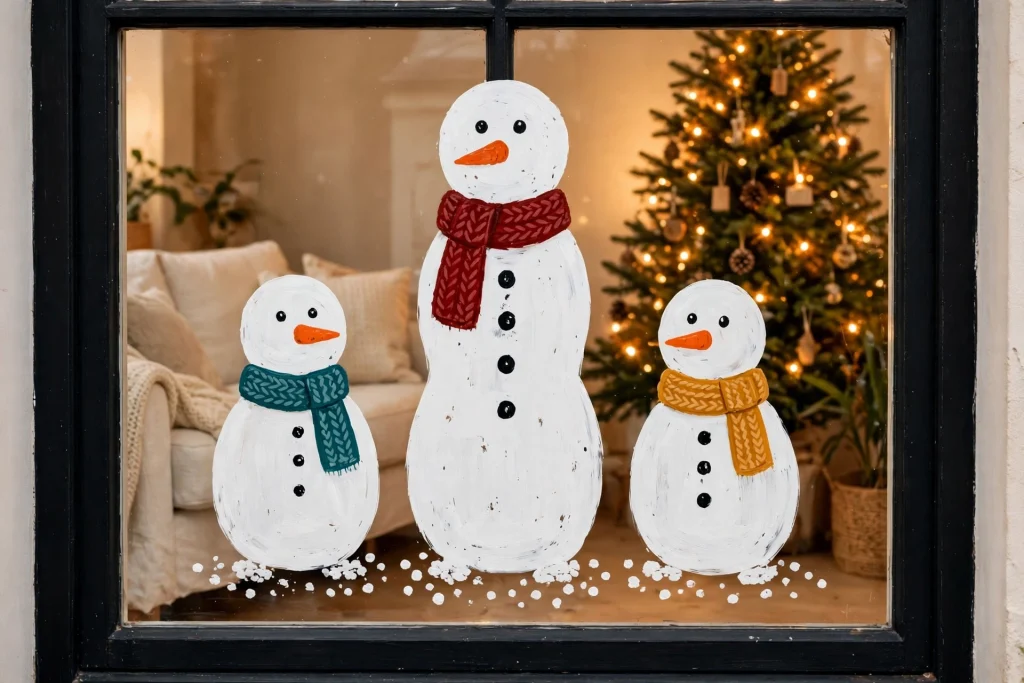
15. Stack a Snowman Family Under the Ornaments
Paint a snowman family on the window, three snowmen in a row, a tall one, a medium one, and a small one, each with a different coloured scarf, a carrot nose, and a smile. The tallest snowman goes in the middle, the two smaller ones on either side, like a family posing for a photo. Paint the bodies white, the scarves red, green, and gold, and the noses orange, and add a few snow dots around their feet. The snowmen should sit low on the glass, near the sill, so they look like they are standing on the window ledge, and the ornaments from idea four can hang above them.
Best for: Front windows, kids’ bedrooms, and families who build a real snowman every year.
Cost: Under 15 dollars for washable tempera in white, red, green, gold, and orange. Time: About 45 minutes.
Paint the white bodies first and let them dry completely before you add the scarves and faces, or the colours will bleed into the white. Dry white is the secret to a clean snowman.
You may also like: 21 Cozy Christmas Living Room Decor Ideas That Make Your Home Feel Magical
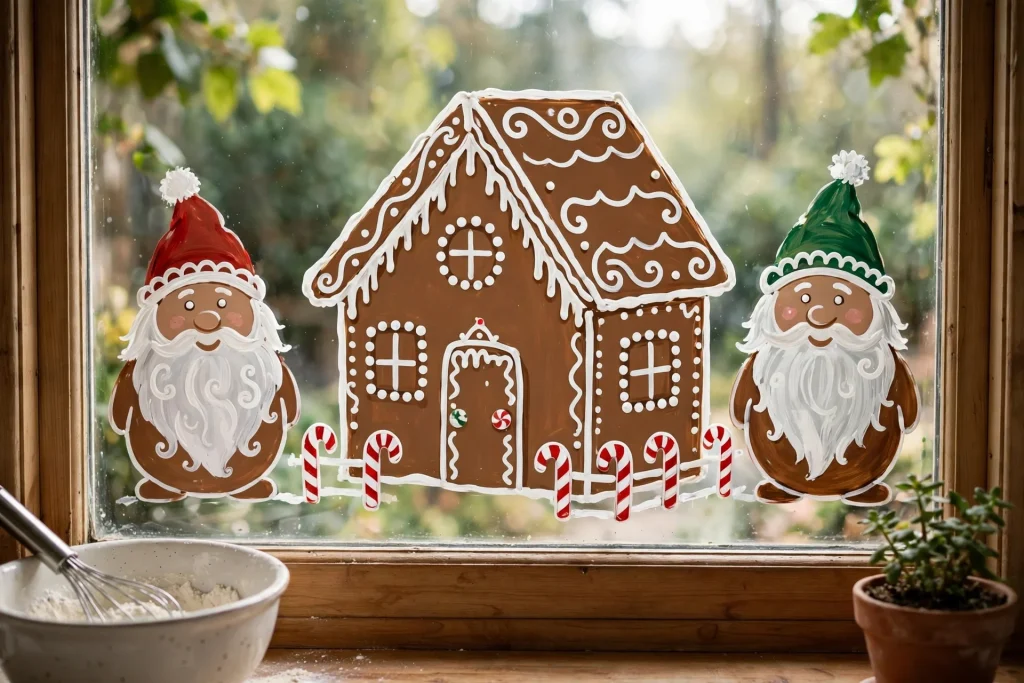
16. Paint a Gingerbread House With Gnomes
Paint a gingerbread house in the centre of the window, with a candy cane fence, a snow covered roof, and two gnomes standing guard on either side, one in a red hat and one in a green hat. The house is brown with white icing lines, the gnomes are short and round with long beards, and the whole scene should feel like a storybook, not a photograph. Gnomes are forgiving to paint, because they are mostly a hat and a beard, and a wobbly beard still looks like a beard. This is the design to pick if you want colour, character, and a window that makes people laugh.
Best for: Kitchen windows, front windows, and anyone who loves gnomes.
Cost: Under 15 dollars for washable tempera in brown, white, red, and green. Time: About 1 hour.
Paint the house first, then the gnomes, then the fence last. The fence ties the whole scene together, and it is the easiest part to fix if the spacing looks off.
You may also like: Living Room Decor Ideas That Feel Cozy and Clean
17. Paint a Vintage Red Truck Hauling a Tree
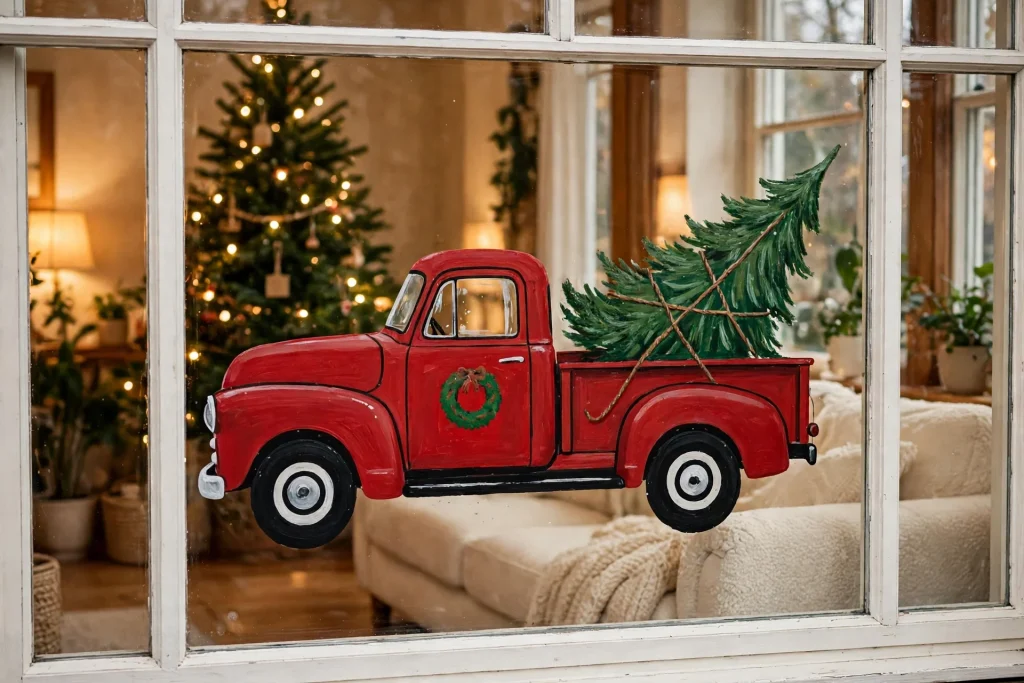
Paint a vintage red truck on the window, hauling a green Christmas tree in the back, with white snow dots falling around it and a small wreath on the truck door. The truck is a simple boxy shape, a cab, a bed, four round wheels, and the tree sticks up out of the back at a jaunty angle, tied down with a bit of rope. The red truck against the glass is the boldest colour on this list, and it reads from a long way down the street, which is why it is the most shared of all window painting ideas Christmas fans post online. Keep the truck low on the glass, near the sill, so it looks like it is driving along the window ledge.
Best for: Front windows, garage windows, and anyone who loves the vintage Christmas look.
Cost: Under 12 dollars for washable tempera in red, green, white, and black. Time: About 45 minutes.
Paint the truck body red first and let it dry, then add the black wheels and the white details. Red paint over black smudges, and black paint over dry red stays crisp.
You may also like: 7 Entryway Ideas That Make Your Home Feel Put Together Instantly
18. Line Up Nutcracker Soldiers to Guard the Window
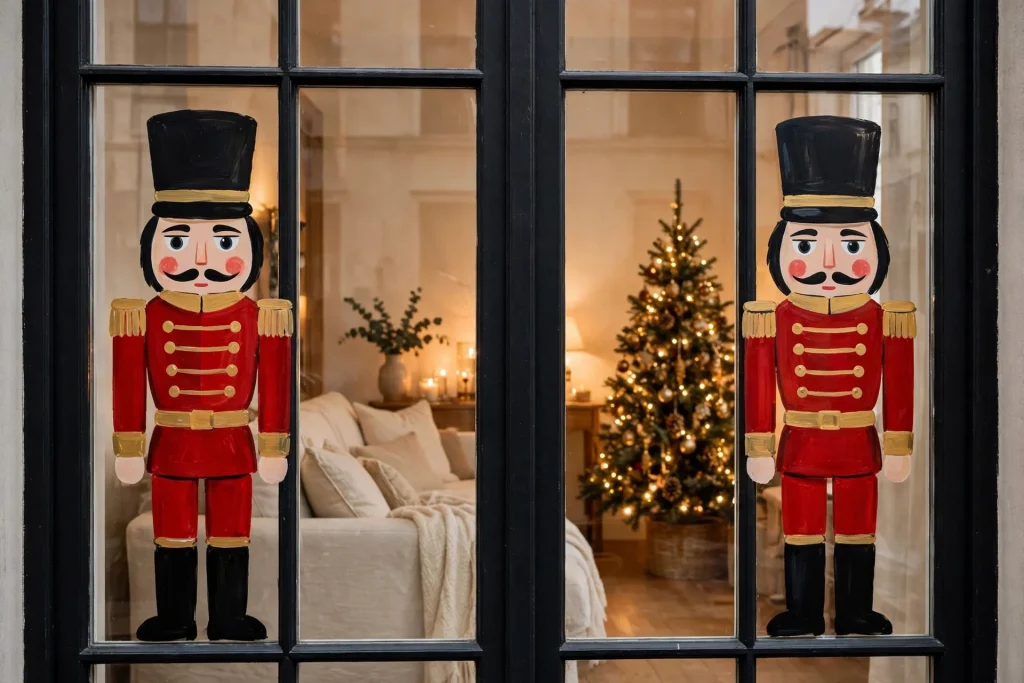
Paint two nutcracker soldiers on the window, one on each side, standing guard like a pair of bookends, in red and gold uniforms with tall black hats. The nutcrackers should be tall and narrow, about eighteen inches high, with straight backs and serious faces, and the space between them stays clear, so the window feels framed rather than filled. Nutcrackers are mostly straight lines and rectangles, a hat, a jacket, boots, so they are easier to paint than they look, and they give the window a grand, old fashioned Christmas feel that no other design on this list has.
Best for: Front windows, tall windows, and anyone who loves the Nutcracker.
Cost: Under 12 dollars for washable tempera in red, gold, black, and white. Time: About 45 minutes.
Paint both nutcrackers at the same time, one step at a time, hats first, then jackets, then boots, so they match. If you finish one completely and then start the other, they will come out different sizes.
You may also like: Mirror Wall Decor Ideas That Make Your Living Room Feel Bigger and Better
Letters, Light and Finishing Touches
These last three ideas are the ones that finish a window, or finish a whole house. Big lettering that reads from the street, a stained glass panel that glows like a church window, and a single frosty branch for the window you almost forgot. They are also the ideas to use when you have already painted one window and you want the next one to be different.
19. Letter “Merry Christmas” Big Enough to Read From the Street
Paint the words “Merry Christmas” across the window in letters at least eight inches tall, so they read from the street, in white with a thin red shadow on one side. Big lettering is the simplest design on this list and the hardest to get wrong, because it has no drawing in it at all, just letters, and letters are shapes you already know. Use a white window paint marker for the letters and a red marker for the shadow, and write the words on paper first, at full size if you can, so you know they will fit before you touch the glass. Centre the words on the window, leave space above and below, and do not add anything else. Words alone are enough.
Best for: Front windows, shop windows, and anyone who wants the message to be the decoration.
Cost: Under 10 dollars for white and red window paint markers. Time: About 20 minutes.
Write the words in pencil on the paper first, then trace them on the glass with the marker. If you write straight on the glass and a letter comes out wrong, you wipe the whole word off and start again. On paper, you just erase one letter.

You may also like: Wall Decor Ideas That Look Clean and Modern
20. Paint a Stained Glass Style Panel
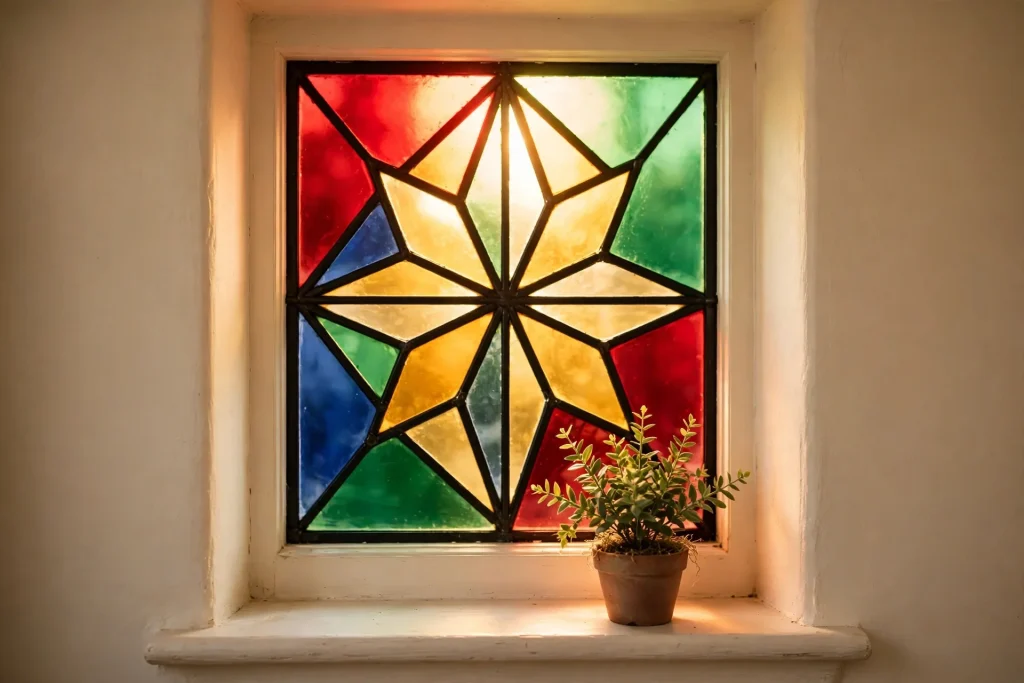
Paint a stained glass style panel on one pane of the window, bold black outlines and jewel colours, red, green, gold, and blue, filled in like a church window. Draw the design first with a black window paint marker, a simple star, a tree, or a wreath, divided into sections by thick black lines, then fill each section with a different colour of washable tempera. The black outlines are what make it read as stained glass, and what turn a painted pane into real Christmas window art, so make them thick, about a quarter inch, and do not worry about perfect straight lines. Stained glass is supposed to look handmade, and a slightly wobbly line looks more real than a perfect one.
Best for: Small panes, bathroom windows, and anyone who wants colour that glows.
Cost: Under 15 dollars for a black window paint marker and washable tempera in four colours. Time: About 1 hour.
Let the black outlines dry completely before you fill in the colours, or the colours will bleed into the black and the whole panel turns muddy. Dry black is the frame that holds the colours in.
You may also like: Cozy Studio Apartment Ideas That Make Small Spaces Feel Bigger and Warmer
21. Finish With a Frosty Branch and Berries
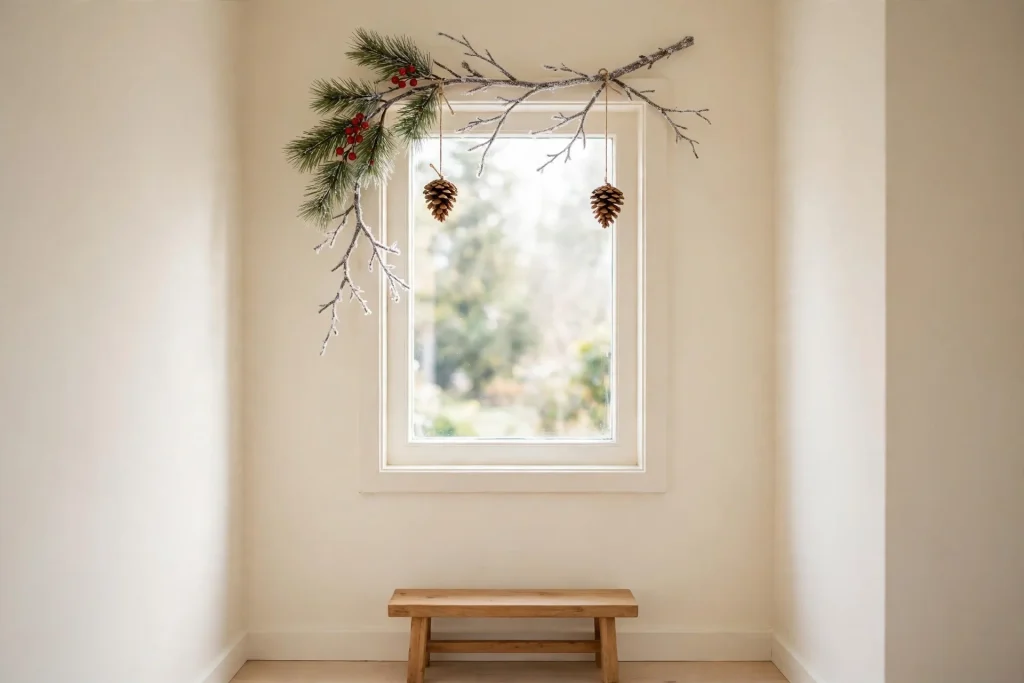
Paint a single frosty branch across a top corner of the window, with red berries and two small pinecones hanging from it, and leave the rest of the glass alone. The branch is a long diagonal line with small needle clusters along it, the berries are three red dots in a cluster, and the pinecones are two small brown ovals with a few scale lines. One branch, one corner, done. This is the design for the window you almost forgot, the bathroom window, the hallway window, the one above the sink, and it is the design that makes the whole house feel finished, because every window has something on it, even the small ones.
Best for: Small windows, hallway windows, and the last window you paint.
Cost: Under 10 dollars for washable tempera in green, red, and brown. Time: About 20 minutes.
Paint the branch first, from the corner outward, then the berries, then the pinecones last. The pinecones hang from the branch, so they need the branch to be there first, or they float in mid air.
You may also like: Cozy Bedroom Ideas That Feel Relaxing
The 1-2-3 Window Method: How to Combine Ideas Without Overdoing It
Here is the part most window painting lists skip. A list of 21 ideas is not a plan. It is a wish list. If you try to paint every idea on every window, your house will look like a craft shop exploded, and you will not be able to see out of your own windows. So here is the simple ratio I use when I paint my own windows, and it works every time.
The 1-2-3 Window Method
1 Window
Paint 1 window first, the one people see first, usually the front window. Not every window in the house. One painted window is a decoration. Five painted windows is a project, and a project is how people burn out before the first one is finished. Paint the front window, live with it for a day, then decide if you want a second one.
2 Colours
Pick 2 colours and use them well. White plus one accent, red, green, or gold. Two colours done well beat six colours done fast, because two colours look intentional and six colours look like you could not decide. You can add a third colour for a big scene, like the village, but start with two and only add more if the design asks for it.
3 Steps
Every window painting follows the same 3 steps, no matter how simple or fancy the design. Clean the glass, trace the design, fill it in. Clean first, because paint only sticks well to clean glass. Trace second, with a template taped to the outside or a light sketch on the inside, because a traced outline is always cleaner than a freehand guess. Fill third, big areas first, details last, because the big areas set the shape and the details finish it. Clean, trace, fill. That is the whole method.
That is it. 1 window, 2 colours, 3 steps. No house needs more than that to read as Christmas from the street.
Before the 1-2-3 Window Method
- A different design on every window, none of them matching
- Five colours on one window, all fighting each other
- A window painted edge to edge with no breathing room
- Acrylic paint that will not come off in January
- A design you freehanded and now cannot fix
After the 1-2-3 Window Method
- 1 window painted well, the one people see first
- 2 colours that look intentional and calm
- 3 steps followed in order, clean, trace, fill
- Washable paint that wipes off in ten minutes in January
- A design you can step back from and be proud of
Pick your 1 window, your 2 colours, and your 3 steps from the 21 ideas above. Write them down. Then stop. The window is done.
At a Glance: Every Idea, Its Cost, and Its Time
| Group | Ideas | Budget | Time to do them all |
|---|---|---|---|
| Easy First Time Ideas | 1 to 5 | Under 12 dollars | About 2 hours |
| White Only Elegance | 6 to 9 | Under 10 dollars | About 2 hours |
| Village and Story Scenes | 10 to 14 | Under 15 dollars | About 4 hours |
| Colourful Family Windows | 15 to 18 | Under 15 dollars | About 3 hours |
| Letters, Light and Finishing Touches | 19 to 21 | Under 15 dollars | About 1 hour and 40 minutes |
Most of these ideas cost under 15 dollars on their own, and most of them take under an hour. The paint is the only real cost, and a bottle of washable tempera lasts for several windows. Everything else is time, patience, and a steady hand.
Do This, Not That
| Do This | Avoid This |
|---|---|
| Use washable tempera or liquid chalk markers | Acrylic or permanent glass paint that will not come off |
| Clean the glass first and test a small patch | Painting on a dusty window and finding out in January |
| Paint 1 window first, the one people see | A different design on every window at once |
| Use 2 colours and use them well | Five or six colours fighting on one pane |
| Trace a template taped to the outside of the glass | Freehanding a big design and running out of room |
| Paint on the inside of the glass | Painting on the outside, where rain and snow ruin it |
| Step outside at dusk to check the window | Judging the design only from the sofa at noon |
| Let each colour dry before you add the next one | Layering wet paint and watching the colours bleed |
Your Christmas Window Painting Weekend
You do not need a whole month to paint your windows. One weekend is enough for window painting for Christmas if you split it right. Saturday is for the big window. Sunday is for the details and the second window, if you still want one.Saturday: The Big Window
Morning: Pick the window, the front window, and clean it inside and out. Wash it with warm soapy water, dry it with a lint free cloth, and do the test patch in a bottom corner. While it dries, pick your design from the list above and print your template, or sketch it on paper. Afternoon: Tape the template to the outside of the glass and trace it from the inside. Then fill in the big areas, white first, then your accent colour. Do not do the details yet. Big areas first, details last. Step back every twenty minutes and look at the window from across the room. Evening: Turn the room lights on, step outside, and look at the window from the street. This is the moment that matters. If it glows, you are done for the day. If something looks off, fix it now, while the paint is fresh and easy to wipe.Sunday: The Details and the Second Window
Morning: Add the details to Saturday’s window, the yellow windows in the village, the berries on the holly, the highlight dots on the ornaments. Details are what make a good window great, and they take less than an hour all together. Afternoon: If you still have energy, paint a second window, a small one, with an easy Christmas window painting idea from the first group. A dotted border or a frosty branch. Small windows are quick, and a second painted window makes the whole house feel finished. Evening: Clean your brushes, put the paint away, and sit down with a mug of cocoa. Look at the windows from the sofa, then step outside one more time at dusk. The house looks like Christmas now. Do not add anything else until next weekend, and only if you still want to.Take It Further
If you liked this guide, these are the next ones to read. They build on the same ideas, room by room.
- 21 Cozy Christmas Living Room Decor Ideas That Make Your Home Feel Magical
- Living Room Decor Ideas That Feel Cozy and Clean
- Cozy Studio Apartment Ideas That Make Small Spaces Feel Bigger and Warmer
- How to Style a Boho Apartment: A Complete Guide to a Warm and Relaxed Space
- 7 Entryway Ideas That Make Your Home Feel Put Together Instantly
- Mirror Wall Decor Ideas That Make Your Living Room Feel Bigger and Better
- Wall Decor Ideas That Look Clean and Modern
- Cozy Bedroom Ideas That Feel Relaxing
Designer’s Cheat Sheet
If you read nothing else, read this.
- The rule: 1 window, 2 colours, 3 steps. That is the 1-2-3 Window Method, and it is the whole guide in one line.
- The three things: Clean glass, one focal point, light behind the paint. If the window has all three, it looks like Christmas.
- The paint: Washable tempera with a drop of dish soap, or liquid chalk markers. Both wipe off in January. Never use permanent paint on a window you plan to clean.
- The budget: Most ideas are under 15 dollars. A bottle of washable tempera lasts for several windows.
- The time: One weekend. Saturday for the big window, Sunday for the details.
- The mistake to avoid: Painting on the outside of the glass, or using acrylic paint. Outside paint washes off in the rain, and acrylic does not come off at all.
- The one thing to do first: Clean the glass and do a test patch in a bottom corner. If the test patch wipes off clean, the whole design will.
Questions People Ask
Use washable tempera paint for big areas and liquid chalk markers for outlines and lettering. Both wash off easily in January with warm soapy water or a damp cloth. Add a drop of dish soap to the tempera and it comes off even easier. Skip permanent glass paint and sealant for a holiday design you plan to remove, because they are made to stay.
Wipe washable tempera off with warm soapy water and a sponge, then dry the glass with a lint free cloth. Chalk markers wipe off with a damp cloth or a little window cleaner. For stubborn spots, spray with soapy water, let it soak for a minute, and wipe again. Never scrape dry glass, and avoid razor blades on tinted or coated glass, because a blade can damage the coating. For a second opinion on stubborn paint, see Bob Vila’s guide to removing paint from glass.
Snowflakes, a dotted snow border, or a row of hanging ornaments. All three use big simple shapes, one colour, and one corner of the glass, so there is almost nothing to get wrong. Start with the dotted border from idea one, it takes twenty minutes, and if you like how it looks, try a snowflake corner next. One easy window builds the confidence for a bigger scene.
Test a small spot first and check the product label before you paint a full design. Some window markers should not be used on glass with UV film or on mirrors with a fog-free coating, and some coatings react badly to paint of any kind. If the test patch does not wipe off clean, or the label says not to use it on coated glass, paint a plain glass pane or a removable glass panel instead, and hang it in the window.
Christmas does not need a perfect window. It needs a warm one, a window that glows at dusk and makes the people walking past smile a little. Start with one idea from this list, the one that made you smile, and let the rest follow. Your windows will be ready long before the first guest knocks.
Happy painting. I will see you in the next one.
Neuman